Hoover vacuums have been a trusted household appliance for over a century. If you’re experiencing issues with your Hoover vacuum cleaner, don’t worry. With this step-by-step guide, you’ll be able to troubleshoot and repair common problems on your own, saving you time and money. Let’s get started!
Key Takeaways
- Learn how to troubleshoot and fix common issues with your Hoover vacuum cleaner.
- Regular maintenance and care tips to extend the lifespan of your vacuum.
- Save time and money by repairing your Hoover vacuum cleaner on your own.
- Ensure optimal suction and prevent clogs by cleaning or replacing the filter regularly.
- Check the power cord for any damage that may be causing the vacuum not to start up or cut off.
Troubleshooting Common Issues with Your Hoover Vacuum Cleaner
Is your Hoover vacuum not working as it should? Before you panic or rush to buy a new one, try these troubleshooting steps to fix common issues.
1. Check for Obstructions or Clogs:
Start by inspecting the hoses, filters, and rollers for any debris, obstructions, or clogs. Clear out any blockages that may be affecting the suction power of your vacuum cleaner.
2. Inspect and Replace the Belt:
If you notice that your Hoover vacuum is noisy or the roller isn’t moving properly, a broken belt could be the cause. Check the belt for any signs of wear or damage and replace it if necessary. You can refer to your vacuum’s user manual for instructions on how to replace the belt.
3. Check the Power Cord:
Examine the power cord for any fraying, cuts, or other damage that may be interrupting the electrical connection. A damaged power cord can cause the vacuum cleaner motor to cut off or prevent it from starting up. If you find any issues with the power cord, it’s essential to replace it with a new one.
By following these troubleshooting tips, you can often resolve common issues with your Hoover vacuum cleaner and get it back to optimal performance. Remember to refer to your vacuum’s user manual or contact Hoover customer support if you need additional assistance.
Testimonial:
“I was ready to give up on my Hoover vacuum when it suddenly stopped working. But after trying out the troubleshooting steps mentioned in this guide, I was able to fix the problem and save myself from buying a new vacuum. It’s great to know that I can rely on my Hoover for years to come.”
Don’t let common issues hold you back from enjoying a clean home. With a few simple troubleshooting steps, you can fix your Hoover vacuum cleaner and continue to keep your floors spotless.
Maintenance and Care Tips for Your Hoover Vacuum Cleaner

Regular maintenance is key to keeping your Hoover vacuum cleaner in top shape. By following these maintenance and care tips, you can extend the lifespan of your Hoover vacuum cleaner and keep it running smoothly.
- Empty the Bag or Canister and Clean/Replace the Filter: Start by regularly emptying the bag or canister to ensure optimal suction. Cleaning or replacing the filter is also essential to prevent clogs and maintain efficient performance.
- Inspect the Brush Roller: Frequently check the brush roller for any debris or tangled hair. Cleaning it as needed will prevent blockages that can hinder the vacuum’s effectiveness.
- Check Attachments and Accessories: It’s important to inspect the attachments and accessories regularly for wear and tear. Replace any damaged or worn-out parts to ensure smooth operation and maximize cleaning efficiency.
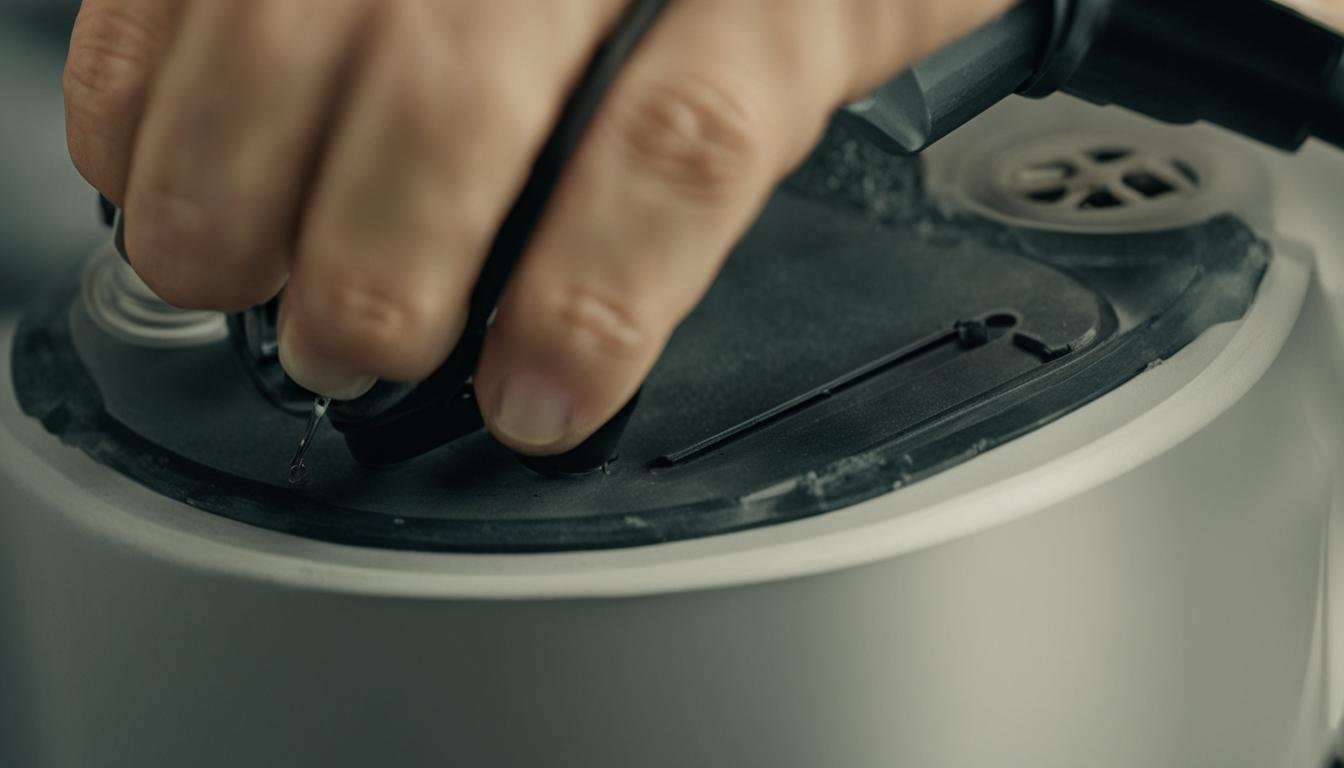
To provide you with visual guidance, here is an image illustrating Hoover vacuum cleaner maintenance:
Remember, investing a little time in maintaining your Hoover vacuum cleaner will save you from needless frustrations and costly repairs in the long run.
Conclusion
Repairing and maintaining your Hoover vacuum cleaner doesn’t have to be a daunting task. With the right knowledge and a little effort, you can troubleshoot and fix common issues on your own. By following the step-by-step guide and tips provided in this article, you’ll be equipped to tackle problems such as a vacuum cleaner not working or a noisy roller.
Regular maintenance and care are essential to keep your Hoover vacuum cleaner in optimal condition. Emptying the bag or canister, cleaning or replacing the filter, and inspecting the brush roller for debris will ensure optimal suction and prevent clogs. Additionally, checking the attachments and accessories for wear and tear will help you identify when replacements are necessary.
By implementing these maintenance and troubleshooting techniques, you can extend the lifespan of your Hoover vacuum cleaner and enjoy hassle-free cleaning for years to come. Remember, the key is to stay proactive and address minor issues before they become major problems. With dedication and attention to detail, you’ll be able to keep your Hoover vacuum cleaner in tip-top shape and achieve outstanding cleaning performance.
FAQ
How do I troubleshoot common issues with my Hoover vacuum cleaner?
First, check for obstructions or clogs in the hoses, filters, and rollers. Next, inspect the belt and replace it if necessary. Finally, check the power cord for any damage that may be causing motor issues.
How can I maintain and care for my Hoover vacuum cleaner?
Regularly empty the bag or canister and clean or replace the filter. Inspect the brush roller for debris or tangled hair and clean it as needed. Check the attachments and accessories for wear and tear and replace them if necessary.
Can I repair my Hoover vacuum cleaner on my own?
Yes, with the right knowledge and effort, you can troubleshoot and fix common issues. Regular maintenance and care will also help prevent future problems and keep your vacuum running smoothly.


Leave a Reply