Making a vacuum cleaner with cardboard is a fun and creative DIY project that allows you to create your own cleaning gadget. By following this step-by-step guide, you can learn how to assemble a functional vacuum cleaner using readily available materials and simple tools. This project is perfect for those who enjoy hands-on activities and want to explore the possibilities of cardboard engineering. With the right components and a little bit of creativity, you can build your own homemade vacuum cleaner that is both eco-friendly and efficient.
Key Takeaways:
- Create a functional vacuum cleaner with cardboard, readily available materials, and simple tools.
- Explore the possibilities of cardboard engineering through this hands-on DIY project.
- Build your own eco-friendly and efficient homemade vacuum cleaner.
- Experiment with different components to customize your cardboard vacuum cleaner.
- Enjoy the satisfaction of building your own cleaning gadget from scratch.
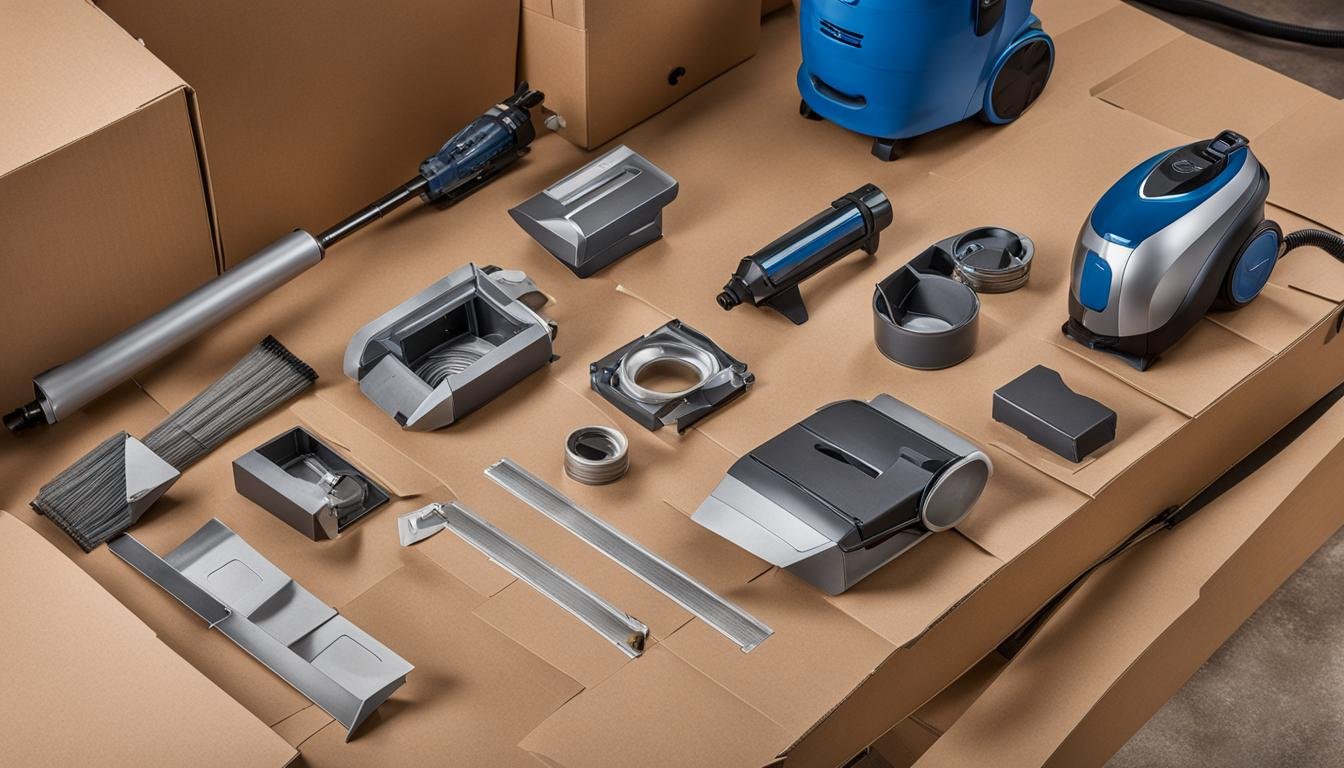
Components and Setup
To create a cardboard vacuum cleaner, you will need several components. These include:
- An Arduino board
- A motor shield
- Two motors with gears
- Wheels
- A battery set or power bank
- A computer cooling turbine
- Strong magnets
- Wires
- Cardboard
- Glue
- A piece of tin
- A plastic box for the dust bin
Once you have gathered all the necessary materials, you can proceed with the setup. Here are the steps to follow:
Arranging the Components
Place the components on the cardboard chassis in a logical arrangement. This will ensure everything fits properly and is easily accessible.
Attaching the Motors and Turbine
Secure the motors with gears onto the chassis using glue or screws. Attach the computer cooling turbine to the designated spot on the chassis.
Fixing the Dust-bin and Magnets
Attach the plastic box for the dust bin to the chassis, ensuring it is firmly in place. Attach strong magnets to the chassis to hold the dust-bin securely.
Preparing the Arduino Holders
Create holders or brackets with the piece of tin to secure the Arduino board and motor shield in place. These holders will prevent any movement or damage during operation.
Connecting the Power Wires
Connect the power wires from the Arduino board, motor shield, battery set or power bank, and the computer cooling turbine. Ensure the polarity and connections are correct to avoid any electrical issues.
Setting up the Bumpers
Attach bumpers or protective elements to the vacuum cleaner chassis to prevent damage to furniture or walls during operation.
Following these steps will help you set up your DIY cardboard vacuum cleaner with the required components. Once the setup is complete, you will be ready to move on to the next section, where we will discuss the interconnections and programming of the vacuum cleaner.
Interconnections and Programming

After setting up the components of your DIY cardboard vacuum cleaner, the next step is to establish the necessary interconnections. This phase involves connecting the power wires from various components, such as the Arduino, turbine, motor shield, and battery set, ensuring a seamless flow of electricity throughout the system.
First, gather your wires and choose whether to utilize traditional wires or a USB cable to connect your vacuum cleaner to a power bank. When doing so, be mindful of the polarity, ensuring that the positive and negative terminals align correctly to avoid any potential short circuits.
If you prefer more advanced control options, you have the option to use an Arduino Nano as an alternative to the motor shield. By connecting specific pins between the Arduino and motor shield, you can exercise greater customization and precision in your vacuum cleaner’s operation.
Once the interconnections are complete, you can proceed to program your vacuum cleaner. A program has been provided on GitHub specifically designed to control the motors and other essential functions of your cardboard vacuum cleaner. By following the provided instructions, you can easily upload and execute the program, enabling precise control over the cleaning mechanism.
Remember to consult the detailed instructions and guidelines to ensure a successful interconnection and programming process. Properly executed interconnections and programming will ensure the efficient and effective operation of your DIY cardboard vacuum cleaner.
Conclusion
In conclusion, the DIY cardboard vacuum cleaner project offers a fantastic opportunity to unleash your creativity and practical skills. By following the step-by-step homemade vacuum cleaner instructions provided, you can easily build your very own cleaning gadget using cardboard. This project not only showcases the versatility of cardboard as a building material but also allows you to delve into basic electronics and programming concepts, making it a truly rewarding endeavor.
With easily accessible materials and a little ingenuity, you can create an easy homemade vacuum cleaner with cardboard that is both eco-friendly and efficient. By incorporating an Arduino board, motors, and a computer cooling turbine, you can assemble a functional vacuum cleaner that is capable of effectively cleaning various surfaces.
Embark on your DIY cardboard vacuum cleaner project today and experience the satisfaction of building your own cleaning gadget. This project not only serves as a great learning opportunity but also provides a sense of accomplishment as you witness your creation come to life. So why wait? Start your cardboard vacuum cleaner project now and enjoy the rewards of a truly unique and functional homemade appliance.
FAQ
What materials do I need to make a cardboard vacuum cleaner?
To make a cardboard vacuum cleaner, you will need an Arduino board, motor shield, two motors with gears, wheels, a battery set or power bank, a computer cooling turbine, strong magnets, wires, cardboard, glue, a piece of tin, and a plastic box for the dust bin.
How do I set up the components for a cardboard vacuum cleaner?
The setup process involves arranging the components on the cardboard chassis, attaching the motors and turbine, fixing the dust bin and magnets, preparing the Arduino holders, connecting the power wires, and setting up the bumpers.
What are the interconnections required for a cardboard vacuum cleaner?
The interconnections include connecting the power wires from the Arduino, turbine, motor shield, and battery set. You can use wires or a USB cable to connect to a power bank. It’s important to double-check the polarity and avoid short circuits.
Can I use an Arduino Nano instead of a motor shield for the cardboard vacuum cleaner?
Yes, you have the option to use an Arduino Nano instead of a motor shield. In this case, you will need to connect specific pins between the Arduino and motor shield.
How do I program the cardboard vacuum cleaner?
You can program the vacuum cleaner using the provided program on GitHub. This program enables control over the motors and other functions of the cardboard vacuum cleaner.


Leave a Reply