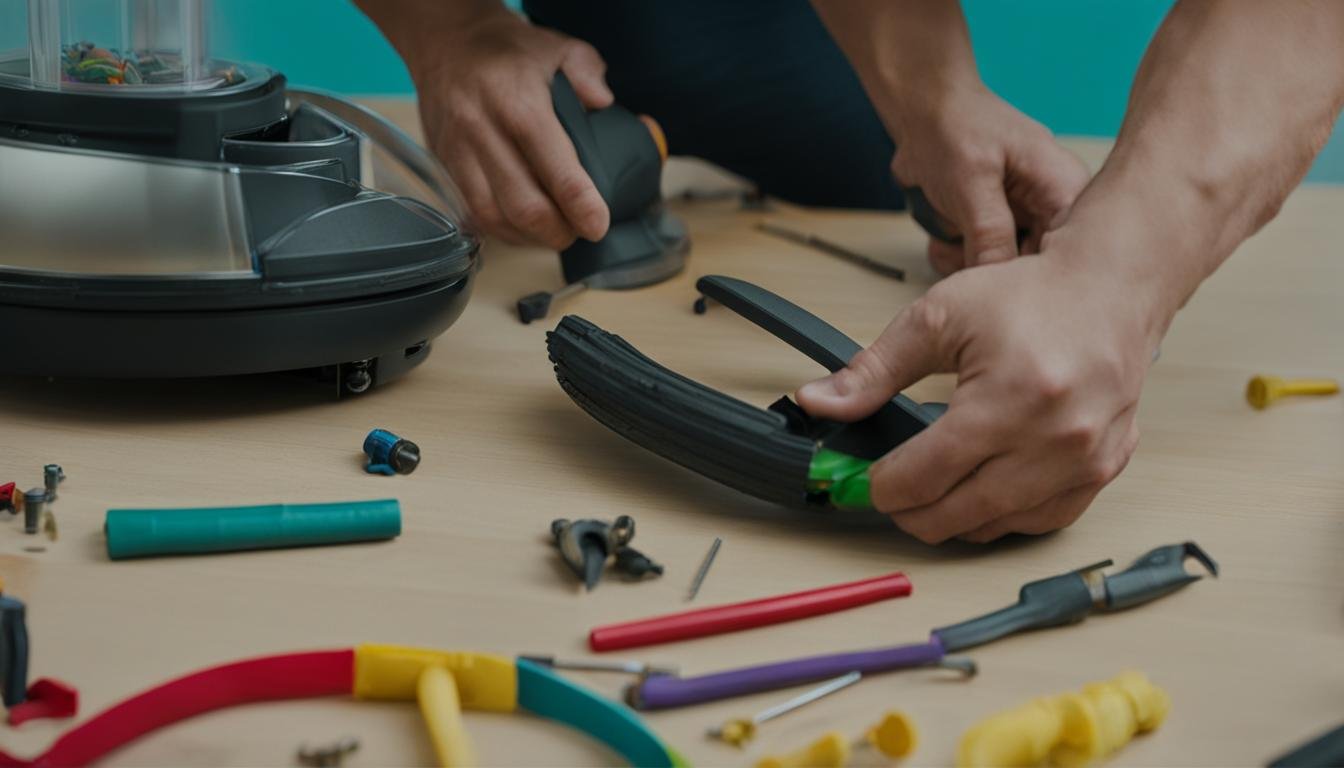
If you’re looking to clean and maintain your Rainbow vacuum cleaner, it’s important to know how to properly take it apart. Here is a step-by-step guide to help you disassemble your Rainbow vacuum cleaner. This guide is based on the experiences and documentation of Rainbow vacuum cleaner owners who have successfully dismantled their units.
Key Takeaways:
- Regular maintenance and repairs are crucial for the optimal performance of your Rainbow vacuum cleaner.
- Dismantling a Rainbow vacuum cleaner may seem intimidating, but with the right instructions and some patience, it can be done.
- Consult the owner’s manual or reach out to Rainbow’s support team for further assistance.
- Inspect and replace belts, filters, and seals regularly to ensure efficient operation.
- Inspect the hose for damage or leaks and address any issues early on to maintain suction power.
Checking and Replacing Belts, Filters, and Seals
One of the most common repairs or maintenance tasks for a Rainbow vacuum cleaner involves checking and replacing belts, filters, and seals. These components play a critical role in the performance of the vacuum cleaner. Checking them regularly and replacing them when necessary will ensure that your vacuum cleaner continues to work efficiently.
The owner’s manual of your Rainbow vacuum cleaner will provide specific instructions on how to access and replace these components. Follow the steps outlined below to get started:
- Turn off and unplug the Rainbow vacuum cleaner to ensure safety.
- Locate the belt, filter, or seal that needs to be checked or replaced. Refer to the owner’s manual for the exact location.
- If checking the belt, inspect it for any signs of wear, such as fraying or stretching. Replace the belt if necessary.
- If inspecting the filter, remove it from its housing and check for any build-up of dirt or debris. Clean the filter according to the manufacturer’s instructions or replace it if it’s damaged or worn out.
- To examine the seals, visually inspect them for any cracks or signs of deterioration. If the seals are damaged, they may need to be replaced to maintain optimal suction power.
By regularly checking and replacing belts, filters, and seals, you can prolong the life of your Rainbow vacuum cleaner and ensure it continues to perform at its best. It’s important to follow the manufacturer’s guidelines and recommendations for maintenance and replacement to avoid any damage to the unit.
Pro Tip:
Make sure to have replacement belts, filters, and seals on hand so that you can quickly replace them when needed. This will help you avoid any downtime in using your Rainbow vacuum cleaner.
Now that you know how to check and replace belts, filters, and seals in your Rainbow vacuum cleaner, you can keep it in optimal condition for long-lasting performance.
| Components | Importance |
|---|---|
| Belts | Ensure proper rotation of the vacuum cleaner’s brush roll. |
| Filters | Prevent dust and dirt from entering the motor and exhaust system. |
| Seals | Maintain optimal suction power by preventing air leaks. |
Remember to consult your Rainbow vacuum cleaner’s owner’s manual for specific instructions and recommendations regarding the maintenance and replacement of belts, filters, and seals.
Inspecting and Repairing the Hose
Regularly inspecting the hose of your Rainbow vacuum cleaner is essential to maintaining its optimal performance. Damaged or leaky hoses can lead to reduced suction power, affecting the overall effectiveness of your cleaning process. By conducting routine inspections, you can catch any issues early on and address them promptly.
If you notice any tears or leaks in the hose during your inspection, it may be necessary to repair or replace it. To ensure you proceed with the correct repair method, refer to the owner’s manual provided by Rainbow or reach out to their dedicated support team. They can offer specific guidance on how to successfully perform the repair and restore your vacuum cleaner to its full functionality.
“Regularly inspecting and maintaining the hose of your Rainbow vacuum cleaner is crucial for optimal performance. Catching and addressing any issues early on can prevent reduced suction power and maintain efficient cleaning.”
Remember, the hose is a vital component of your Rainbow vacuum cleaner, contributing significantly to its overall functionality. By taking the time to inspect and repair it as needed, you can ensure that your vacuum cleaner continues to operate at its best, delivering exceptional cleaning results.

Benefits of Regular Hose Inspection and Repair:
- Maintains optimal suction power for efficient cleaning
- Prevents debris buildup and clogs within the hose
- Prolongs the lifespan of your Rainbow vacuum cleaner
- Reduces the need for extensive repairs or replacements
- Cost-effective solution for maintaining peak performance
Conclusion
Taking apart a Rainbow vacuum cleaner may seem like a daunting task, but with the right instructions and a bit of patience, it can be done. Regular maintenance and repairs are essential to keeping your Rainbow vacuum cleaner in optimal condition. By following the step-by-step guide outlined in this article, you’ll be able to disassemble your Rainbow vacuum cleaner and address any issues that may arise.
Remember, it’s always a good idea to consult the owner’s manual for specific instructions tailored to your model. If you encounter any difficulties or have questions along the way, don’t hesitate to reach out to Rainbow’s support team for assistance. They will be more than happy to help you with any concerns you may have.
By taking the time to disassemble and inspect your Rainbow vacuum cleaner, you can ensure that it continues to provide you with optimum performance and longevity. So, whether you’re looking to clean, maintain, or troubleshoot your Rainbow vacuum cleaner, this breakdown guide has equipped you with the knowledge to do so effectively.
FAQ
How do I take apart a Rainbow vacuum cleaner?
To take apart a Rainbow vacuum cleaner, follow these steps:
1. Unplug the vacuum cleaner from the power source and ensure it is turned off.
2. Remove the water basin by lifting it up and pulling it away from the main unit.
3. Detach the nozzle from the main unit by pressing the release button and pulling it off.
4. Unscrew the screws on the top cover of the main unit using a screwdriver.
5. Lift off the top cover to reveal the internal components.
6. Take note of the different components and their positions for easier reassembly later on.
7. Gently remove any belts, filters, or seals that need to be replaced or inspected.
8. Clean or replace the necessary components and reassemble the vacuum cleaner in the reverse order.
How often should I check and replace belts, filters, and seals in my Rainbow vacuum cleaner?
It is recommended to check belts, filters, and seals in your Rainbow vacuum cleaner every 6-12 months, depending on your usage. If you notice any signs of wear or if the vacuum cleaner’s performance is affected, it’s best to replace these components.
How do I inspect and repair the hose of my Rainbow vacuum cleaner?
To inspect and repair the hose of your Rainbow vacuum cleaner, follow these steps:
1. Begin by disconnecting the hose from the main unit and inspect it for any tears, leaks, or blockages.
2. If there are no visible issues, try running water through the hose to check for leaks. If water is leaking, the hose may need to be repaired or replaced.
3. If you need to repair the hose, you can use hose repair tape or silicone adhesive to seal any leaks or tears.
4. If the hose is severely damaged or cannot be repaired, it may be necessary to replace it. Contact Rainbow’s support team or refer to the owner’s manual for guidance on obtaining a replacement hose.
5. Once the hose is repaired or replaced, reattach it to the main unit of the vacuum cleaner.
Can disassembling a Rainbow vacuum cleaner be difficult?
Taking apart a Rainbow vacuum cleaner may seem intimidating, but with the right instructions and some patience, it can be done. By following the step-by-step guide provided above, you’ll have a clear understanding of how to dismantle your Rainbow vacuum cleaner and address any maintenance or repair tasks.


Leave a Reply