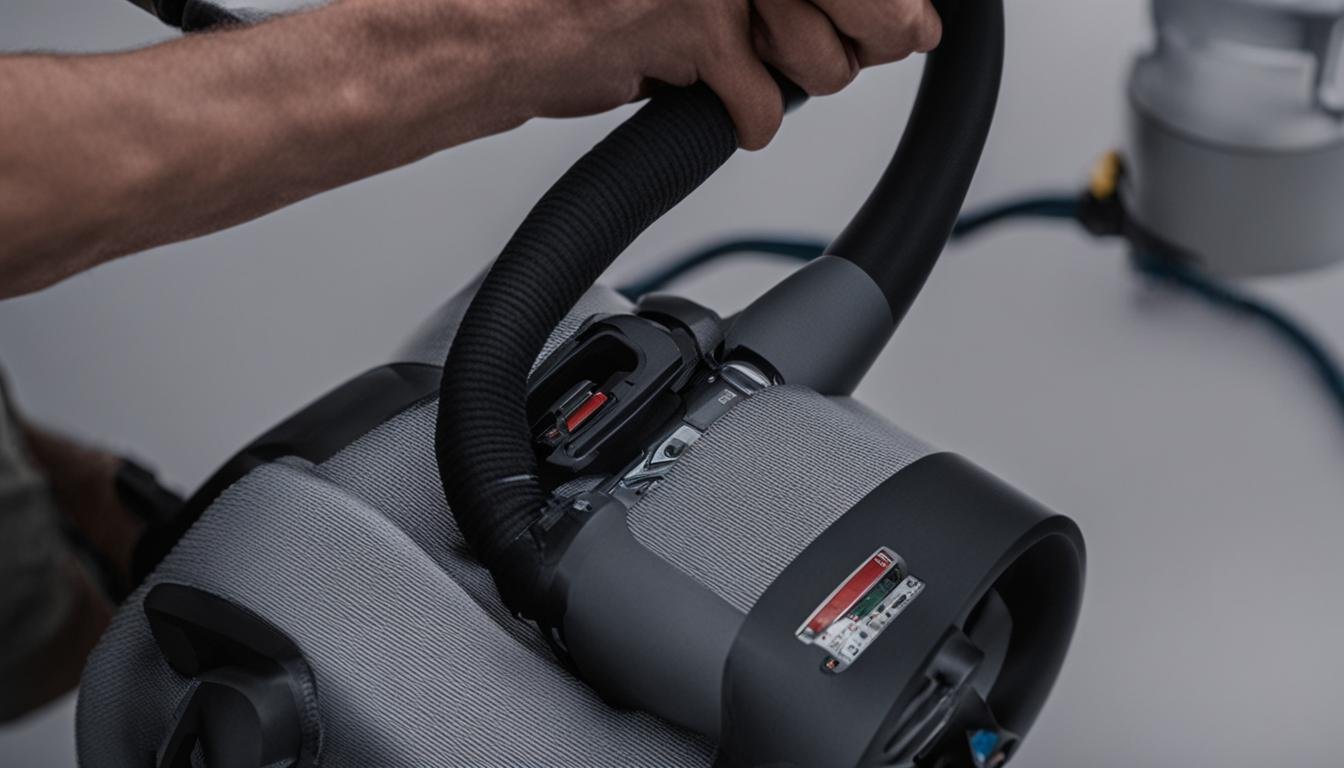
When it comes to keeping our homes clean and tidy, vacuum cleaners are an essential tool. However, what do you do when the brush roller stops spinning and your vacuum’s cleaning power is reduced? Chances are, you have a broken vacuum cleaner belt. But don’t worry, fixing it is easier than you might think.
To ensure your vacuum cleaner continues to perform at its best, it’s important to replace the belt promptly. Lucky for you, replacing a vacuum cleaner belt is a simple and inexpensive process that you can easily do yourself. In this guide, I’ll walk you through the steps to fix your vacuum cleaner belt and get your cleaning routine back on track.
Key Takeaways:
- Replacing a vacuum cleaner belt is a simple and inexpensive process.
- Start by unplugging the vacuum and turning it upside down.
- Remove the bottom plate to access the brush and belt.
- Slide the old belt off the brush roller and motor shaft, clean around the motor bearings, and place the new belt onto the motor shaft.
- Hook the other end of the new belt onto the brush roller and reassemble the vacuum.
- Regularly check the belt for wear and have a spare one on hand.
Steps to Replace a Vacuum Cleaner Belt
To ensure your vacuum cleaner continues to perform at its best, it’s important to regularly replace the belt. Follow these simple steps to DIY your vacuum cleaner belt fix and keep your vacuum running smoothly:
- Access the belt and brushroll area: Begin by removing the bottom plate of your vacuum. This can usually be done by unscrewing it or using a quick-release mechanism. By gaining access to the belt and brushroll area, you’ll be able to easily replace the old belt.
- Remove the old belt and brush roller: Once you’ve removed the bottom plate, you’ll have clear visibility of the old belt and brush roller. Note the arrangement of these components before proceeding. This will help you properly install the new belt.
- Install the new belt: Take the new vacuum cleaner belt and position it onto the motor shaft. Then, thread the brush roller through the other end of the belt. Ensure that the belt is properly aligned and positioned before moving on.
- Reassemble the vacuum: With the new belt installed, it’s time to reassemble your vacuum cleaner. Replace the bottom plate by securely fastening it with screws or using the quick-release mechanism. Make sure the plate is properly aligned to ensure the belt stays in place during operation.
This troubleshooting vacuum cleaner belt process can typically be completed within just a few minutes, depending on the specific model of your vacuum cleaner. By following these steps, you’ll have successfully performed a vacuum belt replacement and restored your vacuum’s cleaning power.
Remember, it’s important to regularly check the condition of your vacuum cleaner belt and have a spare one on hand. By taking a proactive approach to vacuum belt repair, you can prolong the life of your vacuum cleaner and maintain its optimal performance.
Conclusion
If you have been experiencing issues with your vacuum cleaner not picking up debris effectively, the problem may lie with the belt. A broken or worn-out vacuum cleaner belt can hinder the performance of your vacuum, leading to subpar cleaning results. However, by following the steps mentioned in this guide, you can easily fix the problem and restore your vacuum’s cleaning power.
Remember to regularly check the condition of your vacuum cleaner belt and look out for signs of wear and tear. This simple maintenance practice can help you identify any issues early on and prevent further damage. Additionally, it’s a good idea to keep a spare belt on hand, just in case you need to replace it in the future.
By taking proper care of your vacuum cleaner’s belt, you can extend its lifespan and ensure it continues to perform optimally. Don’t let a faulty belt hinder your cleaning efforts – follow the steps outlined in this guide and enjoy a cleaner home with a properly functioning vacuum.
FAQ
How do I fix a vacuum cleaner belt?
To fix a vacuum cleaner belt, start by unplugging the vacuum and turning it upside down. Remove the bottom plate to access the brush and belt. Slide the old belt off the brush roller and motor shaft, then clean around the motor bearings. Place the new belt onto the motor shaft and hook the other end onto the brush roller. Finally, reassemble the vacuum and ensure the belt is properly positioned.
How do I replace a vacuum cleaner belt?
To replace a vacuum cleaner belt, start by accessing the belt and brushroll area of your vacuum. This typically involves removing the bottom plate of the vacuum, either by unscrewing it or using a quick-release mechanism. Once the bottom plate is removed, you can easily remove the old belt and brush roller. Install the new belt onto the motor shaft and thread the brush roller through the other end of the belt. With the belt properly positioned, reassemble the vacuum by replacing the bottom plate. This simple process can be completed in just a few minutes, depending on your vacuum model.
Why is my vacuum cleaner belt not working?
If your vacuum cleaner belt is not working, it may be broken or worn out. Over time, the belt can stretch or fray, leading to reduced performance. Additionally, debris such as hair, thread, or fibers can become tangled in the brush roller or motor shaft, causing the belt to slip or break. Regularly check the belt for signs of wear and tear, and clean around the brush roller and motor bearings to prevent debris buildup. If the belt is damaged or worn, it is recommended to replace it to restore your vacuum cleaner’s cleaning power.


Leave a Reply