Greetings, fellow Dyson DC41 vacuum cleaner owners! In this guide, I will walk you through the steps for changing the belt on your beloved cleaning companion. Whether your current belt is worn out or you simply want to maintain optimum performance, this process is essential to keep your Dyson DC41 running smoothly.
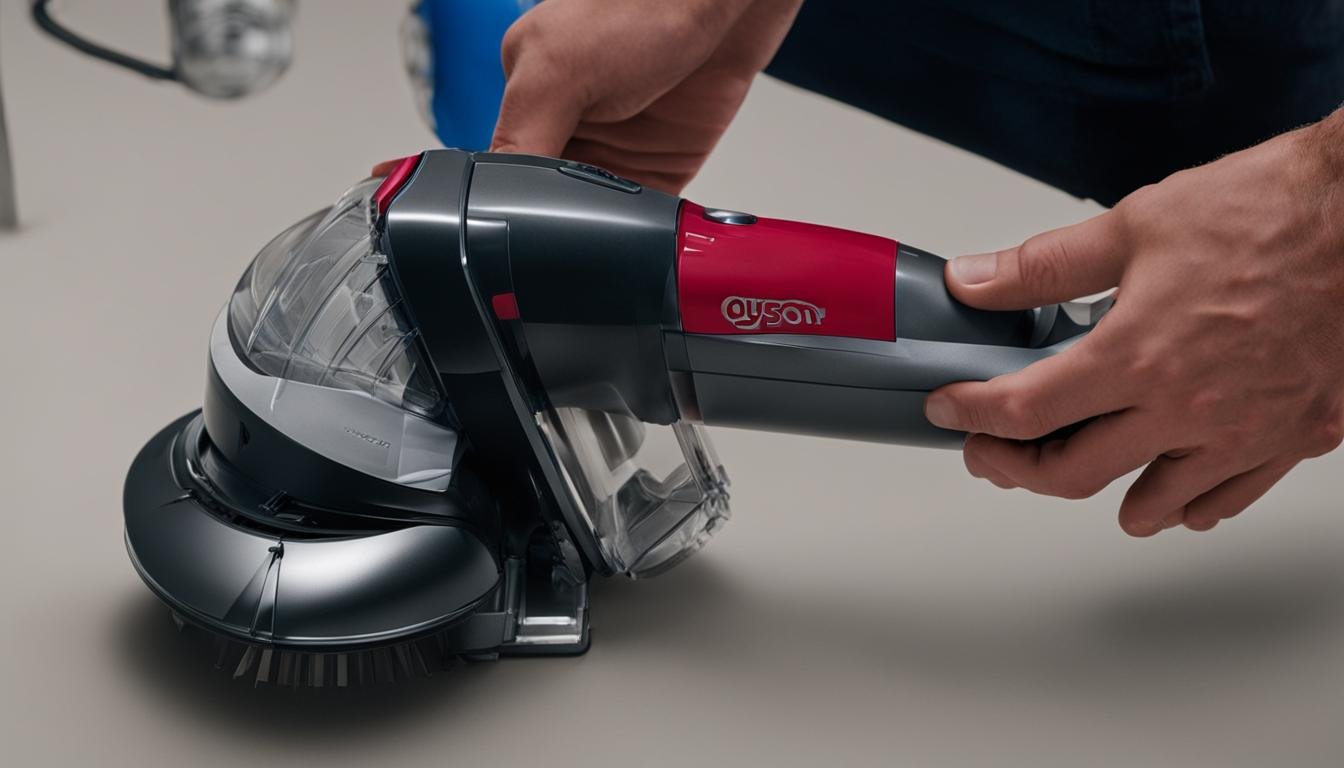
To begin, let’s gather the necessary tools. You will need a replacement belt specifically designed for the DC41 model. Additionally, have a screwdriver on hand to remove any screws that secure the brush head in place.
Next, it’s time to remove the brush head. Follow the instructions provided by Dyson to ensure a seamless removal process. Once the brush head is detached, you can access the old belt and replace it with the new one.
Now comes the important part—reassembly. Make sure the brush head is securely attached to the vacuum cleaner, ensuring it is aligned perfectly with the new belt. This step guarantees that your Dyson DC41 will continue to provide superior cleaning performance.
It’s always a good idea to test your vacuum cleaner after completing the belt replacement. Ensure that the belt is functioning correctly and the brush head is rotating as intended. This reassurance will give you peace of mind before tackling your cleaning tasks.
Key Takeaways:
- Changing the belt on a Dyson DC41 vacuum cleaner helps maintain optimal performance.
- Make sure to use a replacement belt specifically designed for the DC41 model.
- Follow the instructions provided by Dyson for removing and reassembling the brush head.
- Ensure the new belt is securely attached and aligned with the brush head.
- Test the vacuum cleaner after the belt replacement to confirm proper functionality.
Steps to Change the Belt on a Dyson DC41 Vacuum Cleaner
Changing the belt on your Dyson DC41 vacuum cleaner is a simple process that can be done at home. Follow these steps to ensure a smooth belt replacement:
- Gather the necessary tools and a replacement belt designed specifically for the Dyson DC41 model.
-
Use a screwdriver to remove any screws securing the brush head in place.
-
Follow the instructions provided by Dyson to remove the brush head from the vacuum cleaner.
-
Locate the old belt and remove it from the brush head.
-
Replace the old belt with the new one, ensuring that it is properly aligned and securely attached to the brush head.
-
Reassemble the brush head by following the instructions provided by Dyson.
-
Make sure that the brush head is securely attached to the vacuum cleaner and that the new belt is functioning properly.
-
Test the vacuum cleaner to ensure that the belt is working correctly and that the brush head is rotating as intended.
Following these steps will help you successfully change the belt on your Dyson DC41 vacuum cleaner, keeping it in optimal working condition. Regularly replacing the belt when necessary will ensure efficient cleaning performance.
Additional Tips:
- Refer to the Dyson user manual for specific instructions on belt replacement for your model.
- Inspect the brush head for any debris or tangled hair that may affect the belt’s performance.
- Check the brush roll for any signs of wear or damage and replace it if necessary.
Conclusion
Changing the belt on a Dyson DC41 vacuum cleaner is a quick and easy DIY task that you can do at home. By following the step-by-step guide provided in this article and using a replacement belt specifically designed for the DC41 model, you can ensure that your Dyson continues to operate smoothly and efficiently.
Regularly checking and replacing the belt as needed is essential for maintaining optimal performance. A worn or broken belt can lead to reduced suction power and ineffective cleaning. By replacing the belt, you can restore the functionality of your DC41 vacuum cleaner and keep your floors looking their best.
If you encounter any difficulties during the belt replacement process, don’t worry. Dyson provides comprehensive user manuals and helpful instructions to assist you. Additionally, their customer care team is always available to provide further assistance and answer any specific questions you may have.
FAQ
What tools do I need to change the belt on a Dyson DC41 vacuum cleaner?
To change the belt on a Dyson DC41 vacuum cleaner, you will need a screwdriver and a replacement belt specifically designed for the DC41 model.
How do I remove the brush head to access the belt on a Dyson DC41 vacuum cleaner?
To remove the brush head on a Dyson DC41 vacuum cleaner, use a screwdriver to remove any screws securing the brush head in place. Follow the instructions provided by Dyson to safely remove the brush head.
How do I replace the belt on a Dyson DC41 vacuum cleaner?
Once you have removed the brush head, you can access the old belt. Remove the old belt and replace it with the new one, ensuring it is properly aligned and securely attached to the brush head.
How do I reassemble the brush head after changing the belt on a Dyson DC41 vacuum cleaner?
Follow the instructions provided by Dyson to reassemble the brush head. Make sure the brush head is securely attached to the vacuum cleaner and that the new belt is functioning properly.
How can I test if the belt on my Dyson DC41 vacuum cleaner is working correctly?
After changing the belt, test the vacuum cleaner to ensure that the belt is working correctly. Check if the brush head is rotating as intended.


Leave a Reply