Are you experiencing issues with your Roomba? The indicator lights on your Roomba can provide valuable information about its status and help troubleshoot any problems that arise. Understanding the meaning behind these lights is crucial for maintaining optimal performance and ensuring that your Roomba runs smoothly.
Referencing the Roomba manual, different patterns of indicator lights correspond to specific problems or actions. For example, if there are no beeps, it indicates that one of the wheels is stuck or not touching the ground. In this case, you need to securely place the robot on the floor and restart the cleaning cycle by pressing the clean button.
Other beeps can signify issues with the main brushes, side brush, vacuum, wheel motor, cliff sensors, or sensor errors. These beeps can guide you in resolving the problem, whether it’s removing obstructions, emptying the bin, or contacting iRobot Customer Care.
Being familiar with the different indicator light patterns will enable you to quickly identify and address any issues that may arise with your Roomba. Let’s dive deeper into the meaning behind these lights and how you can troubleshoot any problems you encounter.
Key Takeaways
- The indicator lights on your Roomba provide valuable information about its status and can help troubleshoot issues.
- Different patterns of indicator lights correspond to specific problems or actions, such as wheel jams or sensor errors.
- Understanding the meaning behind these lights is essential for maintaining optimal performance.
- Referencing the Roomba manual will provide details on the different beep patterns and what they indicate.
- Contacting iRobot Customer Care may be necessary for more complex issues.
Decoding the Roomba Indicator Light Colors
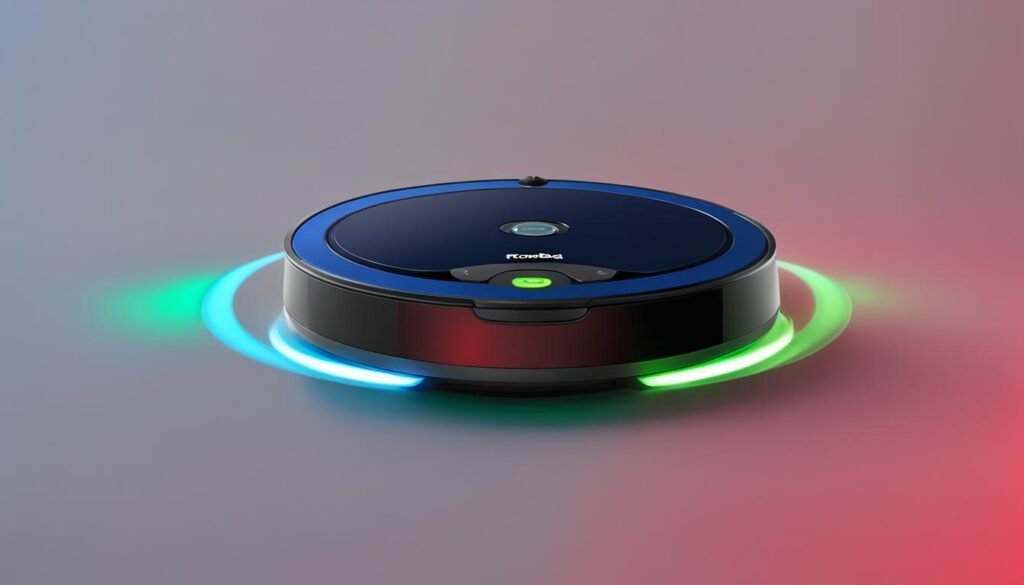
The indicator lights on newer Roomba models use a color-coded system to communicate the robot’s status. Understanding the meaning behind these indicator light colors is essential for staying informed about your Roomba’s battery, charging, and power status. Let’s delve into the different colors and what they signify:
White:
A solid white light on your Roomba means that it is operating normally and is ready for cleaning duty. This indicates that your Roomba is in good health and fully charged.
Blue:
A blue indicator light indicates that your Roomba is performing a special operation, such as a software update. It’s important to let your Roomba complete the operation without interruption, ensuring optimal performance.
Red:
If you see a red indicator light on your Roomba, it indicates a problem that requires attention. This could be related to the battery, power, or other system error. It’s crucial to tackle the issue promptly to ensure that your Roomba continues to function effectively.
Now, let’s explore how specific indicator light patterns can provide more detailed information:
Solid White Light:
A solid white light on your Roomba indicates that it is fully charged and ready for use. This is an ideal state for your Roomba, ensuring that it has sufficient power to complete its cleaning cycle.
Pulsing Bottom Half:
When the bottom half of the indicator light pulses, it means that your Roomba is currently charging while placed on the docking station. This confirms that your Roomba is successfully drawing power and recharging.
Amber Pulsing Light:
The amber pulsing light indicates a low battery on your Roomba. When you see this light, it’s time to recharge your Roomba or replace the battery if necessary to maintain optimal performance.
Red Light:
If a red light appears on your Roomba, it signifies an error or fault that needs troubleshooting and resolution. Refer to the Roomba manual or contact iRobot Customer Care for guidance on resolving the issue.

Additionally, some newer Roomba models will exhibit a unique hibernating pattern when fully charged. This pattern starts with a solid white light and is followed by fading LEDs. This feature is designed to conserve power once your Roomba has completed its charging cycle.
For certain Roomba models, you can also use the iRobot HOME app to receive battery status updates. This allows you to monitor your Roomba’s power level and plan the next charging session accordingly.
By familiarizing yourself with the different Roomba indicator light colors, you can quickly assess your robot’s status and take appropriate action to ensure optimal performance. Keeping an eye on your Roomba’s battery, charging, and power indicators will help you maintain a clean home without any avoidable interruptions.
Troubleshooting Roomba Charging Issues
If you encounter charging issues with your Roomba, it’s essential to know how to troubleshoot and resolve them effectively. There are several potential causes to consider, and I’m here to guide you through the process.
1. Check the Power Outlet
Firstly, make sure that the power outlet supplying electricity to the docking station is functioning correctly. To do this, try using a different power outlet to rule out any issues with the original one. This simple step can help ensure that power is being properly supplied to your Roomba.
2. Clean the Charging Contact Points
Over time, dirt and debris can accumulate on the charging contact points of both your Roomba and the docking station, hindering the charging process. To resolve charging issues related to dirty contact points, I recommend using a microfiber cloth to gently clean these areas. Removing any obstructions will ensure a proper connection and facilitate efficient charging.
3. Reset the Roomba
If cleaning the charging contact points doesn’t resolve the issue, try resetting your Roomba. To do this, press and hold the clean and dock buttons simultaneously for at least 10 seconds. The Roomba will restart, and this process can often help resolve common charging problems caused by temporary software glitches.
4. Remove and Reinstall the Battery
If the previous steps haven’t resolved the charging issue, you may need to take the next step and remove and reinstall the battery. While this process may vary depending on your Roomba model, referring to the user manual or iRobot’s official website for specific instructions can guide you through the process. By doing this, you essentially reset the Roomba’s power source, which can help resolve more persistent charging issues.
5. Factory Reset the Roomba
In rare cases where other troubleshooting methods haven’t succeeded, performing a factory reset on your Roomba may be necessary. Again, the exact steps for conducting a factory reset can vary by model, so consult the user manual or iRobot’s official website for detailed instructions. This process will restore the Roomba to its original factory settings, potentially resolving any deep-seated issues affecting the charging function.
6. Consider Battery Replacement
If you’ve exhausted all troubleshooting options and your Roomba still isn’t charging properly, it might be time to consider replacing the battery. Over time, batteries can degrade and lose their ability to hold a charge effectively. Investing in a new battery can restore your Roomba’s charging efficiency and allow it to resume normal operation.
By following these troubleshooting steps, you can effectively address common charging problems and ensure that your Roomba charges properly. Remember, if you’re unsure or encounter persistent issues, don’t hesitate to reach out to iRobot’s Customer Care for further assistance.

Conclusion
Understanding the indicator lights on your Roomba is crucial for troubleshooting and maintaining optimal performance. By referencing the Roomba manual and being familiar with the various beep patterns and indicator light colors, you can quickly identify and address any issues that may arise.
Troubleshooting charging problems, such as using a different power outlet, cleaning the charging contact points, or resetting the Roomba, can help ensure that your Roomba charges effectively. These simple steps can often resolve common charging issues and get your Roomba back up and running in no time.
In cases where these troubleshooting steps do not resolve the issue, don’t hesitate to reach out to iRobot Customer Care for further assistance. They can provide you with expert guidance and support to help resolve any persistent problems. Additionally, if your Roomba’s battery is aging or no longer holding a charge effectively, considering a battery replacement may be a viable solution.
By proactively troubleshooting and understanding the meaning behind the indicator lights, you can keep your Roomba running smoothly and enjoy its convenient cleaning capabilities. With the right knowledge and a little troubleshooting, you can ensure that your Roomba continues to be a reliable cleaning companion in your home.
FAQ
What do the indicator lights on my Roomba mean?
The indicator lights on your Roomba provide valuable information about its status and can help troubleshoot any issues. Different patterns of lights correspond to specific problems or actions. Refer to the Roomba manual for more information.
What do the different colors of the indicator lights on my Roomba mean?
The indicator lights on newer Roomba models use a color-coded system. Typically, white indicates normal operation, blue represents special operations, and red signifies a problem. Different colors can indicate various statuses such as fully charged, charging, low battery, or an error.
How can I troubleshoot charging issues with my Roomba?
If you encounter charging issues with your Roomba, try using a different power outlet, cleaning the charging contact points, or resetting the Roomba. If these steps don’t work, removing and reinstalling the battery or contacting iRobot Customer Care may be necessary.


Leave a Reply