Are you dealing with a water spill or a wet mess in your home? A regular vacuum cleaner might not be able to handle it, but a water vacuum cleaner, also known as a wet and dry vacuum cleaner or wet vacuum cleaner, is the perfect tool for the job. In this guide, I will show you how to properly use a vacuum that sucks up water, so you can efficiently and safely remove water from your home.
- A water vacuum cleaner, also known as a wet and dry vacuum cleaner or wet vacuum cleaner, is designed to handle water removal in your home.
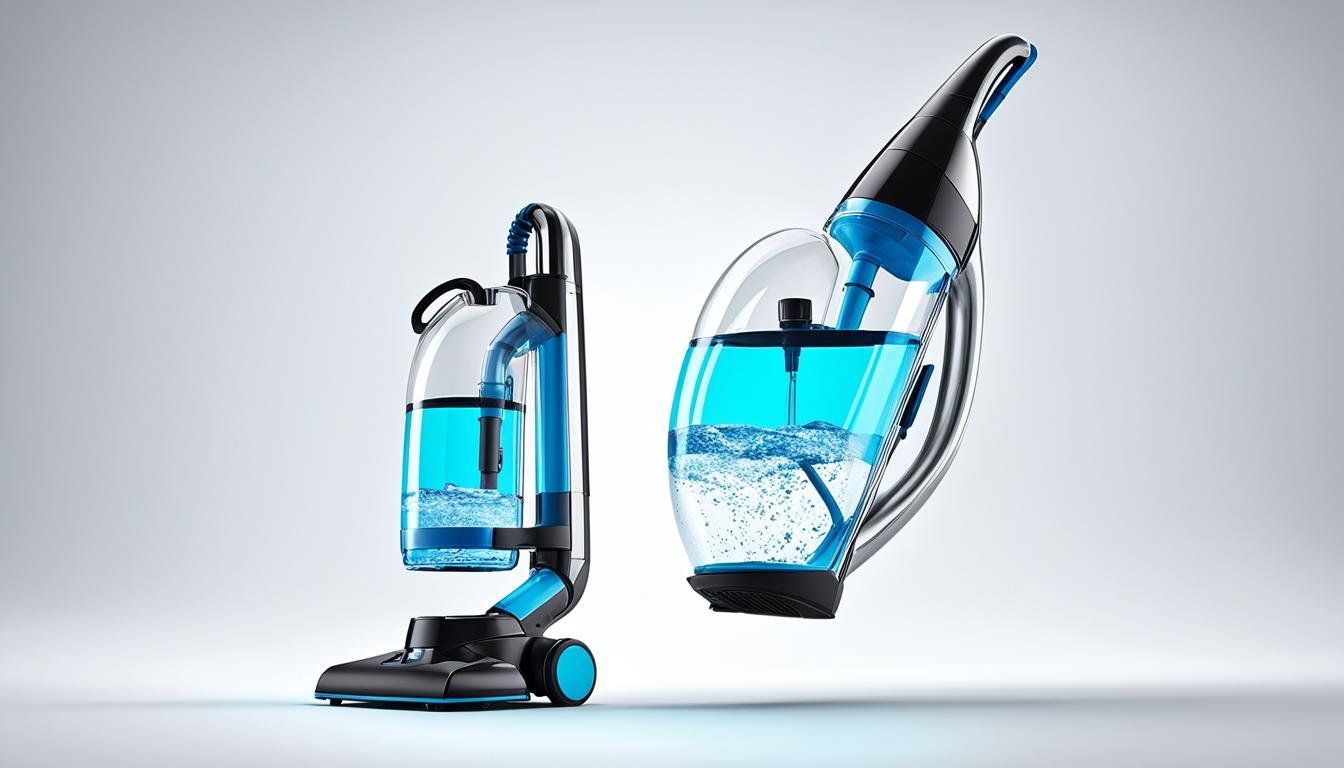
- Before using your wet/dry vacuum for water removal, ensure it is equipped with a wet filter and the appropriate attachments for wet surfaces.
- When vacuuming water from different surfaces, the technique may vary. For water spread across a floor, place the nozzle on top of the water and move it to different sections until all the water is gone. For large quantities of standing water, let the vacuum do the work.
- After water removal, properly dispose of the collected water and clean and dry the vacuum canister and accessories to prevent mold and mildew growth.
- Store your wet/dry vacuum in a convenient location for easy access for future use.
How to Prepare Your Vacuum for Water Removal
Before using your wet/dry vacuum for water removal, there are a few key steps to take. Follow these instructions to ensure safe and effective operation.
- Remove the Bag and Dry Filter: Begin by removing the bag and dry filter from your vacuum. These components are designed for dry cleaning and should not be used when vacuuming up water.
- Replace with Wet Filter: If your wet/dry vacuum is equipped with a wet filter, replace the dry filter with the wet filter. The wet filter is specifically designed to handle liquids and will prevent any water from damaging the internal components of your vacuum.
- Attach the Wet Nozzle: Different attachments are available for wet surfaces, and one of the most common is the wet nozzle. This specialized attachment allows you to effectively suction up water from various surfaces. Attach the wet nozzle to your vacuum for optimal water removal performance.
- Use a GFCI Outlet: Safety should be a top priority when working with electrical appliances around water. Always plug your wet/dry vacuum into a Ground Fault Circuit Interrupter (GFCI) outlet. A GFCI outlet will automatically cut off power in the event of a ground fault, protecting you from electric shock.
By following these steps, you can ensure that your wet/dry vacuum is properly prepared for water removal. This will help prevent any damage to the vacuum and ensure safe operation during wet cleaning tasks.
Steps for Vacuuming Water from Different Surfaces
The process of vacuuming water may vary depending on the surface you’re dealing with. Whether you have water spread across a floor or need to remove large quantities of standing water, the steps outlined below will guide you through the process.
Vacuuming Water spread across a Floor
If you have water spread across a floor, follow these steps:
- Place the nozzle on top of the water.
- Hold the nozzle in place until the water is depleted.
- Move the nozzle to a new section and repeat the process until all the water is gone.
Vacuuming water in this manner allows the suction power to effectively lift the water from the floor. By keeping the nozzle in one spot until the water is drained, you can ensure thorough removal.
Removing Large Quantities of Standing Water
In situations where there are large quantities of standing water, follow these steps:
- Place the nozzle on top of the water.
- Let the vacuum do the work by allowing it to suck up the water.
With the nozzle in direct contact with the water, the vacuum’s suction power will efficiently remove the standing water. Avoid using the extension wand if possible, as it might make the water removal process more challenging.
Remember, after vacuuming the water, it’s essential to properly dispose of the water and clean and dry the vacuum canister and accessories to prevent any potential damage or unwanted odors.

Conclusion
Wet/dry vacuums are highly versatile cleaning tools that can handle water removal and a wide range of other household tasks. With the right steps and proper care, you can effectively use these vacuums to remove water from your home and keep it clean and dry.
One important aspect of maintaining your wet/dry vacuum is cleaning it thoroughly after each use. This not only helps remove any remaining water but also prevents the growth of mold and mildew, ensuring a healthy environment in your home. Remember to empty and clean the canister, wash the filters, and wipe down the accessories.
To ensure easy access and convenience, consider storing your wet/dry vacuum in a location where you frequently need to use it. This way, you can quickly grab the vacuum whenever you have water-related cleaning tasks or other cleaning needs.
Take advantage of the various features and attachments available with wet/dry vacuums. Whether it’s tackling wet spills, dry debris, or even unclogging drains, these versatile cleaning tools have got you covered. Explore the different accessories specifically designed for different cleaning tasks and make the most of your wet/dry vacuum’s capabilities.
FAQ
How do I prepare my wet/dry vacuum for water removal?
Before using your wet/dry vacuum for water removal, remove the bag and dry filter. If your vacuum has a wet filter, replace the dry filter with the wet filter. Use attachments such as a wet nozzle for wet surfaces. Make sure to plug your vacuum into a GFCI outlet for safety during wet operation.
How do I vacuum water from different surfaces?
For water spread across a floor, place the nozzle on top of the water and hold it in place until the water is depleted. Move the nozzle to a new section until all the water is gone. For large quantities of standing water, place the nozzle on top of the water and let the vacuum do the work. Avoid using the extension wand if possible, as it can make water removal more difficult. After vacuuming, dispose of the water properly and clean and dry the canister and accessories.
What are some tips for using a vacuum that sucks up water?
When using a vacuum that sucks up water, always follow the manufacturer’s instructions and ensure your vacuum is equipped for wet operation. Clean and dry the vacuum thoroughly after each use to prevent mold and mildew growth. Consider storing the vacuum where you use it most frequently for easy access. Take advantage of the various features and attachments available with wet/dry vacuums for different cleaning needs.


Leave a Reply