Taking apart an Electrolux vacuum cleaner can be a simple process if you follow the right steps. Here is a step-by-step guide to help you disassemble your Electrolux vacuum cleaner for efficient cleaning and maintenance.
Key Takeaways:
- Disassembling your Electrolux vacuum cleaner is essential for deep cleaning and maintenance.
- Follow the step-by-step guide provided to easily take apart your Electrolux vacuum cleaner.
- Accessing various components of your vacuum cleaner allows for thorough cleaning and optimal performance.
- Refer to the manufacturer’s instructions for model-specific details and safety precautions.
- Taking the time to disassemble your vacuum cleaner can prolong its lifespan.
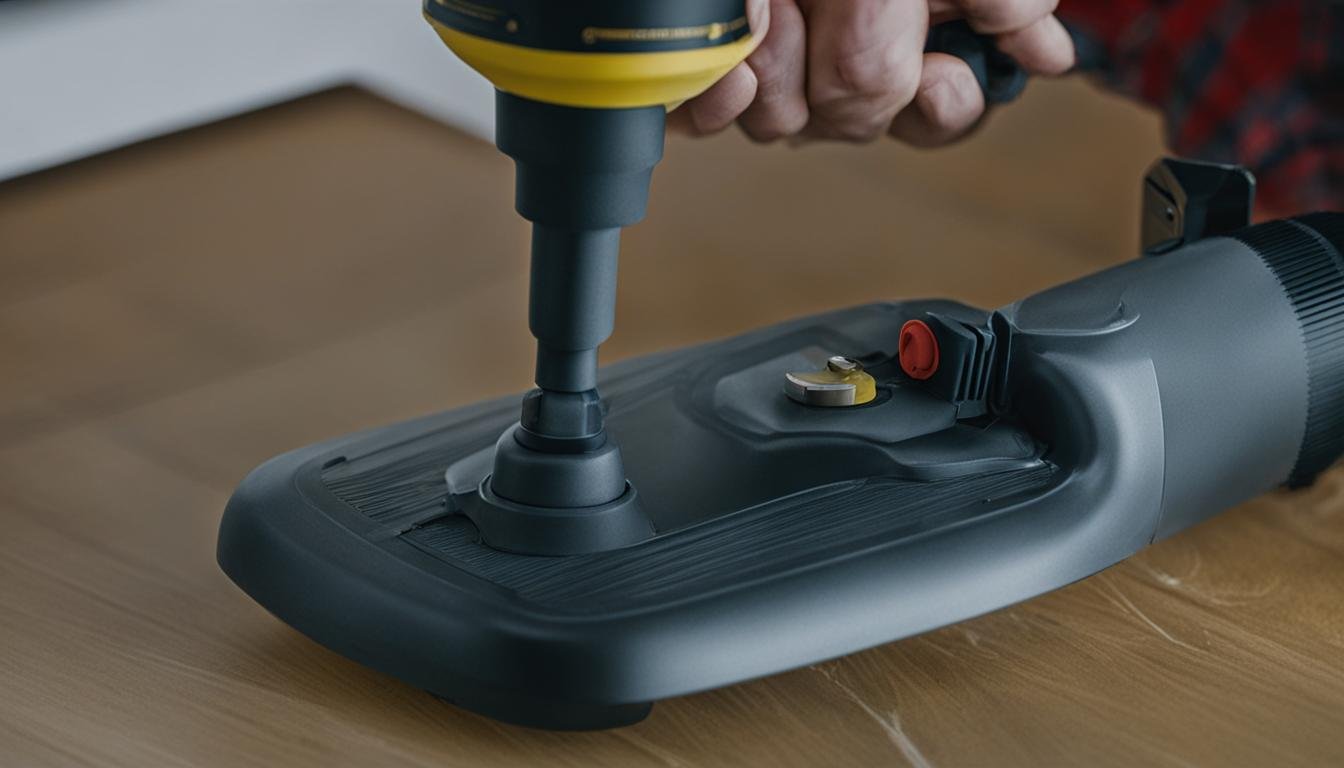
Disassembling the Power Head
To effectively clean and maintain your Electrolux vacuum cleaner, it is crucial to disassemble the power head. Follow these step-by-step instructions to safely remove the parts and gain access to the inner components for thorough cleaning.
Step 1: Flipping the Power Head
Begin by flipping the power head of your Electrolux vacuum cleaner upside down. This will provide easy access to the underside, where essential parts are located.
Step 2: Unscrewing the Power Head
Locate the two screws underneath the power head. They are usually positioned near the brush roll or along the sides. Carefully unscrew these screws using the appropriate screwdriver.
Step 3: Removing the Power Head Cover
Once you have unscrewed the power head, flip it back to its original position. Take extra caution as you gently pry off the cover. This may require a bit of effort, but ensure you do it carefully to avoid any damage.
Step 4: Detaching the Pigtail
Inside the power head, you will find the pigtail, a crucial part that connects the power supply to the motor. With a firm grip, carefully detach the pigtail from its position. It may require a bit more force, so be prepared.
By following these steps, you can successfully disassemble the power head of your Electrolux vacuum cleaner, allowing you to access the motor, brush roll, and other parts for thorough cleaning.
Now that we have disassembled the power head, let’s move on to the next section to learn how to dismantle the hose and accessories of your Electrolux vacuum cleaner for comprehensive maintenance.
Dismantling the Hose and Accessories
To properly maintain your Electrolux vacuum cleaner, it is essential to know how to dismantle the hose and accessories. By disassembling these parts, you can ensure a thorough cleaning and keep your vacuum cleaner in optimal condition.
Follow these steps to take apart the hose and accessories of your Electrolux vacuum cleaner:
- Locate the latch on the side that links the plastic hose to the body of the vacuum cleaner.
- Using your fingers or a small tool, gently release the latch to detach the hose from the body.
- Firmly hold the cardboard head of the vacuum bag and remove it by gently pulling it off.
- Close the vacuum bag door to prevent any dust or debris from escaping.
- Detach the plastic hose from the body, separating it into three sections: the handle, the centerpiece, and the bottom section.
Taking apart the hose and accessories allows you to clean each part individually, ensuring all debris and blockages are removed. This maintenance routine helps improve the overall suction power of your Electrolux vacuum cleaner, keeping it functioning at its best.

Now that you have successfully dismantled the hose and accessories, you can move on to cleaning each part thoroughly. Refer to the manufacturer’s instructions for specific cleaning methods and recommendations.
Conclusion
Disassembling your Electrolux vacuum cleaner is a valuable skill that can greatly benefit your cleaning routine. By following the step-by-step guide provided in this article, you can easily break down your Electrolux vacuum cleaner and gain access to its various components. This allows for a thorough cleaning and maintenance process, ensuring optimal performance and extended lifespan of your vacuum.
Remember to consult the manufacturer’s instructions for your specific Electrolux model, as there might be slight variations in the disassembly process. Additionally, always prioritize safety by unplugging the vacuum cleaner before starting the disassembly.
With the knowledge gained from this guide, you will be able to effectively clean and maintain key components of your Electrolux vacuum cleaner, such as the power head, motor, brush roll, hose, and accessories. Regular disassembling and cleaning will help remove debris, extend the life of your vacuum’s parts, and enhance suction power for an efficient cleaning experience.
So, don’t wait any longer. Take advantage of these disassembling tips to keep your Electrolux vacuum cleaner in top shape and make your cleaning tasks easier and more effective!
FAQ
How do I take apart an Electrolux vacuum cleaner?
To disassemble an Electrolux vacuum cleaner, start by flipping the power head upside down and unscrewing the two screws underneath. Then, flip the power head back and pry off the cover. Remove the pigtail with a bit of force. For more detailed disassembly steps, refer to the step-by-step guide provided in this article.
Why should I disassemble my Electrolux vacuum cleaner?
Disassembling your Electrolux vacuum cleaner allows for efficient cleaning and maintenance. By taking apart the vacuum cleaner, you can access and clean various parts like the motor, brush roll, and hose, ensuring optimal performance and prolonging the lifespan of the appliance.
Are there any safety precautions I should follow when disassembling my Electrolux vacuum cleaner?
Yes, it is important to refer to the manufacturer’s instructions for your specific Electrolux vacuum cleaner model. This will provide you with specific safety precautions to follow when disassembling the appliance. It is also recommended to unplug the vacuum cleaner from the power source before starting the disassembly process.
How often should I disassemble and clean my Electrolux vacuum cleaner?
The frequency of disassembling and cleaning your Electrolux vacuum cleaner will depend on factors such as usage and the amount of dirt and debris it collects. As a general guideline, it is recommended to disassemble and clean your vacuum cleaner every few months or as needed to maintain optimal performance.
Can I wash the parts of my Electrolux vacuum cleaner once disassembled?
Not all parts of an Electrolux vacuum cleaner are safe to wash. It is important to check the manufacturer’s instructions for your specific model to determine which parts can be washed. Some parts may need to be wiped clean with a damp cloth, while others can be rinsed under running water. Always ensure that the parts are thoroughly dry before reassembling the vacuum cleaner.


Leave a Reply