Taking apart a Shark Rocket vacuum cleaner may seem daunting, but with the right instructions, it’s actually a straightforward process. Whether you want to clean hard-to-reach areas or perform maintenance on your vacuum cleaner, this step-by-step guide will walk you through the disassembly process.
By following these instructions, you can ensure that your Shark Rocket vacuum cleaner remains in optimal condition, providing effective cleaning and extending its lifespan. So, let’s dive in and learn how to take apart a Shark Rocket vacuum cleaner!
Key Takeaways:
- Disassembling a Shark Rocket vacuum cleaner is easier than it seems.
- Follow the step-by-step guide to ensure a successful disassembly process.
- Regular cleaning and maintenance will keep your vacuum cleaner performing at its best.
- Taking apart your Shark Rocket vacuum cleaner allows for thorough cleaning of all parts.
- Extend the lifespan of your vacuum cleaner by properly maintaining and cleaning it.
Steps to Disassemble a Shark Rocket Vacuum Cleaner
To disassemble a Shark Rocket vacuum cleaner, follow these steps:
- Step 1: Remove the dust cup: Press the dust cup release button located on the top of the vacuum cleaner. Lift the dust cup off the main body of the vacuum.
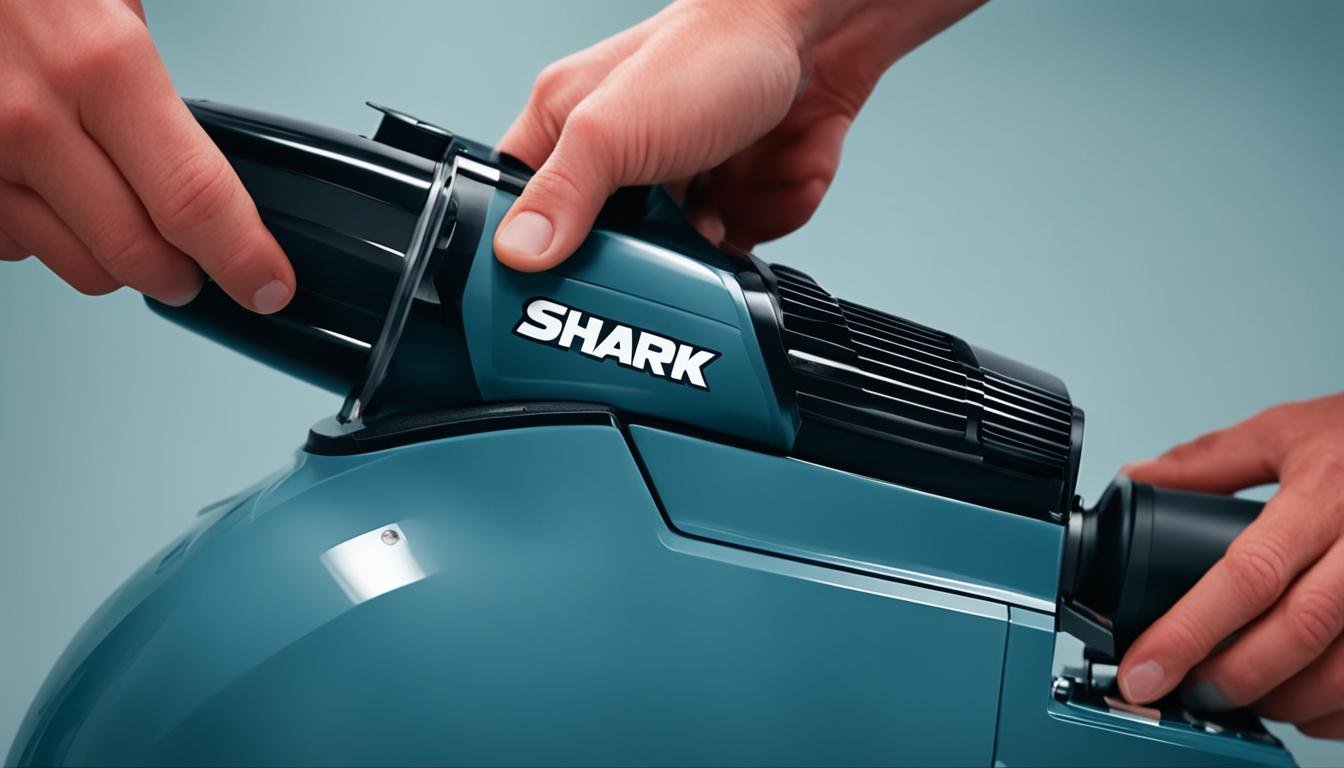
- Step 2: Detach the handheld unit: Locate the release latch on the side of the vacuum near the top of the handheld unit. Press and hold the latch, then gently pull the handheld unit away from the main body of the vacuum.
- Step 3: Separate the brushes and filters: Flip the vacuum cleaner over to access the brush roll and filters. Remove the brush roll by twisting the endcaps and pulling it out. Take out the filters by pressing the release buttons and pulling them free.
- Step 4: Disassemble the nozzle: Remove any attachments or accessories from the nozzle. Unscrew the screws or release the clips securing the nozzle assembly. Carefully pull the nozzle apart into its individual components.
- Step 5: Take apart the handle: If necessary, remove the screws or release any clips holding the handle together. Gently separate the handle into its separate pieces.
Detailed Breakdown of Disassembly Steps
Now that you have a general understanding of the disassembly process for a Shark Rocket vacuum cleaner, let’s dive into a detailed breakdown of each step. Following these instructions will help you effectively break down the vacuum cleaner and clean each component thoroughly.
Step 1: Prepare for Disassembly
Before diving into the disassembly process, make sure to unplug the vacuum cleaner from the power source. This ensures your safety throughout the process. Once unplugged, gather the necessary tools, including a screwdriver and any other specialized tools mentioned in the user manual.
Step 2: Remove the Dust Cup
The first component to remove is the dust cup. This is where all the dirt and debris are stored. To remove the dust cup, locate the release button or latch and push or lift it, depending on the model. Once released, simply pull the dust cup out of the vacuum cleaner.
Step 3: Take Apart the Filters
Next, it’s time to disassemble the filters. Depending on your model, the Shark Rocket vacuum cleaner may have multiple filters, such as the foam filter and the felt filter. Check the user manual for specific instructions on how to remove and disassemble the filters. Generally, the filters can be easily removed by twisting or pulling them out of their designated compartments.
Step 4: Detach the Brush Roll
The brush roll is responsible for agitating and picking up dirt from the floor. To detach the brush roll, flip the vacuum cleaner over and locate the brush roll cover. Remove any screws or latches securing the cover, then lift it off to reveal the brush roll. Gently pull the brush roll out of its housing, taking care not to damage the bristles or belts.
Step 5: Disassemble the Nozzle and Accessories
If you have any detachable accessories or attachments, such as a crevice tool or upholstery brush, now is the time to remove them. Simply detach them from the nozzle or extension wand by pressing the release buttons or sliding them off. This allows for easier access and cleaning of each component.
Step 6: Clean and Maintain
With all the components now separated, it’s time to clean and maintain each part. Use a soft brush or cloth to remove any dust or debris from the filters, dust cup, brush roll, and accessories. If necessary, rinse the filters under running water and allow them to fully dry before reassembling the vacuum cleaner.
Once all the components are clean and dry, follow the disassembly steps in reverse order to reassemble the Shark Rocket vacuum cleaner. Make sure all the parts securely fit back into place before testing the vacuum cleaner.
“Properly disassembling and cleaning your Shark Rocket vacuum cleaner ensures its optimal performance and longevity.” – Me

| Disassembly Component | Steps |
|---|---|
| Dust Cup | 1. Locate release button or latch. 2. Push or lift the release button or latch. 3. Pull the dust cup out of the vacuum cleaner. |
| Filters | 1. Refer to the user manual for specific filter removal instructions. 2. Twist or pull the filters out of their compartments. |
| Brush Roll | 1. Flip the vacuum cleaner over. 2. Locate the brush roll cover. 3. Remove any screws or latches securing the cover. 4. Lift the cover off to reveal the brush roll. 5. Gently pull the brush roll out of its housing. |
| Nozzle and Accessories | 1. Detach any accessories or attachments by pressing the release buttons or sliding them off. 2. Remove the accessories from the nozzle or extension wand. |
Conclusion
Disassembling a Shark Rocket vacuum cleaner is a simple and effective way to maintain its performance and extend its lifespan. By following the step-by-step guide and breaking down the disassembly steps, you can easily clean all the parts of your vacuum cleaner. Regular maintenance and cleaning will not only keep your Shark Rocket vacuum cleaner in top condition but also help maintain its suction power and efficiency.
During the disassembly process, make sure to use caution and follow the instructions carefully. Take note of each component’s position and how it fits together to ensure you can reassemble the vacuum cleaner correctly. Take your time and be gentle when removing and cleaning the different parts, paying extra attention to areas where dirt and debris tend to accumulate.
Once you have cleaned the individual components, thoroughly dry them before reassembling the vacuum cleaner. After reassembly, test the vacuum cleaner to ensure all parts are securely in place and it is functioning correctly. Remember to refer to the user manual for any specific cleaning or maintenance instructions provided by Shark.
By incorporating regular cleaning and proper maintenance practices, you can enjoy the full benefits of your Shark Rocket vacuum cleaner for years to come. Disassembling and cleaning your vacuum cleaner not only improves its performance but also helps maintain a cleaner and healthier environment in your home. So don’t wait any longer, start disassembling and cleaning your Shark Rocket vacuum cleaner today!
FAQ
How do I take apart a Shark Rocket vacuum cleaner?
To disassemble a Shark Rocket vacuum cleaner, follow these steps:
What are the steps to disassemble a Shark Rocket vacuum cleaner?
The steps to disassemble a Shark Rocket vacuum cleaner are as follows:
Could you provide a detailed breakdown of the disassembly steps for a Shark Rocket vacuum cleaner?
Here is a more detailed breakdown of the disassembly steps for a Shark Rocket vacuum cleaner:
Why should I disassemble my Shark Rocket vacuum cleaner for cleaning?
Disassembling a Shark Rocket vacuum cleaner allows for thorough cleaning and maintenance, ensuring optimal performance and longevity.


Leave a Reply