Taking apart a Dirt Devil vacuum cleaner may seem like a daunting task, but with the right tools and a step-by-step guide, it can be a simple and straightforward process. Whether you need to clean the roller brush, check the belt, or perform regular maintenance, disassembling the vacuum cleaner is the first step towards a cleaner and more efficient machine.
Key Takeaways:
- Disassembling a Dirt Devil vacuum cleaner can be done with basic tools and a little patience.
- Removing the screws and disassembling the vacuum head allows access to the roller brush for cleaning.
- Checking the belt and ensuring it is properly attached is essential for the vacuum’s performance.
- Reassembling the vacuum head after cleaning and maintenance is crucial for its proper functioning.
- Regular cleaning and maintenance of the vacuum cleaner’s components help prolong its lifespan and maintain optimal performance.
Understanding the Dirt Devil Vacuum Cleaner
The Dirt Devil company, originally known as the P.A. Geier Company, has a rich history in producing vacuum cleaners since the 1900s. Over the years, vacuum cleaners have undergone significant transformations, becoming more accessible to middle-class households.
Today, Dirt Devil offers a wide range of vacuum cleaners that cater to different cleaning needs. Their extensive lineup includes:
- Cordless vacuums
- Upright vacuums
- Stick vacuums
- Hand vacuums
Each type of Dirt Devil vacuum cleaner is designed with powerful suction capabilities and features superior brushes, ensuring efficient removal of even the most stubborn dirt and debris.
With a Dirt Devil vacuum cleaner, you can confidently keep your home clean and fresh, knowing that you have a reliable cleaning companion by your side.
Stay tuned for the next section where I will provide you with a step-by-step guide on how to disassemble a Dirt Devil vacuum cleaner and effectively clean its various parts.
Step-by-Step Guide to Disassembling a Dirt Devil Vacuum Cleaner
Disassembling a Dirt Devil vacuum cleaner is a crucial step in maintaining its performance and extending its lifespan. In this guide, I will walk you through the process of disassembling your vacuum cleaner and cleaning its various components.
Before you begin, gather the following cleaning materials:
- A dry microfiber cloth
- Dishwashing detergent
- Scissors
- A grout brush
Here are the steps to disassemble and clean your Dirt Devil vacuum cleaner:
- Step 1: Start by unplugging the vacuum cleaner from the power source. If your vacuum has an external battery, remove it as well.
- Step 2: To prevent dirt and debris from falling onto the floor, cover the area with papers or a protective material.
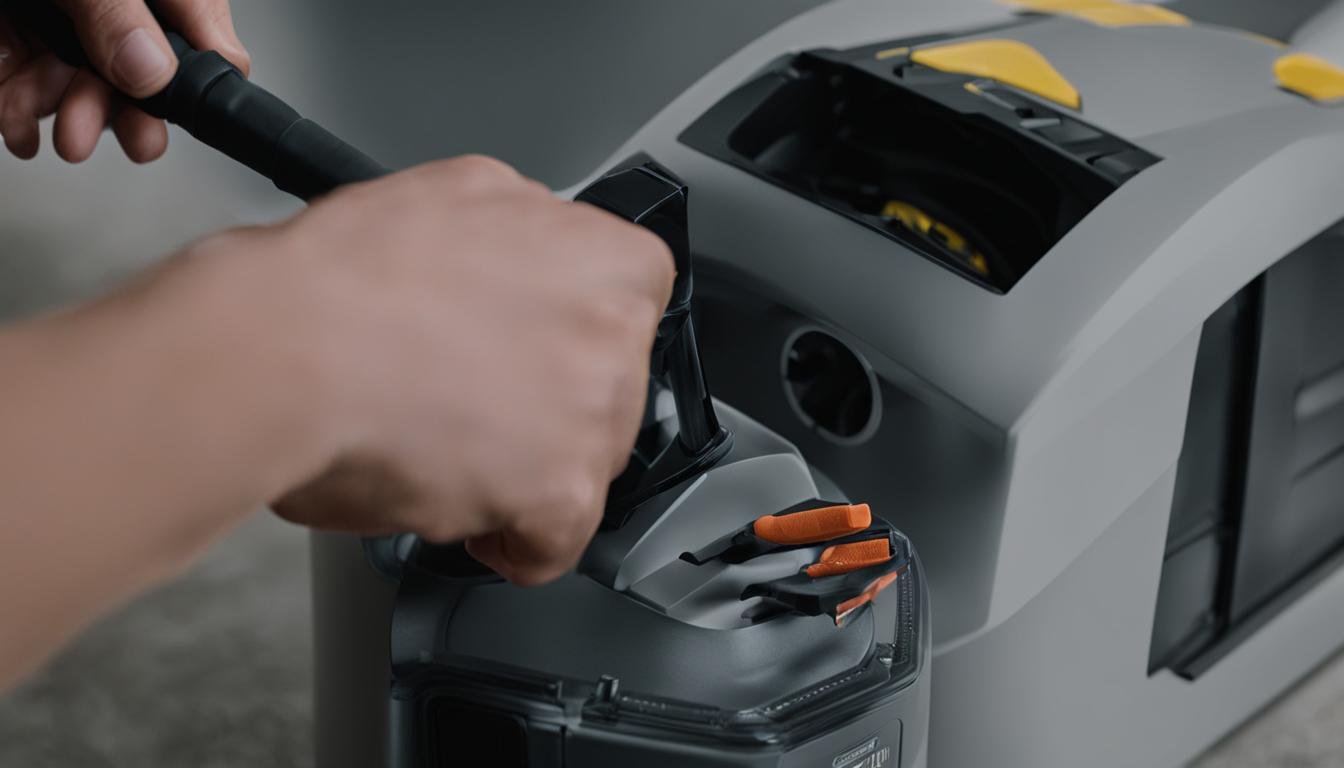
- Step 3: Disconnect the vacuum’s handle by turning the knob clockwise and gently pulling it off.
- Step 4: Unscrew the sections of the handle, making sure to keep track of the screws.
- Step 5: Press the release button to release the canister and empty the dirt cup.
- Step 6: Clean the canister and the filter using a dry microfiber cloth and water with mild detergent.
- Step 7: If allowed by the manufacturer, tap the filter to remove dust and rinse it under warm water.
- Step 8: Detach the metal plate from the brush head by unscrewing it and gently pulling it out.
- Step 9: Finally, dismantle the brush head by removing the screws and clean it thoroughly with a grout brush.
- Step 10: Once all the parts are cleaned and dried, reattach them in the reverse order.
- Step 11: Test the vacuum cleaner to ensure it is working properly.
By following these steps, you can disassemble and clean your Dirt Devil vacuum cleaner effectively, enhancing its performance and maintaining its longevity.
Recommended Frequency for Disassembling and Cleaning:
| Component | Cleaning Frequency |
|---|---|
| Canister and Filter | Every 1-2 months |
| Brush Head | Every 2-3 months |
Regular disassembly and cleaning of your Dirt Devil vacuum cleaner will help ensure optimal performance and prolong its lifespan. Remember to handle each component with care and follow the manufacturer’s instructions for cleaning and maintenance.

Please note that disassembling your vacuum cleaner may void any existing warranties, so make sure to check the manufacturer’s instructions and warranty terms before proceeding.
Conclusion
Taking care of your Dirt Devil vacuum cleaner is essential for maintaining its performance and prolonging its lifespan. By regularly cleaning and maintaining the various components, you can ensure that your vacuum cleaner operates at its best, keeping your home clean and free of dirt and debris.
Following the step-by-step guide provided in this article, you can effectively disassemble and clean your Dirt Devil vacuum cleaner. Remember to handle the vacuum cleaner with care throughout the process, ensuring that all parts are reattached gently to avoid any damage.
Regular cleaning of the canister, filter, brush head, and other parts is crucial for the proper functioning of your Dirt Devil vacuum cleaner. By removing accumulated dirt and debris, you can optimize the suction power and prevent clogs. Additionally, cleaning the roller brush and checking the belt will help maintain efficient performance.
By prioritizing regular maintenance and cleaning, your Dirt Devil vacuum cleaner will continue to serve you well for years to come. So make sure to incorporate these maintenance practices into your cleaning routine and enjoy the benefits of a cleaner and healthier home.
FAQ
How do I take apart a Dirt Devil vacuum cleaner?
To take apart a Dirt Devil vacuum cleaner, start by laying the vacuum cleaner on the floor with the bottom facing upwards. Use a Phillips head screwdriver to remove the screws that hold the vacuum head together. Disassemble the vacuum head, remove the roller brush, and clean it thoroughly. Check the belt and make sure it is securely attached. Finally, reassemble the vacuum head by screwing in all the screws.
What tools do I need to take apart a Dirt Devil vacuum cleaner?
You will need a Phillips head screwdriver to remove the screws that hold the vacuum head together. Additionally, you may need a pair of scissors to cut any built-up hair and debris from the roller brush.
How often should I take apart my Dirt Devil vacuum cleaner for cleaning?
It is recommended to take apart your Dirt Devil vacuum cleaner for cleaning every few months or as needed, depending on the amount of dirt and debris it picks up during use.
Can I clean the filter of my Dirt Devil vacuum cleaner?
Yes, you can clean the filter of your Dirt Devil vacuum cleaner. Tap the filter to remove dust and rinse it under warm water, if allowed by the manufacturer. Allow the filter to dry completely before reattaching it to the vacuum cleaner.
How do I clean the canister of my Dirt Devil vacuum cleaner?
To clean the canister of your Dirt Devil vacuum cleaner, empty the dirt cup and wipe it clean with a dry microfiber cloth. If necessary, wash the canister with mild dishwashing detergent and warm water, and then dry it thoroughly before reattaching it to the vacuum cleaner.
What should I do if my Dirt Devil vacuum cleaner is not picking up dirt effectively?
If your Dirt Devil vacuum cleaner is not picking up dirt effectively, check the roller brush and the belt. Remove any built-up hair and debris from the roller brush and ensure that the belt is securely attached. If the problem persists, consult the manufacturer’s troubleshooting guide or contact customer support for assistance.


Leave a Reply