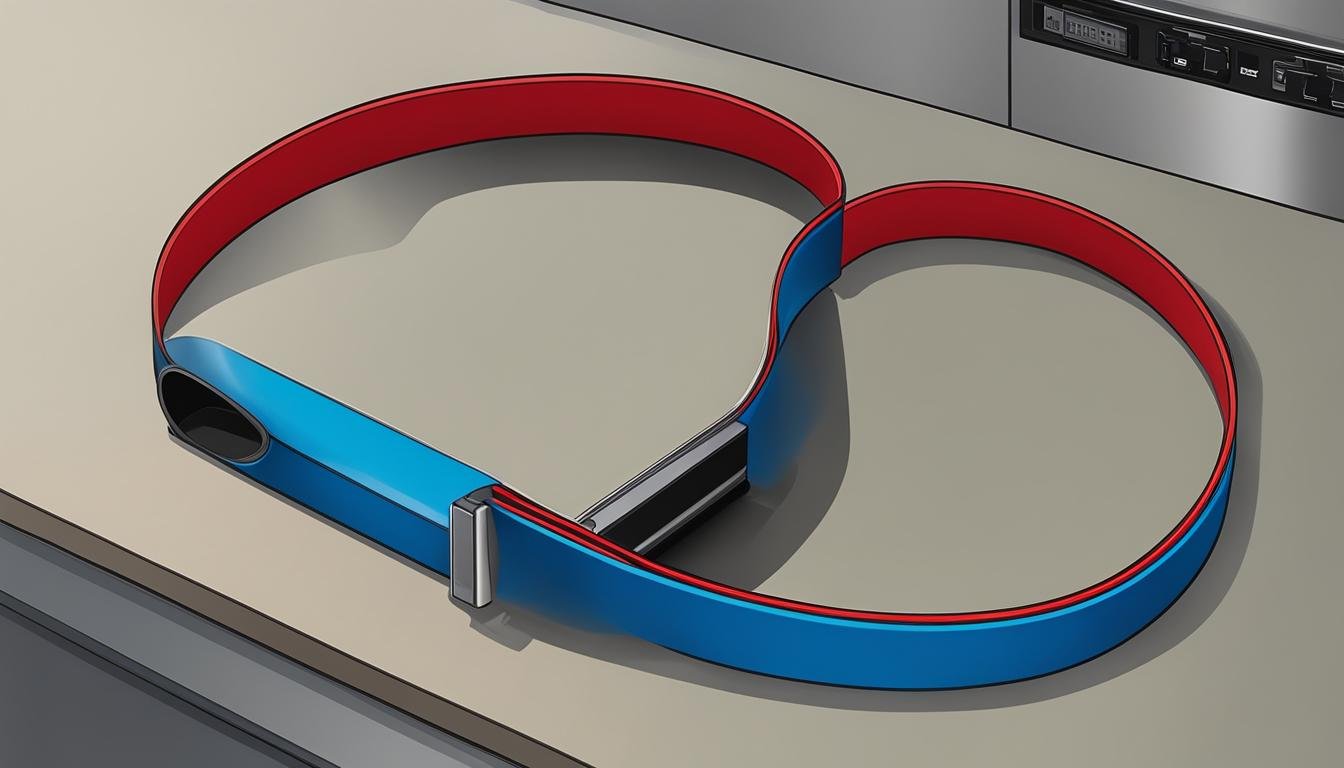
Vacuum cleaner belts are essential components that help drive the brush roll and ensure effective cleaning. Over time, these belts can become stretched and lose their elasticity, leading to reduced performance. However, with a few simple techniques, you can easily shrink a vacuum cleaner belt and restore its optimal functionality.
One effective method to shrink a vacuum cleaner belt is by exposing it to hot water or boiling water. The heat causes the rubber to contract and return to its original size. You can submerge the belt in hot tap water or even boil it in a pot for a few minutes. Alternatively, you can use a blow dryer on the highest heat setting to heat the belt evenly and encourage shrinkage.
By following these techniques, you can ensure a snug fit for your vacuum cleaner belt, enabling it to perform at its best. Whether you have a traditional upright vacuum or a handheld model, these methods can be applied to various types of vacuum cleaner belts.
Key Takeaways:
- Regular maintenance and care of your vacuum cleaner belt are crucial for optimal performance.
- Shrinking a vacuum cleaner belt can help restore its elasticity and effectiveness.
- Exposing the belt to hot water or using a blow dryer’s heat can facilitate the shrinkage process.
- Ensure to follow the correct steps to take out and install a new or shrunk vacuum cleaner belt.
- Properly maintaining your vacuum cleaner belts can prevent future issues and prolong the lifespan of your vacuum cleaner.
Methods to Shrink a Vacuum Cleaner Belt
If your vacuum cleaner belt has become stretched and needs to be resized for optimal performance, there are several effective methods you can use to shrink it. By following these techniques, you can ensure a snug fit and extend the lifespan of your vacuum cleaner belt. Here are some tips for shrinking vacuum cleaner belts:
1. Hot Water Method:
One simple method to make a vacuum cleaner belt smaller is by using hot water. First, place the belt under hot tap water, ensuring it is fully submerged. Allow the heat to work on the rubber, causing it to contract and shrink in size. After a few minutes, remove the belt from the water and let it dry completely before installing it back onto your vacuum cleaner.
2. Boiling Method:
An alternative method is to boil the vacuum cleaner belt. Fill a pot with water and bring it to a boil. Carefully place the belt into the boiling water, ensuring it is fully immersed. Let the belt boil for 10-15 minutes to allow the excessive heat to shrink the rubber. Once the time is up, remove the belt from the pot and let it cool down before reinstalling it.
3. Belt Bending Technique:
When the vacuum cleaner belt is still warm from exposure to hot water or boiling, you can bend it into the desired shape while it cools down. By manipulating the belt while it is still pliable, you can achieve a more customized fit for your vacuum cleaner, ensuring optimal performance.
4. Blow Dryer Method:
If you prefer a quicker way to shrink your vacuum cleaner belt, you can use a blow dryer. Set the blow dryer to the highest heat setting and direct the hot air evenly across the belt. The heat will help the rubber contract and shrink. Move the blow dryer along the entire length of the belt to ensure even distribution of heat. Once the belt has shrunk to the desired size, let it cool down before putting it back on your vacuum cleaner.
By utilizing these methods, you can effectively shrink your vacuum cleaner belt and restore its proper size for optimal performance. Remember to follow the specific instructions for your vacuum cleaner model and exercise caution when using heat sources. Enjoy the benefits of a perfectly fitted vacuum cleaner belt and enjoy efficient cleaning with ease.
How to Take Out and Install a Vacuum Cleaner Belt
Before shrinking or replacing a vacuum cleaner belt, it’s important to know how to properly remove the old belt and install a new one. Follow these step-by-step instructions to easily take out and install a vacuum cleaner belt:
- Access the belt and brush roll area: Start by opening the bottom plate of the cleaner to access the belt and brush roll area.
- Remove the brush roller and old belt: Once the area is accessible, remove the brush roller and carefully detach the old belt, taking note of how it was fixed in place.
- Locate the motor shaft and roller: Typically, the belt is a flat belt held between the motor shaft and the roller.
- Slide the brush roller from the belt loop: Slide the brush roller out of the belt loop to detach it from the old belt.
- Disconnect the belt from the motor: Remove the other end of the belt that is connected to the motor.
- Shorten the belt to the desired size: If necessary, shorten the belt to the desired size using the methods mentioned in the previous sections.
- Install the new belt: Slide the brush roller back into the belt loop and connect the other end of the belt to the motor.
- Reassemble the vacuum cleaner: Finally, reassemble the vacuum cleaner by securing the bottom plate and ensuring all components are properly aligned.
By following these steps, you can confidently take out and install a vacuum cleaner belt, ensuring the proper functioning and longevity of your vacuum cleaner.
Next, let’s explore some key maintenance tips and considerations when it comes to vacuum cleaner belt replacement.
Conclusion
Vacuum cleaner belts play a crucial role in the performance of your vacuum cleaner. Over time, these rubber belts can stretch, resulting in decreased effectiveness. However, the good news is that you can restore optimal performance to your vacuum cleaner by either shrinking the belt or replacing it.
Shrinking the belt can be done using simple methods such as exposing it to hot water or using a blow dryer on the highest heat setting. By evenly distributing heat, you can shrink the belt and ensure a snug fit for better performance. However, if you’re unsure about shrinking the belt, don’t worry – replacing it is always an option.
Replacing a vacuum cleaner belt is a straightforward process that you can easily do at home. The steps involved in changing the belt are similar to those for shrinking it. By regularly checking and maintaining your vacuum cleaner belts, you can ensure proper functioning and prevent future problems.
In conclusion, whether you choose to shrink or replace your vacuum cleaner belt, it’s essential to prioritize its maintenance to keep your vacuum cleaner performing at its best. Don’t let stretched or ineffective belts hinder your cleaning efforts – take action today and enjoy the benefits of a properly functioning vacuum cleaner.
FAQ
How can I shrink a vacuum cleaner belt?
There are several methods you can use to shrink a vacuum cleaner belt. One method is to use hot water. Simply place the belt under hot tap water and let it work. The heat will cause the rubber to shrink and shorten its size in a few minutes. Another method is to boil the belt in a pot of water for 10-15 minutes. This excessive heat will help the belt to shrink even quicker. You can also bend the belt into the desired shape while it is still warm before it cools down. Additionally, using a blow dryer on the highest heat setting can evenly distribute heat and shrink the belt. By following these methods, you can effectively shrink your vacuum cleaner belt to the desired size.
What are some techniques for shrinking a vacuum cleaner belt?
To make a vacuum cleaner belt smaller, you can try exposing it to hot water or boiling water, which causes the rubber to contract and return to its original size. Another technique is to use a blow dryer on the highest heat setting to evenly heat and shrink the belt. These techniques can help ensure a snug fit for optimal performance of your vacuum cleaner belt.
How do I take out and install a vacuum cleaner belt?
To properly take out and install a vacuum cleaner belt, first, open the bottom plate of the cleaner to access the belt and brush roll area. Then, remove the brush roller and the old belt, making sure to remember how it was fixed. The belt is usually a flat belt held between the motor shaft and the roller. Slide the brush roller from the belt loop and remove the other end connected to the motor. After shortening the belt to the desired size, install it back by sliding the brush roller and connecting it to the motor. Finally, reassemble the vacuum cleaner. Following these steps will ensure that you can easily take out and install a vacuum cleaner belt.
Should I shrink or replace a vacuum cleaner belt?
Vacuum cleaner belts are made of rubber and can stretch over time, leading to decreased effectiveness. However, by shrinking or replacing the belt, you can restore optimal performance to your vacuum cleaner. Shrink the belt using methods such as hot water or boiling water, or use a blow dryer to evenly distribute heat and shrink the belt. If you’re unsure about shrinking the belt, you can always replace it. Vacuum cleaner belts can be easily changed at home using similar steps to the ones for shrinking. It’s important to regularly check and maintain your vacuum cleaner belts to ensure proper functioning and to prevent future problems.


Leave a Reply