Setting up a vacuum cleaner may seem like a daunting task, but with the right instructions, it can be quick and hassle-free. This step-by-step guide will walk you through the process of assembling and configuring different types of vacuum cleaners, such as stick vacuums and robot vacuums. We will also provide tips on changing vacuum cleaner attachments to ensure optimal performance.
Key Takeaways:
- Follow the step-by-step guide to assemble and configure your vacuum cleaner.
- Stick vacuums and robot vacuums require different setup processes.
- Regularly clean and maintain your vacuum cleaner attachments for optimal performance.
- Empty or replace the dust bag and clean the filter components as needed.
- Ensure all attachments are dry before reinstalling them onto your vacuum cleaner.
How to Install a Stick Vacuum Cleaner
If you own a stick vacuum cleaner, follow these steps to assemble the components before you start cleaning:
-
Start by installing the battery into the main body, ensuring it clicks into position.
-
Next, insert the retractable metal tube and connect it to the main body.
-
Then, place the roller brush into the brush window and install the motorized floor brush by connecting it to the main body.
-
If your stick vacuum cleaner is bagged, you will also need to install a dust bag before you can start cleaning.
Once you have assembled all the necessary components, your stick vacuum cleaner is ready to use. Simply power it on and start cleaning your floors with ease.
If you are unsure about any of the assembly steps, refer to the user manual provided by the manufacturer for detailed instructions.
Now, let’s take a look at the process of configuring a robot vacuum cleaner in the next section.
How to Configure a Robot Vacuum Cleaner
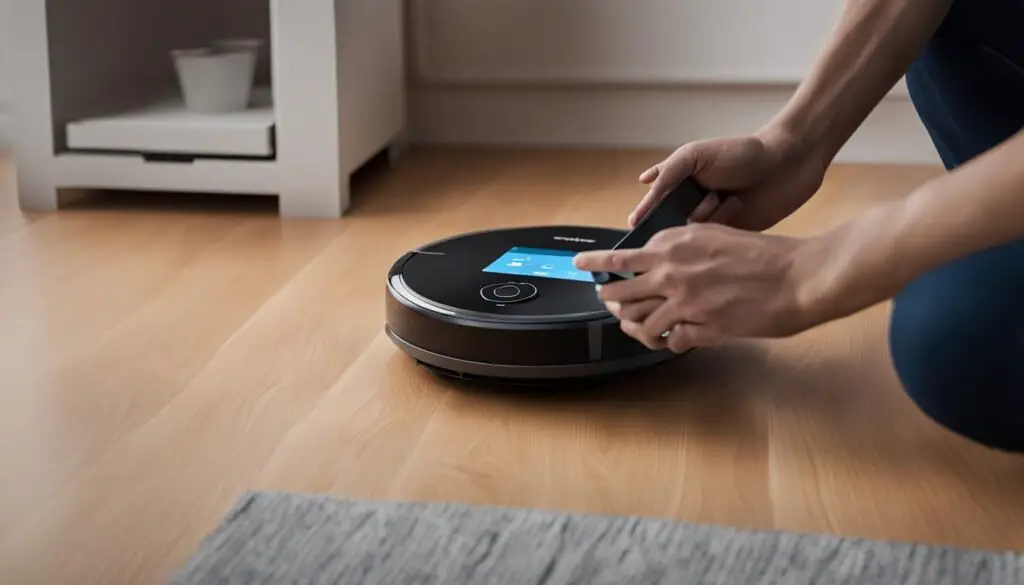
Robot vacuums require a different setup process compared to stick vacuums. To ensure your robot vacuum cleaner functions optimally, follow these step-by-step configuration instructions:
- Remove any protective strips: Before you start configuring your robot vacuum cleaner, carefully remove any protective strips or packaging materials that may be covering the machine.
- Install the side brushes: Attach the side brushes to the designated slots on the sides of the robot vacuum cleaner. Ensure they are securely attached to prevent them from falling off during cleaning.
- Place the roller brush: Insert the roller brush into the brush window of the vacuum cleaner. The roller brush is responsible for picking up dirt and debris from your floors.
- Prepare the charging base: Find a hard and level surface against a wall where you can place the charging base. This will serve as the home base for your robot vacuum cleaner when it needs to recharge.
- Connect the adapter: Connect the adapter to the charging base and ensure the power cable is arranged properly to prevent any damage or tripping hazards.
- Connect to your home network: Depending on the brand and model of your robot vacuum cleaner, follow the provided WiFi connection instructions to connect it to your home network. This will enable you to control and schedule cleaning sessions using a smartphone app.
Once you have completed these steps, your robot vacuum cleaner should be successfully configured and ready to use. Take advantage of the convenience and efficiency that this smart cleaning device offers, ensuring your floors stay clean with minimal effort.

Troubleshooting Tips
If you encounter any difficulties during the configuration process, consult the user manual that came with your robot vacuum cleaner. It often contains troubleshooting tips and additional guidance specific to your device. Alternatively, reach out to the customer support team of the brand you purchased the robot vacuum cleaner from for further assistance.
Comparison Table: Robot Vacuum Cleaner Brands
| Brand | Model | WiFi Connectivity | Mapping Technology | Battery Life |
|---|---|---|---|---|
| Roomba | i7+ | Yes | Smart Mapping | Up to 75 minutes |
| Eufy | RoboVac 30C | Yes | BoostIQ | Up to 100 minutes |
| Shark | ION Robot R75 | Yes | Smart Sensor Navigation | Up to 90 minutes |
How to Change Vacuum Cleaner Attachments
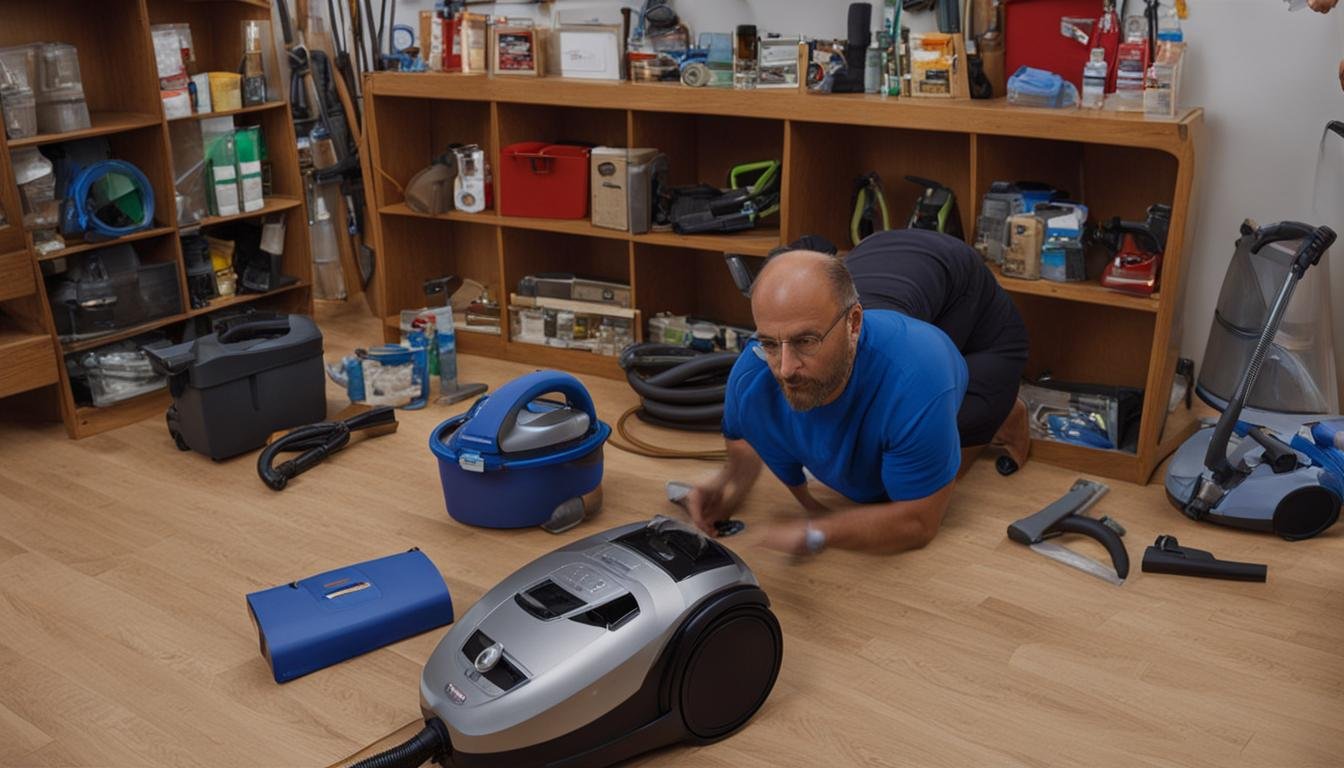
Regular maintenance of your vacuum cleaner attachments is essential for optimal performance. Ensuring your attachments are clean and in good condition will not only enhance the suction power but also extend the lifespan of your vacuum cleaner. Follow these steps to keep your vacuum cleaner attachments in top shape:
Cleaning the Vacuum Hose
To clean your vacuum hose, detach it from the vacuum and carefully remove any visible debris or obstructions. Use a long, flexible brush or a pipe cleaner to gently scrub the interior of the hose, removing any built-up dust or dirt. Rinse the hose with warm water and allow it to air dry completely before reattaching it to your vacuum.
Maintaining Dust Bags and Bins
If your vacuum cleaner uses dust bags, replace them when they are about two-thirds full. This ensures efficient airflow and prevents clogging. For bagless vacuum cleaners, empty the dustbin regularly, even if it’s not completely full. Dispose of the collected debris in a sealed bag to prevent any fine particles from escaping back into the air.
Cleaning Filter Components
Filters play a crucial role in trapping dust and allergens, so it’s important to clean them regularly. Depending on your vacuum model, remove the filter case and clean it using mild soap and water. Allow it to dry completely before reinstalling. Additionally, if your vacuum has a HEPA filter, remove and clean it every 2-3 weeks to maintain optimal performance.
Caring for the Vacuum Brush
The vacuum brush is prone to collecting tangled hair and debris, which can impede its effectiveness. Remove any hair or debris from the brush bristles using a pair of scissors or a brush cleaning tool. If necessary, wash the brush with warm, soapy water and let it dry completely before attaching it back to your vacuum cleaner.
By regularly cleaning and maintaining your vacuum cleaner attachments, you can ensure efficient performance and prolong the life of your vacuum cleaner. Remember to always refer to your vacuum’s user manual for specific instructions on attachment maintenance and care.
FAQ
How do I assemble a stick vacuum cleaner?
To assemble a stick vacuum cleaner, start by installing the battery into the main body, followed by inserting the retractable metal tube and connecting it to the main body. Then, place the roller brush into the brush window and install the motorized floor brush by connecting it to the main body. If your stick vacuum cleaner is bagged, make sure to install a dust bag before using it.
What are the steps to configure a robot vacuum cleaner?
To configure a robot vacuum cleaner, remove any protective strips from the machine and install the side brushes. Place the roller brush into the brush window and insert the whole brush. Prepare the charging base by placing it on a hard and level surface against a wall. Connect the adapter to the charging base and arrange the power cable properly. Follow the WiFi connection instructions provided by your specific robot vacuum brand to connect it to your home network and control it using a smartphone app.
How do I change vacuum cleaner attachments?
To change vacuum cleaner attachments, first, detach the vacuum hose from the main unit and remove any visible debris from it. For bagged vacuum cleaners, replace the dust bag when it is two-thirds full. For bagless vacuum cleaners, empty the dustbin regularly. Clean the filter components, including the filter case and HEPA filter, every 2-3 weeks. Additionally, clean the vacuum brush by removing any tangled hair and debris, and wash it if necessary. Ensure all attachments are thoroughly dry before reattaching them to the vacuum cleaner.
How often should I clean the vacuum cleaner attachments?
It is recommended to clean the vacuum cleaner attachments every 2-3 weeks. This includes cleaning the vacuum hose, replacing or emptying the dust bag or bin, cleaning the filter components, and removing any debris or hair from the vacuum brush. Regular maintenance of these attachments will ensure optimal performance of your vacuum cleaner.


Leave a Reply