Is the plug on your vacuum cleaner cord damaged or no longer working? Don’t worry, with a few simple steps, you can easily replace the plug yourself and get your vacuum cleaner up and running again.
Before you begin, gather the necessary tools, including wire cutters, a replacement plug, and electrical tape. It’s important to note that safety should always be your top priority when working with electrical cords, so make sure to unplug the vacuum cleaner before starting any repairs.
To replace the plug on your vacuum cleaner cord, follow these steps:
- Assess the damage: Start by examining the cord and determining if the plug is the only issue. If the cord itself is damaged, it may be best to replace the entire cord rather than just the plug.
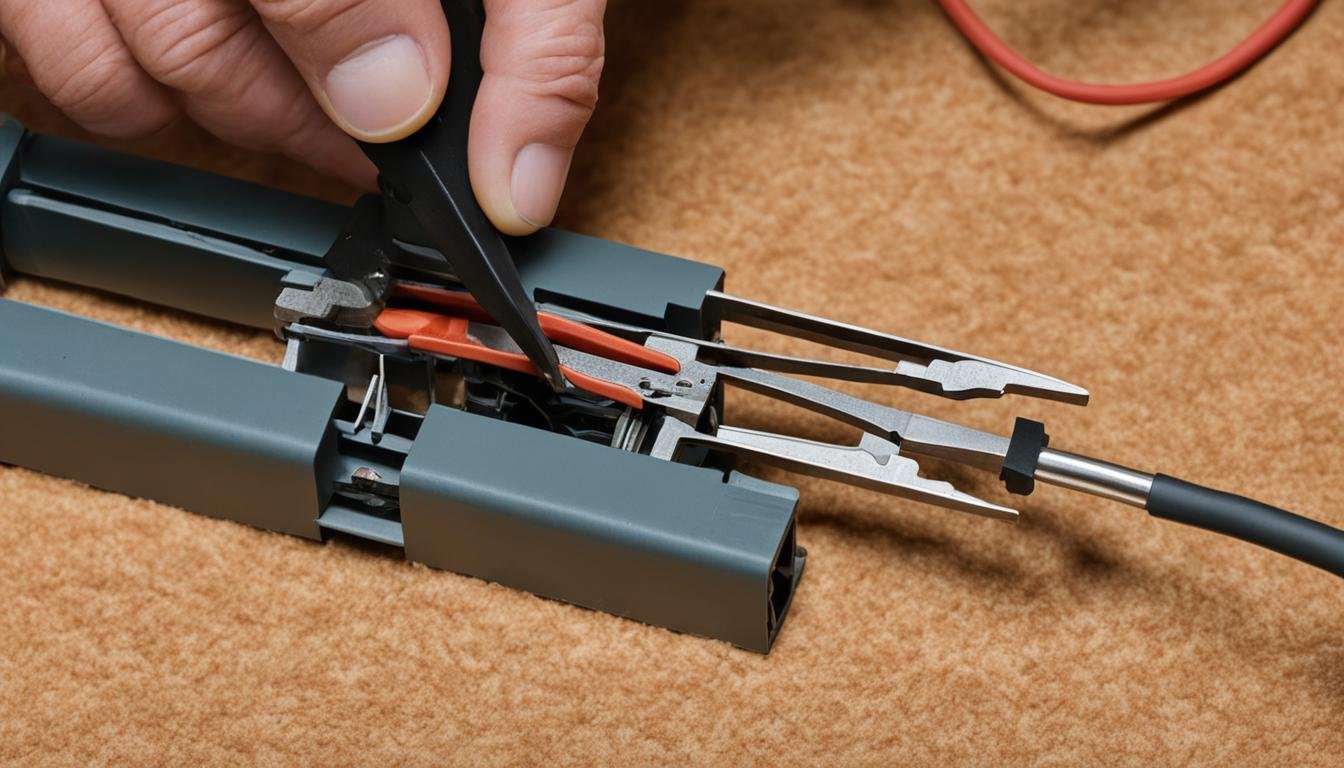
- Cut off the old plug: If the plug is the only problem, use wire cutters to carefully cut off the old plug. Make sure to cut through the cord as close to the old plug as possible without damaging the wires inside.
- Prepare the replacement plug: Before attaching the new plug, check that it matches the voltage rating and amperage of the vacuum cleaner cord. This information can usually be found on the old plug or in the vacuum cleaner’s user manual.
- Strip the cord: Strip off the outer jacket of the cord using wire strippers or a utility knife. Take care not to nick or cut the wires inside. Typically, you’ll need to strip about 1 inch of the outer jacket to expose the wires.
- Attach the wires to the new plug: Open the new plug cover and insert the cord through the plastic cover. Arrange the wires in a U-shape and wrap them around the terminal screws on the plug, following the manufacturer’s instructions.
- Assemble the plug: Carefully tighten the terminal screws to secure the wires in place. Make sure there are no loose wires or exposed copper.
- Test the new plug: Plug in the vacuum cleaner and test the new plug to ensure it is functioning properly. If everything is working as expected, you can now enjoy using your vacuum cleaner with its new plug.
Key Takeaways:
- Assess the damage to your vacuum cleaner cord before replacing the plug.
- Use wire cutters to carefully cut off the old plug.
- Make sure the replacement plug matches the voltage rating and amperage of the cord.
- Strip off the cord’s jacket to expose the wires.
- Wrap the wires around the terminal screws on the new plug.
- Secure the wires in place and double-check for any loose connections.
- Test the new plug to ensure it is working properly before using the vacuum cleaner.
Now that you know how to replace the plug on your vacuum cleaner cord, you can save time and money by DIYing this simple repair. Remember to always prioritize safety and consult a professional if you are unsure or uncomfortable with completing the task yourself.
Types of Electrical Plugs and Polarized vs. Non-Polarized Plugs
When it comes to electrical plugs, there are three major types of straight blade plugs that you may encounter: self-connecting, terminal screw, and three-prong plugs. Each type serves a specific purpose and is designed to meet different electrical needs.
Self-Connecting Plugs
Self-connecting plugs are commonly used in many household appliances. These plugs are designed to snap on easily without requiring any additional tools or wiring expertise. They are typically non-polarized, meaning that they can be inserted into an outlet in either direction.
Terminal Screw Plugs
Terminal screw plugs feature screws on the prongs, which allow for a more secure connection. These plugs are usually polarized, which means that one prong is slightly wider than the other. The wider prong is designed to fit into the neutral slot of the outlet, ensuring the correct alignment of the electrical flow.
Three-Prong Plugs
Three-prong plugs, also known as grounded plugs, are commonly used for appliances that require more power or have a higher risk of electrical shock. These plugs have an additional grounding prong, which provides an additional layer of safety by connecting the appliance directly to the ground, redirecting any potential electrical surges or faults.
It’s important to note that vintage plugs and fabric electrical cords may require more than just plug replacement. In some cases, if the cord is cloth-covered and shows signs of deterioration or contains asbestos insulation, it may be necessary to replace the entire cord to ensure safety and compliance with modern electrical standards.
Understanding the different types of electrical plugs and whether they are polarized or non-polarized can help you make informed decisions when it comes to maintaining and replacing the electrical cords and plugs in your appliances.
Tips for Replacing a Vacuum Power Cord
When it comes to replacing a vacuum power cord, it’s important to follow the right steps to ensure a smooth and successful process. Here are some tips to help you with this task.
First, start by accessing the motor wires on the vacuum. This may require disassembling certain parts of the vacuum to gain access. Take note of the wire orientation and the style of the power cord wires, as this will be useful later in the process.
Next, carefully remove the old power cord from the motor, along with any remaining cord retainers. Pay attention to how the cord was originally installed so you can replicate the same setup with the new cord.
Before installing the new power cord, examine it closely. Make sure it is the correct replacement cord for your vacuum model. If necessary, transfer any cord retaining pieces from the old cord to the new one.
With the new cord ready, proceed to install it by connecting the motor wires to the correct terminals and securing them with screws. Double-check your connections to ensure everything is properly aligned.
Finally, reassemble the vacuum cleaner according to the manufacturer’s instructions. Once everything is back together, test the new power cord to ensure it is working properly before putting your vacuum cleaner back into regular use.
FAQ
How do I replace the plug on my vacuum cleaner cord?
To replace the plug on your vacuum cleaner cord, first assess the damage and determine if the plug is the only issue. If so, cut off the old plug using wire cutters. Then, prepare the replacement plug to match the voltage rating and amperage of the wire. Strip off the cord’s jacket to expose the wires, wrap each wire in a U-shape, and insert the cord into the new plug cover. Wrap the wires around the terminal screws and assemble the plug. Finally, test the new plug by plugging in your appliance to ensure it is functioning properly.
What are the different types of electrical plugs for vacuum cleaners?
There are three major types of straight blade electrical plugs: self-connecting plugs, terminal screw plugs, and three-prong plugs. Self-connecting plugs snap on easily and are usually not polarized. Terminal screw plugs have screws on the prongs and are usually polarized. Three-prong plugs are used for appliances that require more power and have a grounding prong for safety. It’s important to note that vintage plugs and fabric electrical cords may require replacing the entire cord instead of just the plug, especially if the cord is cloth-covered and shows signs of deterioration or asbestos insulation.
What are some tips for replacing a vacuum power cord?
When replacing a vacuum power cord, start by accessing the motor wires on the vacuum by disassembling the necessary parts. Take note of the wire orientation and the style of the power cord wires. Carefully remove the old power cord from the motor and any remaining cord retainers. Examine the new power cord and transfer any cord retaining pieces from the old cord to the new cord. Install the new power cord by connecting the motor wires in the correct terminals and securing them with screws. Finally, reassemble the vacuum cleaner and test the new power cord to ensure it is working properly.


Leave a Reply