Repairing a vacuum cleaner hose is a simple and cost-effective solution to extend the lifespan of your appliance. Whether you’re dealing with a small tear or a significant hole, there are various methods and techniques you can use to fix it. By repairing your vacuum cleaner hose, you can ensure that it continues to efficiently pick up dirt and debris, saving you the hassle and expense of purchasing a new one.
Key Takeaways:
- Repairing a vacuum cleaner hose can help extend the lifespan of your appliance.
- One popular method is using silicone tape to create a strong and durable seal.
- For ducted vacuum hoses, specific steps need to be followed depending on the type of hose.
- Regularly check the repaired area to ensure it is holding up well and reapply tape if necessary.
- Repairing your vacuum cleaner hose can save you money and ensure optimal performance.
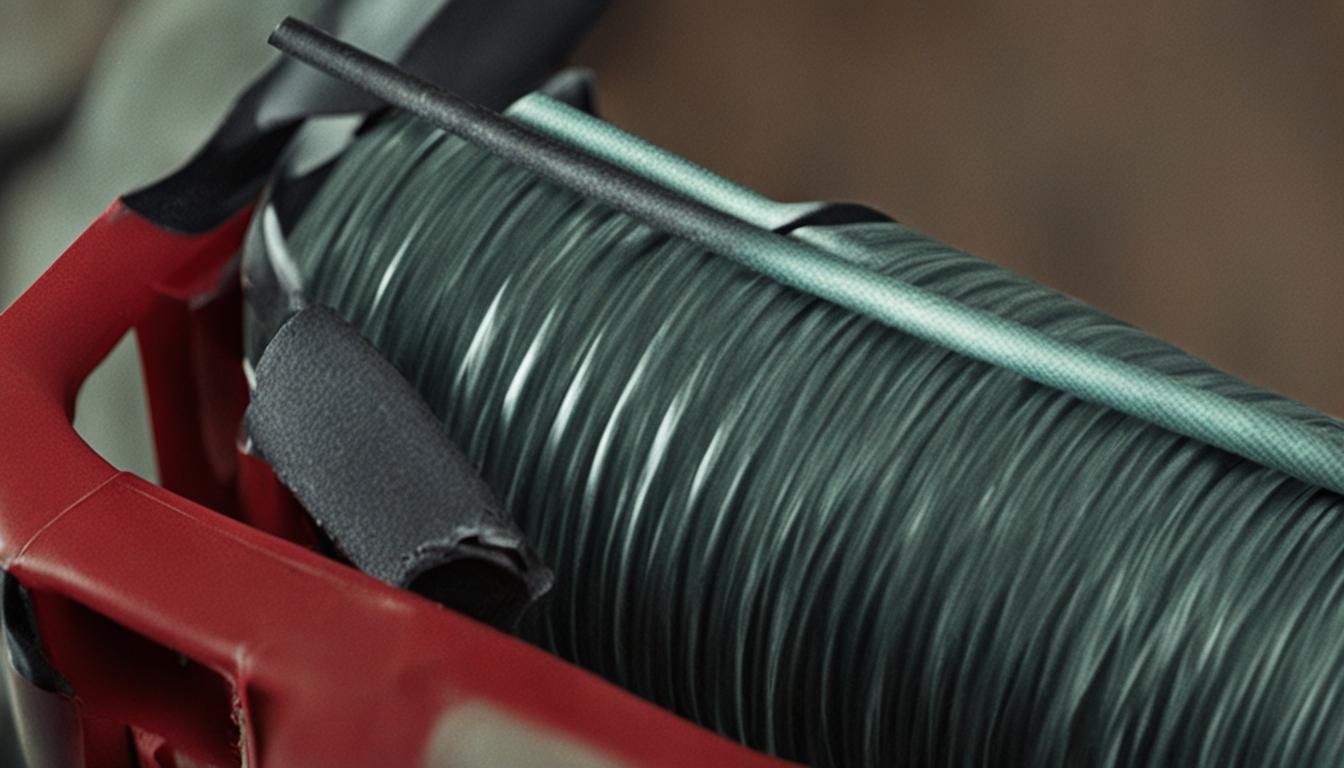
Using Silicone Tape to Repair a Vacuum Cleaner Hose
Silicone tape is a highly flexible and durable material that is ideal for repairing a vacuum cleaner hose. It can be easily molded to fit the contours of the hose and create a secure closure. The tape is resistant to extreme temperatures, water, oil, and other substances, making it suitable for use in various environments.
To apply silicone tape to a vacuum hose, follow these steps:
- Locate the hole or tear in the hose.
- Clean the area around the damaged section to ensure a proper bond.
- Get a piece of silicone tape that is long enough to wrap around the damaged area.
- Begin wrapping the tape around the hose, overlapping each layer slightly.
- Apply firm pressure to ensure the tape adheres properly.
- Smooth out any wrinkles or air bubbles in the tape for a tight seal.
Once the silicone tape has cured, you can use the vacuum cleaner as usual. It is recommended to regularly check the patch to ensure it is holding up well. If you notice any signs of wear or damage, simply reapply the silicone tape to reinforce the repair.
Using silicone tape for vacuum cleaner hose repair offers several advantages. It provides a strong and durable seal, allowing you to use your vacuum cleaner with confidence. Silicone tape is also easy to manipulate and mold, making it user-friendly for DIY repairs. Additionally, its resistance to extreme temperatures and various substances ensures the repair holds up well in different environments.
Repairing Ducted Vacuum Hoses
When it comes to repairing ducted vacuum hoses, the steps will vary depending on the type of hose you have. For standard ducted vacuum hoses that have split near the handle, the process involves cutting away the damaged section and reassembling the remaining hose and handle using a locking ring and collar. This ensures a secure and durable repair. However, it’s important to note that this method may not be suitable for ducted vacuum switch hoses that have a power switch on the handle.
In cases where the switch hose is damaged, it is generally recommended to purchase a new hose instead of attempting a repair. This is because the power switch adds an additional level of complexity to the repair process and may require specific parts and expertise to fix. It’s important to prioritize safety and functionality when dealing with the power switch component of the hose.
If you’re unsure about the type of hose you have or the best course of action for repair, it’s always a good idea to consult the manufacturer’s instructions or reach out to a professional for guidance. Spare parts for ducted vacuum hoses are readily available and can be purchased online or at a local showroom, ensuring you can easily find the components you need for a successful repair.

Comparison of Repair Methods for Different Vacuum Hose Types
| Vacuum Hose Type | Recommended Repair Method |
|---|---|
| Standard Ducted Vacuum Hose | Cut away damaged section and use locking ring and collar to reassemble |
| Ducted Vacuum Switch Hose | Recommended to purchase a new hose |
Conclusion
Repairing a vacuum cleaner hose is a simple and cost-effective solution to extend the lifespan of your appliance. Whether you choose to use silicone tape or follow specific steps for ducted vacuum hoses, the repair process can be completed easily at home with basic tools. By disconnecting the appliance from the mains before starting any repair, you prioritize safety and ensure a smooth process.
By following the step-by-step guide provided in this article and using the appropriate repair method for your specific hose type, you can effectively restore the functionality of your vacuum cleaner hose. Repairing the hose not only saves you money on purchasing a new one but also helps reduce waste and promotes sustainability.
Fixing your vacuum cleaner hose is a practical DIY task that empowers you to take control of the maintenance of your appliance. With the right tools, a little bit of patience, and attention to detail, you can achieve successful repairs and continue to enjoy an efficient and fully functional vacuum cleaner.
FAQ
How can I repair a vacuum cleaner hose?
Repairing a vacuum cleaner hose can be done using methods like using silicone tape or following specific steps for ducted vacuum hoses. It is a simple and cost-effective solution to extend the lifespan of your appliance.
What is silicone tape and how can I use it to repair a vacuum cleaner hose?
Silicone tape, also known as self-fusing silicone tape or Tommy Tape, is a highly flexible and durable material that forms a strong and durable seal. To use silicone tape for vacuum cleaner hose repair, locate the hole or tear in the hose, clean the area, and cut a piece of tape long enough to wrap around the damaged area. Apply the tape firmly and smooth it out to ensure proper adhesion.
How do I repair ducted vacuum hoses?
The steps to repair ducted vacuum hoses depend on the type of hose. For standard ducted vacuum hoses that have split near the handle, the damaged section needs to be cut away, and the remaining hose and handle can be reassembled using a locking ring and collar. However, this method may not work for ducted vacuum switch hoses with a power switch on the handle, in which case it is recommended to purchase a new hose.
Can I repair a vacuum cleaner hose at home?
Yes, repairing a vacuum cleaner hose is a relatively simple DIY task that can save you money on purchasing a new hose. With the right tools and instructions, you can effectively restore the functionality of your vacuum cleaner hose and ensure it continues to work efficiently.


Leave a Reply