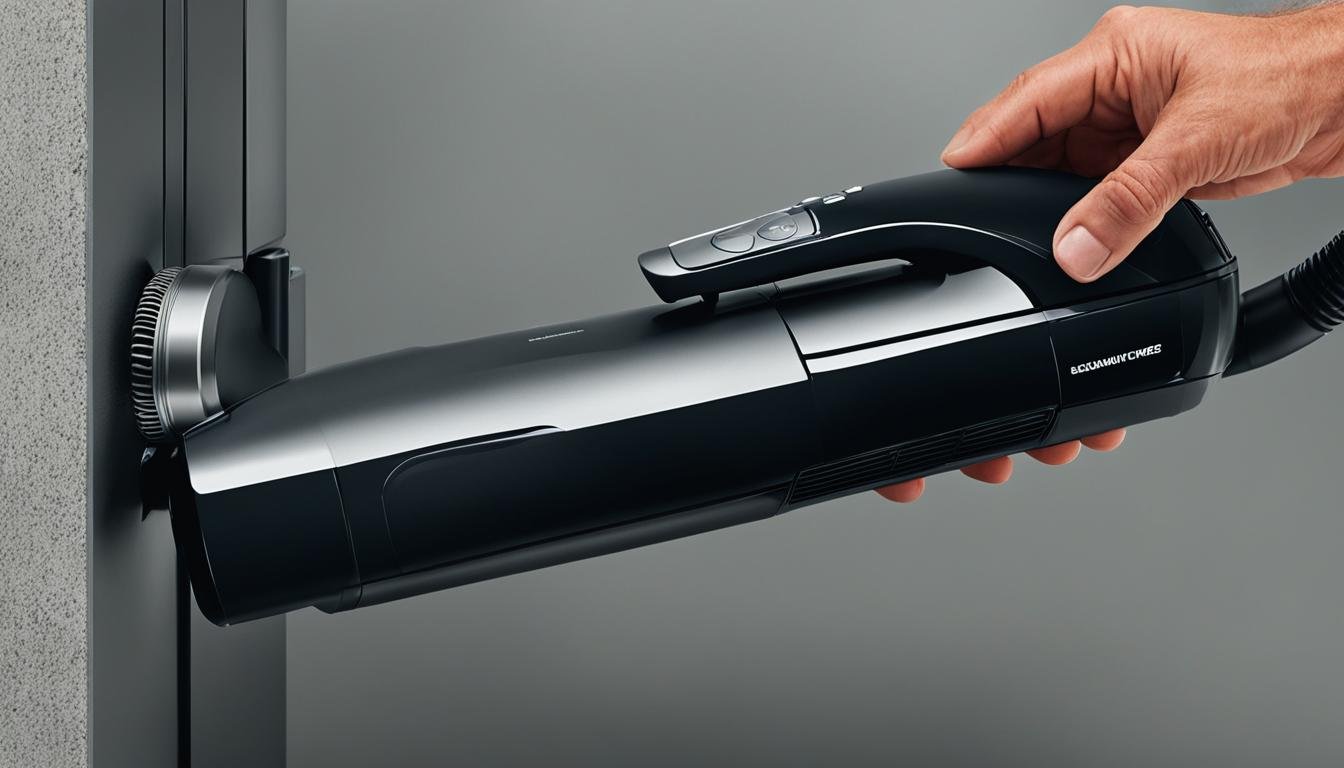
If you’re facing the frustrating problem of a stuck vacuum cleaner attachment that just won’t come off, don’t worry; you’re not alone! Many people have encountered this issue and found effective solutions. Here, I’ll share some tips and techniques on how to remove a stuck vacuum cleaner attachment.
How to remove a stuck vacuum cleaner attachment?
There are several methods you can try to release a stuck vacuum cleaner attachment. One option is to spray WD-40 on the hose to help loosen the attachment. This lubricant can aid in breaking the bond between the stuck parts. Just be sure to clean the area thoroughly afterward to remove any residue.
Another approach is to apply heat to the junction between the attachment and the hose. Use a blow dryer on a low or medium setting to warm up the area, which can help expand the materials and make them easier to separate. However, exercise caution when heating, as some attachments may contain plastic components that can melt or warp.
For a stronger grip, you can try using a padded pipe wrench on the hose while securing the head of the attachment in a vice with padded jaws. With this method, you’ll have more leverage to twist and release the stuck parts. Remember to protect the attachment and hose from scratches or damage by using padding or cloth.
If you’re looking for a convenient solution, consider hiring a maid service that brings their own vacuums. This way, you won’t have to deal with stuck attachments at all, as the professionals will handle the cleaning for you.
Each situation may require a different approach, so don’t be discouraged if the first method you try doesn’t work. Keep experimenting and trying different techniques until you find the one that works best for your specific stuck attachment.
Key Takeaways:
- Spray WD-40 on the hose to lubricate and loosen the stuck attachment.
- Apply heat to the junction using a blow dryer to expand the materials.
- Use a padded pipe wrench and secure the attachment in a vice for added leverage.
- Consider hiring a maid service that brings their own vacuums to avoid dealing with stuck attachments.
- Keep trying different methods until you successfully remove the stuck attachment.
Tips for Preventing Vacuum Cleaner Attachments from Getting Stuck
While it’s frustrating to deal with a stuck vacuum cleaner attachment, there are some preventative measures you can take to avoid this issue. One suggestion is to avoid assembling the attachments too tightly, as this can make them more difficult to separate later on. Additionally, make sure to disassemble the attachments after each use rather than leaving them assembled for long periods of time. This will prevent any buildup or debris from causing the attachments to stick together.
When taking the attachments apart, use a twisting motion rather than pulling straight out to help loosen any potential sticking points. This gentle rotation can help break up any suction or adhesion that may occur. It’s also a good idea to inspect the attachments for any signs of wear or damage. If you notice any cracks or tears in the attachments, it’s best to replace them to avoid any potential sticking.
Some users have found success in roughing up the connections with sandpaper or applying a dry lubricant like wax to reduce friction. By creating a slightly rough surface or adding a layer of lubrication, you can minimize the chances of the attachments getting stuck. Another tip is to ensure that the attachments are properly aligned before attaching them to the vacuum cleaner. Misalignment can cause the attachments to get stuck or jammed, so take a moment to ensure everything is properly aligned before using.
Quote:
“Prevention is the key when it comes to stuck vacuum cleaner attachments. By following these simple tips, you can save yourself the frustration of dealing with a stubborn attachment. Take the time to properly disassemble and inspect the attachments, and use a gentle twisting motion to separate them. With these preventative measures, you’ll have a hassle-free cleaning experience.”
| Preventive Measures | Description |
|---|---|
| Avoid tight assembly | Leaving attachments loosely assembled makes them easier to separate later on. |
| Disassemble after each use | Prevent buildup and debris by regularly disassembling attachments after cleaning. |
| Use a twisting motion | Loosen sticking points by gently rotating the attachments instead of pulling straight out. |
| Rough up connections | Use sandpaper to create a slightly rough surface or apply dry lubricant to reduce friction. |
| Align attachments properly | Ensure proper alignment before attaching to the vacuum cleaner to avoid jamming. |
By following these tips, you can minimize the chances of your vacuum cleaner attachments getting stuck in the future. Remember to regularly inspect and maintain your attachments to keep them in optimal condition.
Conclusion
Dealing with a stuck vacuum cleaner attachment can be a frustrating experience, but there are several solutions you can try to remove the stuck part. Whether you opt for spraying WD-40, applying heat, or using rubber strap wrenches, there are various methods that can help you separate the stuck parts and get your vacuum cleaner back to working order.
However, it’s not just about finding a solution to the problem at hand. Taking preventative measures is equally important to avoid future instances of stuck attachments. One effective way to prevent attachments from getting stuck is to avoid assembling them too tightly. By keeping a looser assembly, you can make it easier to separate the parts when needed.
Another crucial preventative step is to disassemble the attachments after each use. Leaving them assembled for long periods can increase the chances of them sticking together. When taking the attachments apart, it’s recommended to use a twisting motion instead of pulling straight out, as this can help loosen any potential sticking points.
By implementing these preventative measures and utilizing the various solutions provided, you can keep your vacuum cleaner attachments clean and hassle-free. Don’t let a stuck attachment ruin your cleaning routine. With a little care and the right techniques, you can ensure smooth and efficient operation of your vacuum cleaner for years to come.


Leave a Reply