Greetings! Are you struggling to open your Nilfisk vacuum cleaner? Don’t worry, I’m here to help. In this guide, I’ll walk you through the step-by-step process of opening your Nilfisk vacuum cleaner, so you can access and maintain its internal components with ease.
The Nilfisk Multi 20 is a versatile vacuum cleaner designed for home use. It features a drum vacuum type and a dust bag as its dust container. To open the Nilfisk vacuum cleaner, follow these quick and easy steps:
- Start by removing the lid of the front to access the internal components.
- Next, open the whole front to remove the bag and unscrew the bag holder.
- Open the rear to take out the filters and unscrew the holders.
- Remove the rubber band at the hose connection point and pull out the opener in the front.
- Take out the screws inside the wheels and pull the wheels off.
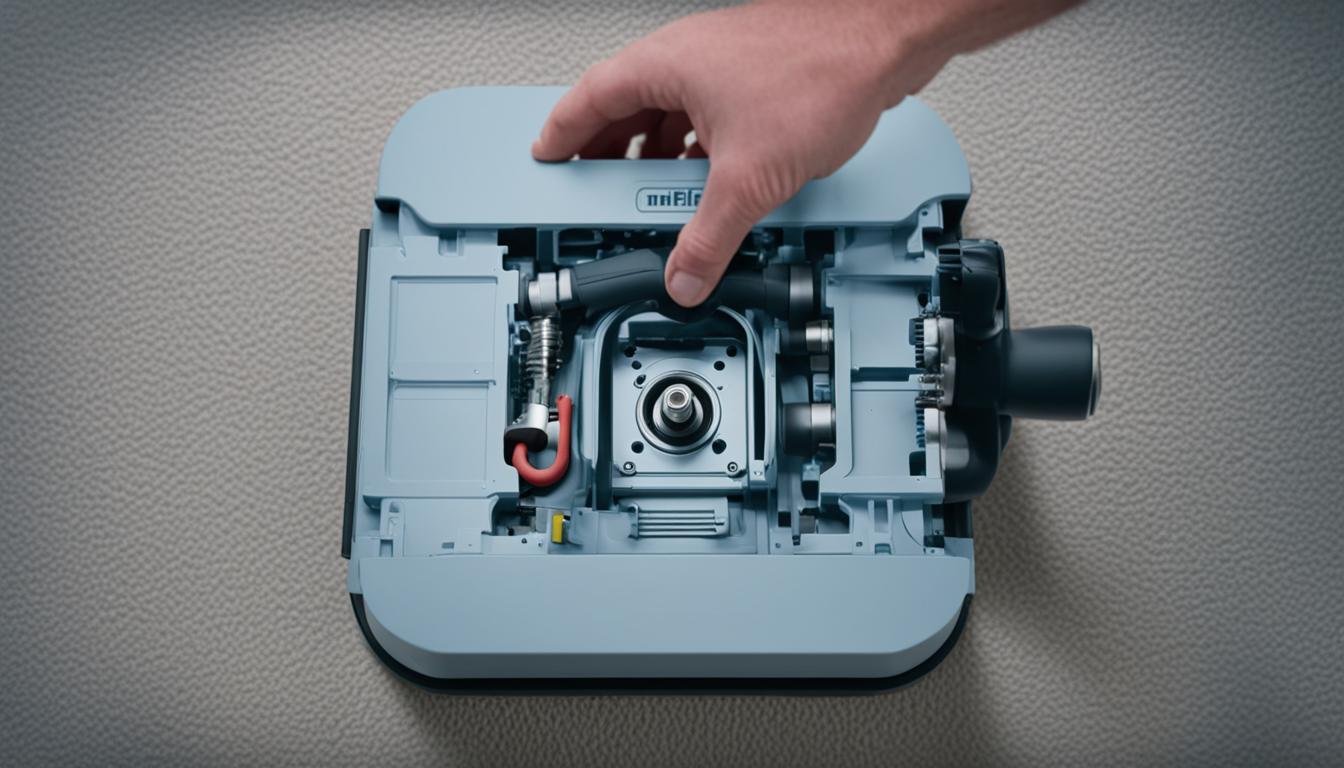
- Continue by taking off the top shelter and removing the screws that hold the plastic case.
- Disconnect the power cable and remove the motor, filters, and other components as needed.
- Finally, disassemble the motor and count all the pieces for a thorough cleaning or maintenance. Remember to weigh all the pieces and cut the top and bottom shelter in half for a complete view of both sides.
Key Takeaways:
- Opening your Nilfisk vacuum cleaner is a simple process that allows you to access and maintain its internal components.
- Removing the lid of the front, opening the whole front, and removing the bag are the first steps to open the Nilfisk vacuum cleaner.
- Unscrewing the bag holder, removing the filters, and disconnecting the power cable are essential for accessing different components.
- Disassembling the motor and counting all the pieces allows for thorough cleaning or maintenance.
- Remember to cut the top and bottom shelter in half for a complete view of both sides.
Troubleshooting and Maintenance Tips for Nilfisk Vacuum Cleaner
If you’re experiencing a loss of suction power with your Nilfisk vacuum cleaner, there are a few common issues you can troubleshoot to restore its performance. By following these maintenance tips, you can keep your Nilfisk vacuum cleaner in excellent working condition.
1. Check Suction Power
First, ensure that the suction power is set to the maximum level. Adjust it accordingly if necessary. Sometimes, a simple adjustment can make a significant difference in suction performance.
2. Empty the Dust Container or Bag
A full dust container or bag can restrict airflow and diminish suction power. Regularly empty the dust container or replace the dust bag to maintain optimal performance.
3. Remove Clogs
Clogs in the hose, brush, or tube can also impede suction. Check and remove any obstructions that might be limiting airflow. This will help restore full suction power to your Nilfisk vacuum cleaner.
4. Clean or Replace Filters
Filters play a critical role in capturing dust and debris, but they can get clogged over time. Clean or replace the filters as needed to prevent a decrease in performance. Refer to the Nilfisk vacuum cleaner’s manual for specific instructions on filter maintenance.
5. Prevent Odors
To prevent odors from developing in the vacuum cleaner, you can sprinkle a small amount of washing powder in the dust container or bag. This will help keep your vacuum cleaner smelling fresh during use.
6. Regular Vacuuming
Vacuuming your house at least twice a week is recommended to maintain a clean and healthy environment, especially for allergy sufferers. Regular vacuuming will prevent excessive buildup in the dust container or bag and enhance the overall performance of your Nilfisk vacuum cleaner.
By implementing these troubleshooting and maintenance tips, you can effectively address common issues and keep your Nilfisk vacuum cleaner operating at its best.
| Problem | Solution |
|---|---|
| Loss of suction power | Check suction power settings and adjust, empty the dust container or bag, remove clogs, clean or replace filters |
| Odors | Put a small amount of washing powder in the dust container or bag |
| Regular maintenance | Vacuum your house at least twice a week |
Assembly and Disassembly Tips for Nilfisk Vacuum Cleaner
Assembling and disassembling your Nilfisk vacuum cleaner is a straightforward process that allows for easy maintenance and customization. Whether you need to clean filters, adjust suction power, or disassemble for thorough cleaning, these tips will guide you through the process.
Assembly Process
1. Start by connecting the hose to the suction inlet on the vacuum cleaner. Ensure a secure fit to prevent any air leaks while in operation.
2. Attach the desired nozzle or accessory to the other end of the hose. This will allow you to customize your cleaning experience based on different surfaces and needs.
3. Before powering on the vacuum cleaner, make sure the dust container is securely in place. This will prevent any debris from escaping during operation.
“The Nilfisk vacuum cleaner allows for easy attachment of different nozzles and accessories, providing versatility for various cleaning tasks.”
4. Once everything is in place, you can confidently power on your Nilfisk vacuum cleaner and start cleaning with optimal performance and efficiency.
Disassembly Process
1. Before disassembling your Nilfisk vacuum cleaner, refer to the instructions outlined in Section 1 for opening the unit. Follow the step-by-step guide to ensure a safe and proper disassembly process.
2. After opening the vacuum cleaner, you can access the internal components for cleaning or maintenance purposes.
“Proper disassembly allows for thorough cleaning and maintenance of the vacuum cleaner’s components, ensuring optimal performance.”
3. When it comes to cleaning the filters, turn off and unplug the vacuum cleaner. Remove the dust container and gently tap or brush the filters to remove loose dust and debris. If necessary, rinse the filters under cold water and allow them to dry completely before reinstalling.
4. To adjust the suction power of your Nilfisk vacuum cleaner, locate the suction control knob on the vacuum cleaner’s body. Simply rotate the knob clockwise to increase suction or counterclockwise to decrease suction power.

Maintenance Tips
Regular maintenance is essential to ensure optimal performance and longevity of your Nilfisk vacuum cleaner. Here are some additional tips:
- Empty the dust container or replace the dust bag regularly to prevent a decrease in suction power.
- Clean or replace filters as needed to maintain optimal performance.
- Check for clogs in the hose, brush, or tube and remove any obstructions to restore proper suction.
- Store your vacuum cleaner in a clean and dry area to protect it from dust and potential damage.
By following these assembly, disassembly, and maintenance tips, you can keep your Nilfisk vacuum cleaner in excellent working condition for years to come.
Conclusion: Proper Care and Maintenance for Your Nilfisk Vacuum Cleaner
Proper care and maintenance are crucial for ensuring the longevity and optimal performance of your Nilfisk vacuum cleaner. By following a few simple tips, you can keep your unit in excellent condition and enjoy efficient and powerful cleaning every time.
One of the most important aspects of maintaining your Nilfisk vacuum cleaner is regularly emptying the dust container or replacing the dust bag. This prevents a decrease in suction power and ensures that your vacuum can effectively pick up dirt and debris. Additionally, cleaning or replacing filters as needed is essential to maintain optimal performance.
It’s also important to pay attention to any signs of clogs in the hose, brush, or tube. Clearing any obstructions will help maintain the airflow and suction power of your vacuum cleaner. Additionally, adjusting the suction power according to your cleaning needs can help optimize performance and prevent any potential damage to delicate surfaces.
When it comes to storage, properly wrapping the power cord around the cord hooks and storing the vacuum cleaner in a clean and dry area is crucial. This protects the unit from dust accumulation and potential damage. It also helps prevent odors and mold growth by emptying the dust container before storing.
By following these simple care and maintenance tips, you can ensure that your Nilfisk vacuum cleaner continues to provide efficient and powerful cleaning performance for years to come. Maintaining your Nilfisk vacuum cleaner properly will not only extend its lifespan but also save you money on costly repairs or replacements.
FAQ
How do I open a Nilfisk vacuum cleaner?
To open the Nilfisk vacuum cleaner, follow these steps: remove the front lid, open the whole front to remove the bag and unscrew the bag holder, open the rear to take out the filters and unscrew the holders, remove the rubber band at the hose connection point and pull out the opener in the front, take out the screws inside the wheels and pull the wheels off, remove the top shelter and unscrew the plastic case holders, disconnect the power cable, and remove the motor and other components as needed. Remember to count and weigh all the pieces and cut the top and bottom shelter in half for a complete view of both sides.
Why is my Nilfisk vacuum cleaner losing suction power?
There are a few potential causes for a Nilfisk vacuum cleaner losing suction power. First, check if the suction power is set to maximum. If not, adjust it accordingly. Another possible reason is a full dust container or dust bag, so make sure to empty it regularly. Clogs in the hose, brush, or tube can also affect suction, so check and remove any obstructions. Additionally, regular filter maintenance is essential to maintain optimal suction. Clean or replace filters as needed to prevent a decrease in performance.
How do I assemble a Nilfisk vacuum cleaner?
To assemble a Nilfisk vacuum cleaner, start by connecting the hose to the suction inlet on the vacuum cleaner. Attach the desired nozzle or accessory to the other end of the hose. Ensure that the dust container is securely in place before powering on the vacuum.
How do I clean and adjust the filters in my Nilfisk vacuum cleaner?
To clean the filters in your Nilfisk vacuum cleaner, turn off and unplug the vacuum cleaner. Remove the dust container and gently tap or brush the filters to remove loose dust and debris. If necessary, rinse the filters under cold water and allow them to dry completely before reinstalling. To adjust the suction power, simply rotate the suction control knob located on the vacuum cleaner’s body. Turn it clockwise to increase suction or counterclockwise to decrease suction power.
How should I care for and maintain my Nilfisk vacuum cleaner?
Proper care and maintenance are essential for keeping your Nilfisk vacuum cleaner in good condition. Regularly empty the dust container or replace the dust bag to prevent a decrease in suction power. Clean or replace filters as needed to maintain optimal performance. Pay attention to any signs of clogs and remove obstructions from the hose, brush, or tube. Disassemble the vacuum cleaner when necessary for thorough cleaning or repair. When storing the vacuum cleaner, wrap the power cord neatly around the cord hooks and empty the dust container to prevent odors or mold growth.


Leave a Reply