Repurpose your old vacuum cleaner by creating a homemade vacuum pump for DIY projects. By following these steps, you can transform a simple vacuum cleaner into a functional pump that can be used for various tasks.
Have you ever wondered what to do with your old, unused vacuum cleaner? Instead of throwing it away, why not give it a new lease on life by converting it into a DIY vacuum pump? Not only will this save you money, but it will also allow you to explore endless possibilities for your DIY projects.
With just a few materials and some basic tools, you can easily repurpose your vacuum cleaner and create a powerful vacuum pump. Whether you need to move water, compress air, or create a vacuum, this homemade pump will get the job done.
Key Takeaways:
- Repurpose your old vacuum cleaner into a DIY vacuum pump for various tasks.
- Saving money by repurposing instead of buying a new pump.
- Easily transform your vacuum cleaner with basic materials and tools.
- Create a powerful pump that can move water, compress air, or create a vacuum.
- Enjoy the satisfaction of completing a DIY project and exploring new possibilities.
Materials and Tools Needed
Creating a vacuum pump from a vacuum cleaner requires a set of essential materials and tools. By gathering these items, you’ll be well on your way to repurposing your vacuum cleaner into a practical DIY vacuum pump.
Materials
- PVC pipe
- Rubber O-rings
- Table saw
- End plug
- Slip cap
- Wooden braces
- 1-1/4″ slip cap
- 1-3/8″ forstner bit
- Coupling
- Reducer bushing
- Short riser
- Threaded Tee
- Paint
Tools
- Table saw
- Adjustable wrench
- Tin snips
- Power drill
With these materials and tools at hand, you’ll be ready to dive into the step-by-step instructions for transforming your vacuum cleaner into a functional vacuum pump.
Building the Vacuum Pump
To convert your vacuum cleaner into a functional vacuum pump, you will need to follow a series of steps to create the necessary components. Here’s a breakdown of the process:
1. Creating the Piston
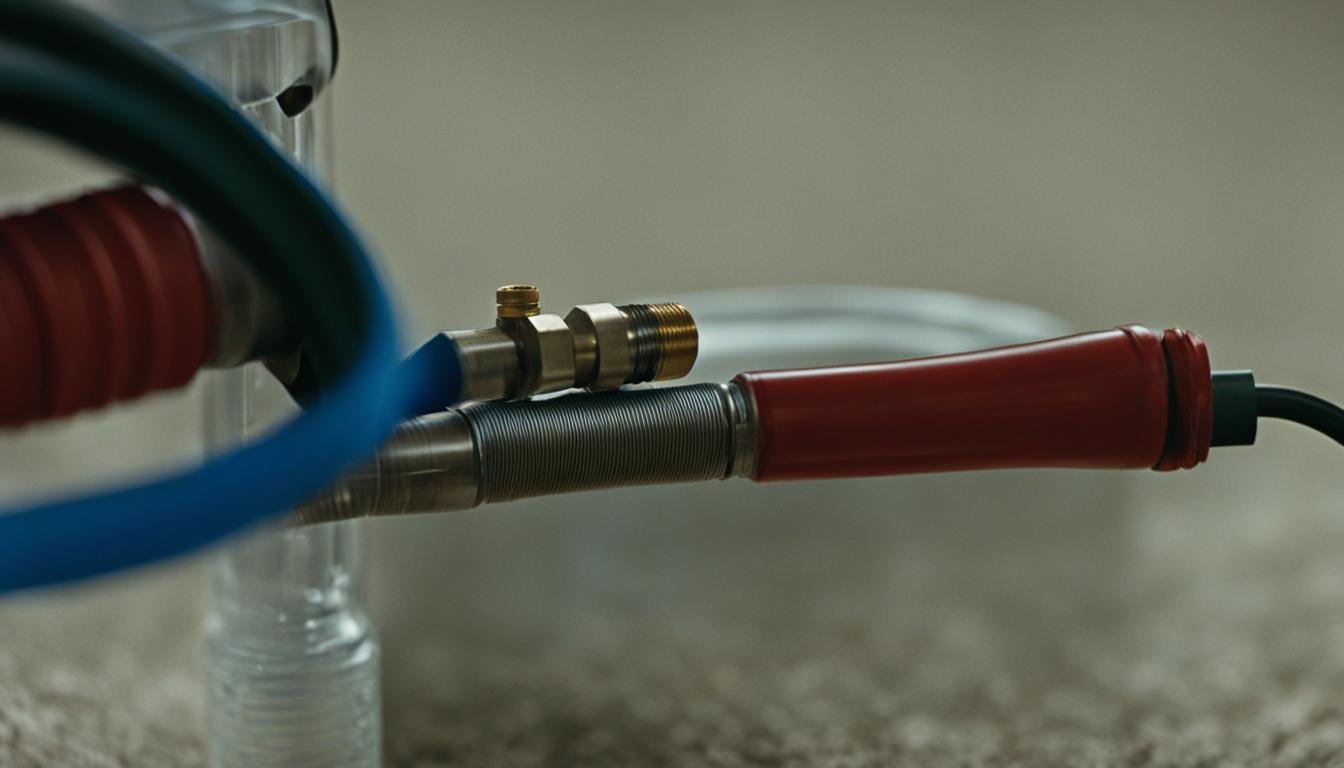
The first step in building the vacuum pump is creating the piston. To do this, you will need a 1″ pipe and a 1-1/4″ PVC pipe. Insert the 1″ pipe into the 1-1/4″ PVC pipe, ensuring a secure fit. This combination will serve as the core of the piston.

2. Adding Rubber O-Rings
To ensure an airtight seal, add rubber O-rings around the piston. These O-rings will prevent leaks and improve the pump’s performance. Place the O-rings at both ends of the 1-1/4″ PVC pipe, creating a secure seal with the 1″ pipe.
3. Constructing the Chamber
The next step is to construct the chamber of the vacuum pump. Use a slip cap and drill a hole in the center to allow air flow. This hole serves as the entry point for the vacuum pressure. The slip cap provides a secure housing for the piston and allows for easy assembly and disassembly.
4. Assembling the Piston and Chamber
With the piston and chamber components ready, it’s time to assemble them. Insert the piston, with the rubber O-rings, into the slip cap chamber. Ensure a snug fit to maintain an airtight seal. The combination of the piston and chamber creates the core mechanism of the vacuum pump.
5. Painting and Cementing
To give your vacuum pump a finished look and protect it from wear and tear, paint the entire assembly. Choose a paint suitable for PVC materials. Once the paint has dried, apply a layer of PVC cement to the joints to further secure the components and reinforce the airtight seal.
6. Final Touches
After the paint and cement have dried, your DIY vacuum pump is now ready for use. It’s advisable to test the pump by attaching it to a power source and observing its performance. Adjustments can be made if necessary to optimize its functionality.
7. Tips and Safety Precautions
When building a vacuum pump from a vacuum cleaner, it’s essential to follow safety precautions and guidelines. Ensure that the power source is disconnected while assembling and modifying the vacuum cleaner. Additionally, make sure to wear protective gear, such as gloves and goggles, to prevent injuries.
Now that you have successfully built your vacuum pump, you can explore its various applications in DIY projects and experiments. Enjoy the benefits of repurposing your old vacuum cleaner into a versatile tool that can create a vacuum, compress air, or move water with ease.
| Steps | Materials Needed | Tools Needed |
|---|---|---|
| 1 | 1″ pipe, 1-1/4″ PVC pipe, rubber O-rings | Table saw, power drill |
| 2 | Slip cap with hole drilled in the center | Tin snips |
| 3 | PVC cement, paint | Adjustable wrench |
Conclusion
Repurposing your old vacuum cleaner into a DIY vacuum pump is a smart and practical way to transform a household appliance into a versatile tool. By following the simple steps outlined in this guide, you can breathe new life into your vacuum cleaner while saving money and reducing waste.
This DIY vacuum pump project opens up a world of possibilities. Whether you need to move water, compress air, or create a vacuum, this homemade pump can handle a variety of tasks. With a little creativity, you can customize the pump to suit your specific needs and tackle a wide range of DIY projects.
Not only is this vacuum cleaner repurposing project cost-effective, but it also promotes sustainability by giving a second life to an item that would otherwise end up in a landfill. By embracing this transformation, you not only save money but also make a positive impact on the environment.
FAQ
What materials and tools do I need to make a vacuum pump from a vacuum cleaner?
To make a vacuum pump from a vacuum cleaner, you will need PVC pipe, rubber O-rings, a table saw, an end plug, a slip cap, wooden braces, a 1-1/4″ slip cap, a 1-3/8″ forstner bit, a coupling, a reducer bushing, a short riser, a threaded Tee, and paint. Additionally, you will need tools such as an adjustable wrench, tin snips, and a power drill.
What is the process for building the vacuum pump?
The process involves creating the piston and chamber, as well as painting and cementing the components together. The piston is created by fitting a 1″ pipe inside a 1-1/4″ PVC pipe and adding rubber O-rings for an airtight seal. The chamber is constructed using a slip cap with a hole drilled in the center. The piston and chamber are then assembled, and the entire pump is painted and cemented for a finished look.
What can I use the DIY vacuum pump for?
The DIY vacuum pump can be used for various tasks, such as moving water, compressing air, or creating a vacuum. It can be modified to suit your specific needs and complete a wide range of DIY projects.


Leave a Reply