Welcome, DIY enthusiasts! In this guide, I will show you how to make a vacuum cleaner handle right at home. Whether you’re looking to replace a worn-out handle or simply want to give your vacuum cleaner a personal touch, this DIY project is perfect for you. By following these step-by-step instructions, you’ll be able to create a custom handle that is both durable and comfortable to use. Let’s get started!
Key Takeaways:
- Creating your own vacuum cleaner handle is a cost-effective way to personalize and extend the lifespan of your vacuum cleaner.
- Gather all the necessary materials and tools before starting the project to ensure a smooth workflow.
- Follow the step-by-step procedure closely, and don’t forget to watch the accompanying video tutorial for a visual demonstration.
- Take pride in your DIY creation and share your experiences on our social media platforms.
- Remember to prioritize safety during the entire process and have fun with your customized vacuum cleaner handle!
Materials and Tools Needed for Making a Vacuum Cleaner Handle
In this section, I will list all the materials and tools you will need to build a homemade vacuum cleaner handle. By gathering these items, you’ll be able to create a custom vacuum handle that suits your needs and preferences. Let’s get started!
Materials:
- High RPM motor
- 12v adapter
- Araldite adhesive
- DC adapter jack
- Plastic bottles
- Thin metal sheet
- Plastic spiral conduit
Tools:
- Screwdriver set
- Wire cutter/stripper
- Hot glue gun
- Drill with bits
- Sandpaper
- Measuring tape
Most of these materials and tools can be found at your local hardware store. However, if you prefer the convenience of online shopping, I recommend checking out reputable websites that offer a wide range of DIY supplies. Here are a few reliable online sources where you can purchase these items:
– Amazon (www.amazon.com)
– Home Depot (www.homedepot.com)
– Lowe’s (www.lowes.com)
Remember, you may also find some of the materials needed for the vacuum cleaner handle project right in your own home. Recycling items like plastic bottles and repurposing materials can be a great way to create a custom vacuum handle while being environmentally conscious.
Now that we have all the necessary materials and tools, let’s move on to the step-by-step procedure for making a vacuum cleaner handle in the next section.
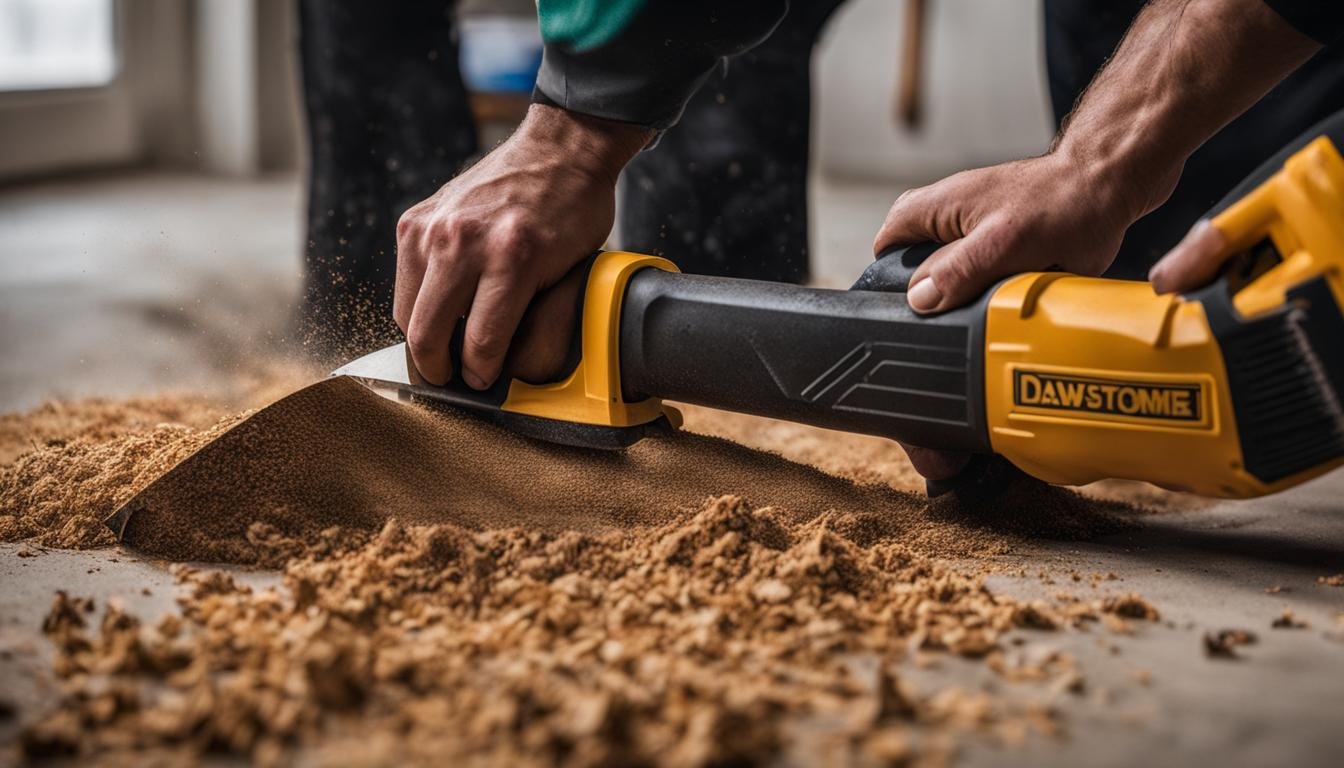
Step-by-Step Procedure for Making a Vacuum Cleaner Handle
In this section, I will outline the step-by-step procedure for making a vacuum cleaner handle. Follow along with these detailed instructions and reference the images provided for each step. By the end of this tutorial, you’ll have a beautifully crafted vacuum cleaner handle that will give your appliance a stylish makeover and enhance its functionality.
Gather the Materials
Before we begin, make sure you have all the necessary materials on hand:
- High RPM motor
- 12v adapter
- Araldite adhesive
- DC adapter jack
- Plastic bottles
- Thin metal sheet
- Plastic spiral conduit
Create the Dust Collector
Start by constructing the dust collector for your vacuum cleaner handle:
- Take a plastic bottle and cut off the bottom.
- Create a small hole in the bottle cap and insert the plastic spiral conduit.
- Secure the conduit in place using Araldite adhesive.

Build the Propeller Mechanism
Next, assemble the propeller mechanism for efficient suction:
- Attach the high RPM motor to the plastic bottle, near the opening.
- Connect the motor to the 12v adapter using the DC adapter jack.
- Secure the motor and adapter in place with Araldite adhesive.
Construct the Vacuum Cleaner Body
Now it’s time to create the body of the vacuum cleaner handle:
- Cut a section from a plastic bottle to serve as the handle.
- Attach the handle to the dust collector assembly, ensuring a tight seal.
- Shape a thin metal sheet into a funnel and connect it to the handle for efficient airflow.
Test the Device
Finally, test your homemade vacuum cleaner handle:
- Connect the device to a power source.
- Switch it on and check if the propeller is spinning and creating suction.
- Ensure the dust collector effectively collects debris.
Congratulations! You have successfully made a vacuum cleaner handle from scratch. Now, attach it to your vacuum cleaner and enjoy its improved functionality and revamped appearance. If you need a visual demonstration, be sure to watch the accompanying video for a comprehensive tutorial.
Conclusion
In conclusion, undertaking a DIY vacuum cleaner handle project can be a fulfilling and cost-effective endeavor. By following our comprehensive step-by-step guide, you can create a unique handle that not only withstands wear and tear but also provides comfort during use. This hands-on experience allows you to put your personal touch on your vacuum cleaner, breathing new life into it and prolonging its lifespan.
We encourage you to embrace this vacuum handle DIY project and unleash your creativity. Share your progress, tips, and tricks on our social media platforms, where like-minded enthusiasts can celebrate your achievements and inspire others. With every successful homemade vacuum cleaner handle, you empower yourself to take charge of repairs and enhancements, saving time and money in the long run.
So, why wait? Grab your tools, gather the necessary materials, and dive into this exciting venture. Let your imagination run wild as you craft a custom vacuum cleaner handle that perfectly suits your needs and style. Remember, the satisfaction of transforming everyday items through your own skills is unparalleled. Happy crafting!
FAQ
What materials and tools do I need to make a vacuum cleaner handle?
To make a vacuum cleaner handle, you will need a high RPM motor, a 12v adapter, Araldite adhesive, a DC adapter jack, plastic bottles, a thin metal sheet, and a plastic spiral conduit. These materials can be purchased online or found at home or in a local store.
What is the step-by-step procedure for making a vacuum cleaner handle?
The step-by-step procedure for making a vacuum cleaner handle involves making a dust collector, creating a propeller mechanism, constructing the vacuum cleaner body, and testing the device. Detailed instructions for each step, along with images for reference, can be found in our guide. Watch the accompanying video for a visual demonstration of the process.
Why should I make a vacuum cleaner handle at home?
Making a vacuum cleaner handle at home is a rewarding and cost-effective DIY project. It allows you to create a custom handle that is durable and comfortable to use. By personalizing your vacuum cleaner, you can extend its lifespan and enhance its functionality.
Where can I find more information about making a vacuum cleaner handle?
For more information on making a vacuum cleaner handle, refer to our step-by-step guide and accompanying video. You can also find additional resources and share your experiences on our social media platforms.
Can I use different materials for making a vacuum cleaner handle?
While we recommend using the materials mentioned in our guide for optimal results, you can experiment with different materials as per your preference and availability. Just keep in mind the desired durability and comfort of the handle when choosing alternative materials.


Leave a Reply