Welcome to this step-by-step guide on how to install a Hoover vacuum cleaner belt. Whether you own a Hoover U5458-900 WindTunnel Supreme or a similar upright vacuum cleaner, these simple instructions will help you replace the belt and keep your machine running smoothly. Let’s get started!
To begin, we will access the vacuum belt and brushroll area by removing the bottom plate of the vacuum. This will allow us to easily remove the old belt and install the new one. Keep in mind that the specific steps may vary slightly depending on your vacuum model, but the overall process remains the same.
Now, let’s move on to the detailed steps for installing a new Hoover vacuum cleaner belt:
Key Takeaways:
- Access the vacuum belt and brushroll area by removing the bottom plate of the vacuum.
- Remove the old belt from the brushroll and motor shaft.
- Install the new vacuum belt on the motor shaft and thread the brushroll through the belt.
- Install the brush roller with the belt correctly positioned on it.
- Reassemble the vacuum by replacing the bottom plate.
Step 1: Access the Vacuum Belt and Brushroll Area
The first step in installing a Hoover vacuum cleaner belt is to access the vacuum belt and brushroll area. This is where you’ll find the components that need attention. To access this area, follow these simple steps:
- Start by turning off and unplugging your Hoover vacuum cleaner.
- Place the vacuum cleaner on a flat surface, such as the floor or a workbench.
- Locate the bottom plate of the vacuum. This is the cover that protects the brushroll and the belt.
- Depending on your Hoover model, the bottom plate may be held in place by screws or clips. For the Hoover U5458-900 WindTunnel Supreme, you will find four Phillips screws securing the bottom plate.
- Grab a Phillips screwdriver and carefully unscrew each of the screws counterclockwise to remove the bottom plate.
Once the screws are removed, lift the bottom plate off the vacuum to expose the vacuum belt and brushroll area. This is where the magic happens!
Step 2: Remove the Brushroller and the Old Belt
Once you have accessed the vacuum belt and brushroll area, it’s time to remove the brushroller and the old belt. It’s important to take note of how they are arranged in the vacuum and how they connect to each other. In the case of the Hoover WindTunnel Supreme, the belt is a flat type held between the motor shaft and the brushroller by elastic tension.
Here’s a step-by-step guide on how to remove the brushroller and the old belt:
- Start by pulling the brushroll out of the vacuum, making sure to grip it firmly.
- Once the brushroll is out, slide it out of the belt loop to detach it from the old belt.
- Next, locate the motor shaft and carefully remove the old belt from it, ensuring that it is completely detached.
By following these steps, you’ll be able to remove the brushroller and the old belt from your Hoover vacuum cleaner, preparing it for the installation of the new belt.

Step 3: Install the New Vacuum Belt on the Motor Shaft and Brush Roller
Now that the old vacuum belt has been removed, it’s time to install the new one. If your vacuum model uses a round or flat belt, you may notice that the new belt appears smaller. Don’t worry, this is completely normal. Over time, these types of belts stretch, so the new belt may initially seem tight.
To begin, slide the new belt onto the vacuum motor shaft. Make sure it is positioned securely on the shaft. Then, thread the brush roller through the other end of the belt. This will help to ensure proper tension and alignment between the belt and the brush roller.
Note: The old belt may seem larger due to stretching from use, but the new belt should fit properly.

By following these steps, you can install the new vacuum belt on the motor shaft and brush roller with ease. With the new belt in place, your vacuum will be ready to tackle all of your cleaning needs.
Step 4: Install the Brush Roller With the Belt Correctly Positioned on It
The next step is to install the brush roller with the belt correctly positioned on it. This is an important part of the process as it ensures that the vacuum can effectively pick up dirt and debris. Follow these steps to install the brush roller:
-
Start by locating the brush roller on your vacuum cleaner. This is usually located at the base of the vacuum, beneath the vacuum head.
-
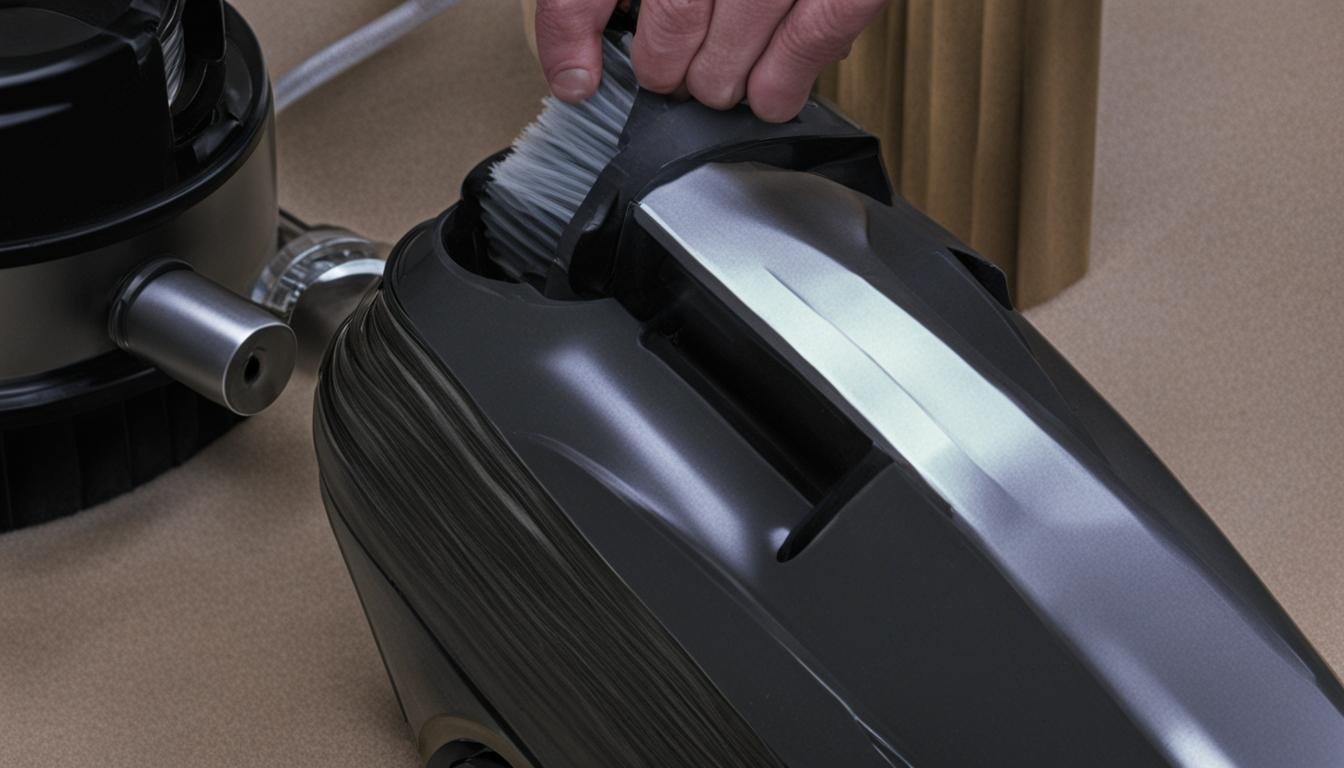
Check the brush roller for any dirt or debris and clean it if necessary. A clean brush roller will perform more efficiently.
-
Now, take the new vacuum belt and position it around the brush roller. Make sure that the belt is correctly aligned and centered on the brush roller.
-
Once the belt is in position, carefully place the brush roller back into its housing. Ensure that the brush roller fits snugly into the slots or notches provided.
-
Use gentle pressure to push the brush roller back into place, making sure that the belt remains correctly positioned on it.
-
Once the brush roller is installed, rotate it manually to ensure smooth movement. This will help to verify that the belt is properly aligned and will function correctly during vacuuming.
By following these steps, you can install the brush roller with the belt correctly positioned on it. This will ensure that your vacuum cleaner operates optimally and provides the desired cleaning results. For more detailed instructions, refer to your vacuum cleaner’s user manual.
Step 5: Reassemble the Vacuum
Now that you have successfully installed the new Hoover vacuum cleaner belt, it’s time to reassemble the vacuum. This step is essential to ensure that your vacuum is fully functional and ready to tackle your cleaning tasks.
To reassemble the vacuum, you need to return the bottom plate or any other housing pieces that were removed to access the brushroll area. For the Hoover WindTunnel Supreme, all you need to do is replace the four Phillips screws and attach the bottom plate back in place.
With the new belt properly installed and the vacuum reassembled, your Hoover vacuum is now ready to be used again. Say goodbye to those dirt and dust particles and enjoy the efficient performance of your freshly maintained machine.
Conclusion
Installing a new belt on your Hoover vacuum cleaner is a straightforward process that can significantly improve its performance and longevity. The step-by-step guide provided above gives you all the necessary instructions to replace the belt with ease. Remember to consult your specific vacuum model’s manual for any additional guidelines or precautions.
Regularly replacing the belt will ensure that your Hoover vacuum continues to operate smoothly and efficiently. A worn-out or stretched belt can lead to reduced suction power and ineffective cleaning. By following the correct installation procedure, you can maintain optimal functionality and extend the lifespan of your Hoover vacuum.
Keep in mind that the specific steps may vary slightly depending on your model, but the overall process remains the same. With proper belt installation and regular maintenance, your Hoover vacuum will continue to keep your home clean and fresh, delivering exceptional results every time you use it.
FAQ
How do I access the vacuum belt and brushroll area?
To access the vacuum belt and brushroll area, you will need to remove the bottom plate of the vacuum. This can usually be done by unscrewing the Phillips screws that secure the plate. Refer to your specific vacuum model’s manual for detailed instructions on accessing this area.
How do I remove the brushroller and the old belt?
After accessing the vacuum belt and brushroll area, you can remove the brushroller and the old belt. Start by pulling the brushroll out of the vacuum and sliding it out of the belt loop. Then, remove the old belt from the motor shaft.
How do I install the new vacuum belt on the motor shaft and brush roller?
To install the new vacuum belt, slide it onto the motor shaft and thread the brushroll through the other end of the belt. Ensure that the belt is securely positioned on both the motor shaft and the brushroller, ready for proper operation.
How do I install the brush roller with the belt correctly positioned on it?
The brush roller should be installed with the new belt correctly positioned on it. Make sure the brushroll is aligned with the vacuum and that the belt is securely positioned on both ends. Some force may be required to pull the brushroll into position with the new belt.
How do I reassemble the vacuum?
To reassemble the vacuum, replace the bottom plate or any other housing pieces that were removed to access the brushroll area. Make sure all the parts are securely fastened according to your specific vacuum model’s instructions.
How can installing a new vacuum belt help maintain the vacuum’s efficiency?
Installing a new vacuum belt can help ensure that the brushroll spins properly, allowing for effective cleaning performance. Regular belt replacements help maintain the vacuum’s overall functionality and extend its lifespan.


Leave a Reply