Is your vacuum cleaner cable not working properly? Don’t worry, fixing it can be easier than you think. In this guide, I will show you step-by-step how to repair a vacuum cleaner cable and get your vacuum up and running again.
To fix a vacuum cleaner cable, you will need to access the motor wires on the vacuum and remove the old power cord wires from the motor. This may involve some disassembly of the vacuum, such as removing the bottom plate, brush roller, and filter housing. Once you have accessed the motor wires, you can remove the old power cord and dress the new vacuum power cord. Finally, reassemble the vacuum cleaner, ensuring all fasteners, housings, and other pieces are securely in place.
Key Takeaways:
- Access the motor wires by disassembling the vacuum cleaner.
- Remove the old power cord wires from the motor.
- Transfer any retaining pieces from the old cord to the new cord.
- Securely reassemble the vacuum cleaner, making sure all wires are not pinched.
- Seek professional help if you’re unsure or uncomfortable with the repair process.
Steps to Fix a Vacuum Cleaner Cable
When your vacuum cleaner cable gets damaged, it’s important to address the issue promptly to ensure the continued functionality of your appliance. By following these steps, you can perform a DIY vacuum cleaner cable fix and avoid the need for a costly replacement.
1. Access the Motor Wires
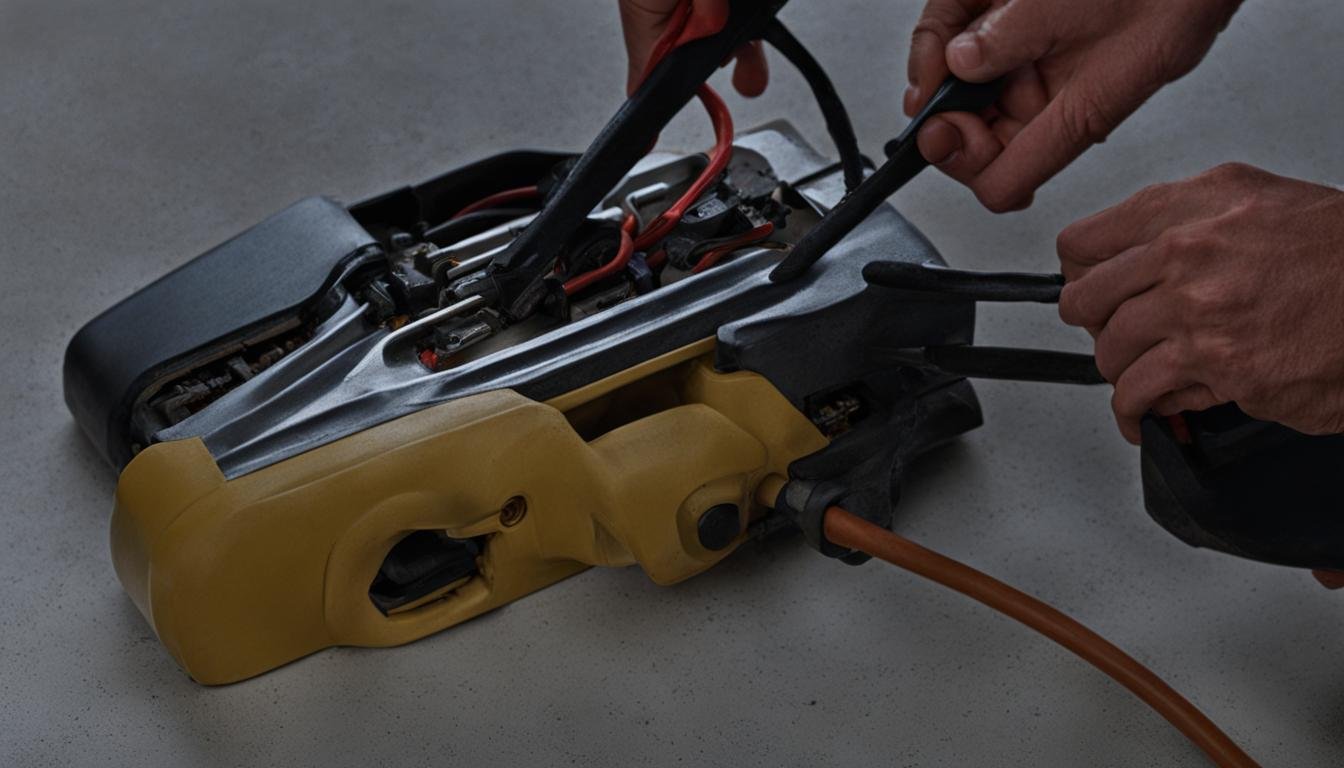
Begin by disassembling the vacuum to access the motor wires. Depending on the model of your vacuum, this may involve removing the bottom plate, brush roller, filter housing, and motor housing. Take caution and refer to the user manual if necessary.
2. Remove the Old Power Cord Wires
Before removing the old power cord wires, carefully inspect their orientation in the motor. It may be helpful to draw a diagram to ensure accurate installation of the new cord. In some vacuums, the power cord wires are held together with twist-on wire caps or terminal fittings that need to be removed.
3. Remove the Old Power Cord
Disassemble any remaining cord retainers holding the old cord in place and carefully pull it away from the vacuum cleaner. Take care not to damage any other components during this process.
4. Dress the New Vacuum Power Cord
Transfer any retaining pieces and other power cord components from the old cord to the new one. Hold the two cords together to estimate the relative positions where the retaining pieces should be installed on the new cord.
5. Install the New Power Cord
Reproduce the orientation of the wires and retainers from before the repair started. Secure the motor wires and ensure any disposable joining pieces are properly connected. Be meticulous in this step to ensure a secure and reliable connection.
6. Secure the Power Cord Retaining Pieces
Duplicate the bends and position of the cord from before the old cord was removed. Return any strain relief and cord retainer to their original positions. Taking these steps will help prevent future strain on the power cord, minimizing the risk of damage.
7. Re-assemble the Vacuum Cleaner
Replace all fasteners, housings, and other pieces of the vacuum to their correct positions. Ensure that all wires are not pinched between housing covers to prevent any potential electrical hazards.
By following these steps, you can successfully fix a vacuum cleaner cable on your own. Remember to prioritize safety at all times when working with electrical appliances.
Conclusion
Fixing a vacuum cleaner cable that is not working can be intimidating, but armed with the right knowledge and steps, it can be a do-it-yourself project. By following the guide on accessing the motor wires, removing the old power cord, dressing the new cord, and finally reassembling the vacuum cleaner, you can restore the functionality of your appliance.
It is important to note that if you are unsure or uncomfortable with the repair process, it is always best to seek the assistance of a professional. Safety should be a top priority when working with electrical appliances, so don’t hesitate to reach out for expert help if needed.
Remember, vacuum cleaner cable repair tips provided in this guide can save you time and money. By taking the necessary steps and precautions, you can effectively fix your vacuum cleaner power cord and have your appliance working smoothly again.
FAQ
How do I fix a vacuum cleaner cable?
To fix a vacuum cleaner cable, you will need to access the motor wires on the vacuum and remove the old power cord wires from the motor. This may involve some disassembly of the vacuum, such as removing the bottom plate, brush roller, and filter housing. Once you have accessed the motor wires, you can remove the old power cord and dress the new vacuum power cord. Finally, reassemble the vacuum cleaner, ensuring all fasteners, housings, and other pieces are securely in place.
What are the steps to fix a vacuum cleaner cable?
The steps to fix a vacuum cleaner cable are as follows:
1. Access the Motor Wires
2. Remove the Old Power Cord Wires
3. Remove the Old Power Cord
4. Dress the New Vacuum Power Cord
5. Install the New Power Cord
6. Secure the Power Cord Retaining Pieces
7. Re-assemble the Vacuum Cleaner
What should I do if my vacuum cleaner cable is not working?
If your vacuum cleaner cable is not working, it may be necessary to troubleshoot and repair the cable. You can try the following steps:
1. Check the power outlet and ensure it is functioning.
2. Inspect the power cord for any visible damage or loose connections.
3. If there are no visible issues, consider replacing the power cord following the steps outlined in the FAQ section above.
4. If the problem persists, it is recommended to consult a professional for further assistance.
Can I replace the vacuum cleaner cable myself?
Yes, you can replace the vacuum cleaner cable yourself by following the steps provided in the FAQ section above. However, if you are unsure or uncomfortable with the repair process, it is advisable to seek the help of a professional to ensure the repair is done correctly and safely.


Leave a Reply