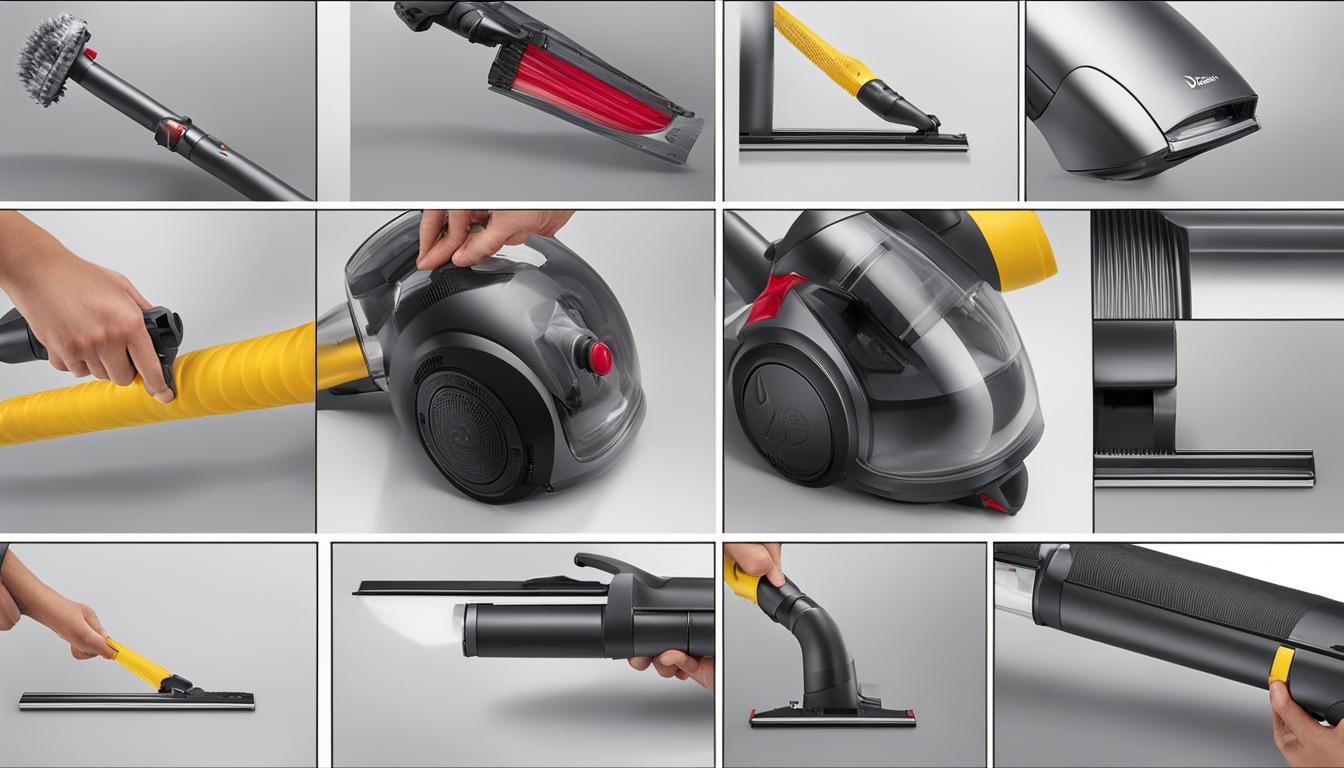
Greetings! In this guide, I will walk you through the process of dismantling a Dyson Ball Vacuum Cleaner. Knowing how to dismantle your vacuum cleaner can be incredibly useful for maintenance purposes. Whether you need to access specific components or replace parts, this step-by-step guide will make the process hassle-free.
The Dyson Ball Vacuum Cleaner is known for its powerful suction and innovative design. It consists of various key systems, including the motor, vacuum head, cyclone, handle, and tube/body. Each component plays a crucial role in the overall performance of the vacuum cleaner.
The motor, encased in the purple ball housing unit, is responsible for the impressive suction power of the Dyson vacuum. The vacuum head employs a belt-driven system, ensuring high efficiency in linear motion transfers. The cyclone, a trailblazing invention by Dyson, effectively filters dust and dirt from the airflow through increased acceleration and pressure drop. The handle is crafted with expertly chosen materials like extruded aluminum and different types of plastics. Additionally, the vacuum’s body features remarkable injection-molded parts and employs Torx screws for assembly.
By disassembling the different components of the Dyson Ball Vacuum Cleaner, you can easily access and replace parts according to your maintenance needs. Now, let’s dive into the detailed step-by-step instructions for dismantling your Dyson Ball Vacuum Cleaner.
Key Takeaways:
- Knowing how to dismantle your Dyson Ball Vacuum Cleaner can simplify maintenance tasks.
- The Dyson Ball Vacuum Cleaner consists of various key systems, including the motor, vacuum head, cyclone, handle, and tube/body.
- The motor, vacuum head, cyclone, handle, and body all contribute to the vacuum’s impressive performance.
- Dismantling the vacuum cleaner allows easy access to components and enables parts replacement.
- Following the step-by-step instructions provided in this guide is crucial to prevent any damage to the vacuum cleaner.
Step-by-Step Instructions for Dismantling a Dyson Ball Vacuum Cleaner
To ensure hassle-free maintenance and repair, it’s important to know how to dismantle your Dyson Ball Vacuum Cleaner. Here is a step-by-step guide to help you disassemble your Dyson vacuum cleaner:
1. Loosen the Grey Covering on the Main Vacuum Stand
Start by twisting the purple center circle on the main vacuum stand counterclockwise. This will loosen the grey covering and give you access to the internal components.
2. Remove the Filter
Twist the filter counterclockwise to loosen and remove it. The filter plays a crucial role in trapping dust and debris, so gently handle it during the removal process.
3. Remove the Side Hemisphere
Use small needle-nose pliers to twist the small gray center of the side hemisphere counterclockwise. This will allow you to remove the entire hemisphere, revealing additional components inside.
4. Access the Interior Components
Remove the screws to access the interior components. This includes the wheels, circuit board, and the white circle. Take care to keep track of the screws and other small parts you remove.
5. Release the Outer Shell
Finally, carefully release the outer shell using a flat-headed metal tool. Gently pry it open to reveal the remaining components of the Dyson Ball Vacuum Cleaner.
By following these steps, you will be able to disassemble your Dyson Ball Vacuum Cleaner and access the internal parts for maintenance or repair purposes. Remember to keep the disassembled parts organized and follow the reverse order to reassemble the device when you are finished.
Conclusion
Dismantling a Dyson Ball Vacuum Cleaner is made easy with the step-by-step guide provided. By carefully following the instructions, you can disassemble the vacuum cleaner without causing any damage to its components. This allows you to access and replace parts as needed for maintenance or repairs, extending the lifespan of your device.
Remember to keep track of the disassembled parts to ensure a smooth reassembly process. Following the reverse order of the instructions, you can put the vacuum cleaner back together effortlessly. Properly maintaining your Dyson Ball Vacuum Cleaner will help it continue to perform at its best and keep your home clean and fresh.
If you encounter any difficulties or have further questions during the dismantling process, don’t hesitate to reach out to the Dyson support team. They are available to assist you and provide the necessary guidance to ensure successful disassembly and reassembly of your Dyson Ball Vacuum Cleaner.
FAQ
How do I dismantle a Dyson Ball Vacuum Cleaner?
To dismantle a Dyson Ball Vacuum Cleaner, follow these steps:
1. Twist the purple center circle on the main vacuum stand counterclockwise to loosen the grey covering.
2. Twist the filter counterclockwise to loosen and remove it.
3. Use small needle-nose pliers to twist the small gray center of the side hemisphere counterclockwise, allowing you to remove the entire hemisphere.
4. Remove screws to access the interior components, including the wheels, circuit board, and white circle.
5. Carefully release the outer shell using a flat-headed metal tool and remove the remaining components.
Why would I need to dismantle my Dyson Ball Vacuum Cleaner?
Dismantling a Dyson Ball Vacuum Cleaner allows you to access and replace parts as needed for maintenance or repairs. It also provides the opportunity to clean and inspect the inner workings of the vacuum for optimal performance.
Is it difficult to dismantle a Dyson Ball Vacuum Cleaner?
Dismantling a Dyson Ball Vacuum Cleaner requires some basic tools and careful attention to detail. By following the step-by-step instructions provided, you can easily dismantle your vacuum cleaner without difficulty.
Can I reassemble my Dyson Ball Vacuum Cleaner after dismantling it?
Yes, after completing the necessary maintenance or repairs, you can reassemble your Dyson Ball Vacuum Cleaner by following the reverse order of the dismantling instructions. Make sure to keep track of the disassembled parts to ensure proper reassembly.


Leave a Reply