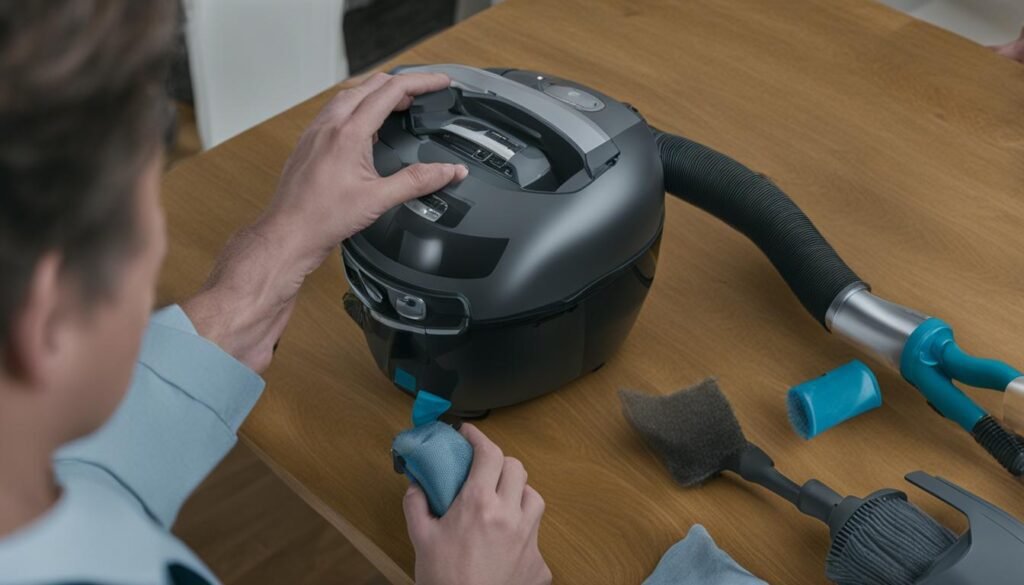
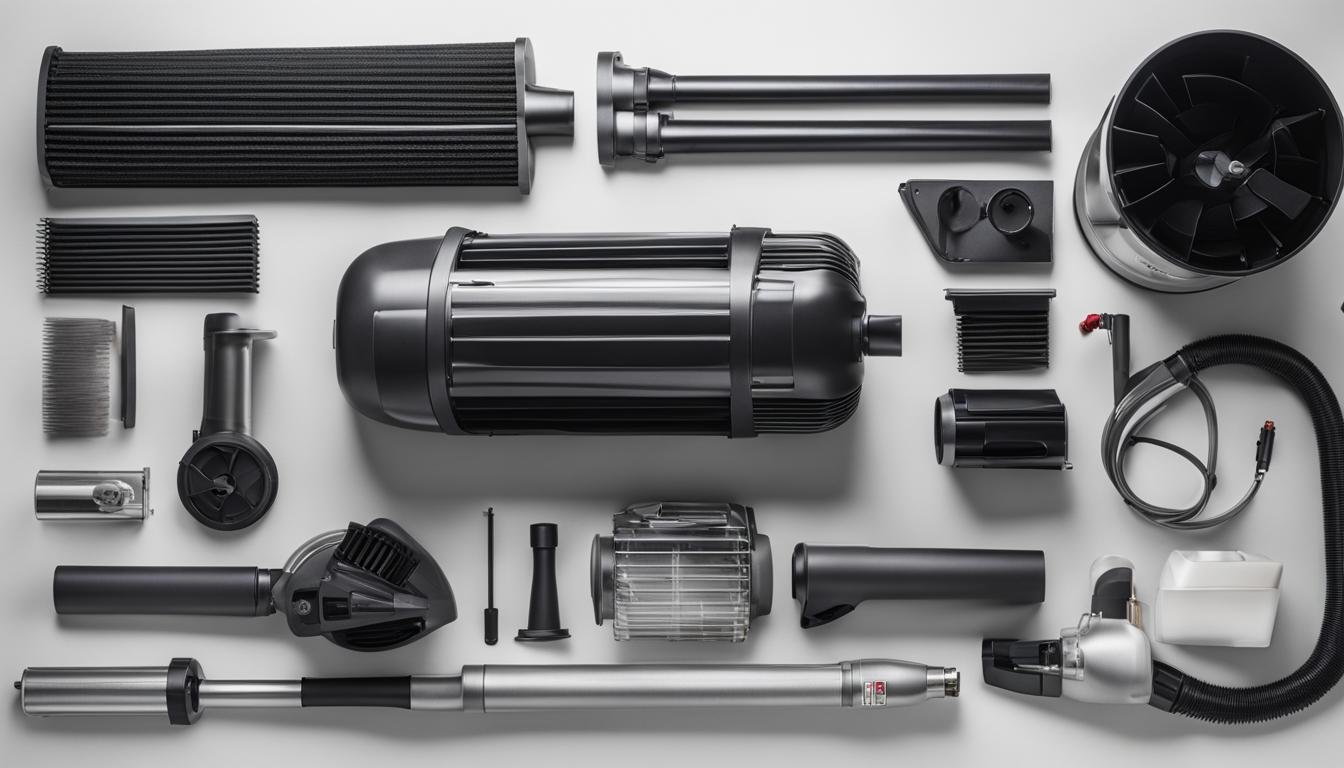
Are you looking to perform maintenance or repairs on your Kirby vacuum cleaner? Dismantling your vacuum can provide easy access to specific parts for cleaning or replacement. In this step-by-step guide, I will walk you through the process of disassembling a Kirby vacuum cleaner.
Key Takeaways:
- Learn how to effectively dismantle your Kirby vacuum cleaner for maintenance or repair purposes.
- Access specific parts easily by following the step-by-step instructions provided.
- Ensure optimal performance and extend the lifespan of your vacuum cleaner through regular maintenance.
- Consult your owner’s manual or contact the manufacturer for any specific questions or concerns.
- Watch video tutorials for visual guidance on changing the belt and replacing the filter bag.
How to Change the Belt and Brush Roll
Regular maintenance of your Kirby vacuum cleaner includes periodically changing the belt and brush roll. This ensures optimal performance and helps prolong the lifespan of your machine. Follow these simple steps to replace the belt and brush roll in your Kirby vacuum cleaner.
- Start by rotating the belt lifter clockwise until the green arrows line up. This will release tension on the belt.
- Unlock the rug plate by pulling the latch located at the top of the nozzle housing.
- Remove the rug plate and set it aside.
- Slide off the old belt from the brush roll and motor shaft. Discard the old belt.
- Take a new belt and slide it onto the motor shaft, ensuring it is properly aligned.
- Next, position the brush roll back into the nozzle housing, making sure the belt loops around it.
- Rotate the brush roll by hand to ensure the belt is properly seated.
- Align the hooks on the rug plate with the slots on the nozzle housing and press it back into place until it locks securely.
- Rotate the belt lifter counterclockwise to the starting position. This will tension the new belt.
Once you have completed these steps, your Kirby vacuum cleaner is ready for use again. For a visual guide, watch the instructional video below.
Watch this video tutorial for step-by-step guidance on changing the belt in your Kirby vacuum cleaner:
Video tutorial: How to Change the Belt in a Kirby Vacuum Cleaner
“Replacing the belt in my Kirby vacuum cleaner has never been easier thanks to this helpful tutorial. The step-by-step instructions made the process quick and hassle-free. I can now enjoy the amazing suction power of my Kirby with confidence!”
Comparison Table: Top Kirby Vacuum Cleaner Belt Replacements
| Belt Model | Compatibility | Material | Price |
|---|---|---|---|
| Kirby Tradition Belt | Kirby Heritage & Classic models | Rubber | $9.99 |
| Kirby Diamond Belt | Kirby Diamond Edition models | Rubber | $12.99 |
| Kirby Ultimate G Belt | Kirby Ultimate G series models | Rubber | $8.99 |
How to Replace the Filter Bag
To maintain optimal performance of your Kirby vacuum cleaner, it’s important to regularly replace the filter bag. Follow these simple steps to ensure a clean and healthy home environment.

- Start by unzipping the outer bag of your Kirby vacuum cleaner and pulling out the top adapter.
- Take a new disposable bag and rest the cardboard faceplate against the bottom of the adapter.
- Secure the faceplate by pressing the tab at the top, ensuring a tight fit.
- Next, connect the bag support strap through the small hole on the adapter.
- Place the entire bag inside the outer bag and close the zipper securely.
By replacing the filter bag, you ensure efficient suction power and prevent dust and allergens from being released back into the air. Consider using a HEPA filter bag for enhanced air filtration, particularly if you suffer from allergies or asthma.
Watch the video tutorial below for visual guidance on replacing the filter bag:
“Replacing the filter bag in your Kirby vacuum cleaner is an essential maintenance task that shouldn’t be overlooked. It helps to maintain the cleaning performance and prolong the lifespan of your machine. Follow these simple steps to ensure a clean and healthy home environment.”
Video Tutorial: How to Replace the Filter Bag
Watch the video tutorial below to see a step-by-step demonstration of how to replace the filter bag in your Kirby vacuum cleaner:
By following these instructions and regularly replacing the filter bag, you can keep your Kirby vacuum cleaner in top condition, ensuring it continues to provide powerful and effective cleaning performance.
Conclusion
Dismantling your Kirby vacuum cleaner is a valuable practice for maintaining its optimal condition. By following our step-by-step guide, you can easily change the belt, replace the filter bag, and access other components for thorough cleaning and repair. Regular maintenance is essential to extend the lifespan of your vacuum and ensure efficient performance.
Remember to consult your owner’s manual or reach out to Kirby for any specific questions or concerns. They are a trusted brand that can provide expert advice on maintenance and troubleshooting. By taking care of your Kirby vacuum cleaner, you can enjoy its powerful cleaning capabilities for years to come.
Implement these cleaning tips for Kirby vacuum cleaners into your regular maintenance routine to keep your vacuum operating at its best. With proper care, your Kirby vacuum can effortlessly tackle everyday dirt and debris, leaving your home clean and fresh.
FAQ
How do I change the belt on my Kirby vacuum cleaner?
To change the belt on your Kirby vacuum cleaner, follow these steps:
1. Rotate the belt lifter clockwise until the green arrows line up.
2. Unlock the rug plate and remove it.
3. Slide off the old belt and replace it with a new one.
4. Ensure the brush roll is properly aligned.
5. Reassemble the power nozzle. For visual guidance, watch a video tutorial.
How do I replace the filter bag in my Kirby vacuum cleaner?
To replace the filter bag in your Kirby vacuum cleaner, follow these steps:
1. Make sure the outer bag is unzipped and the top adapter is pulled out.
2. Take a new disposable bag and rest the cardboard faceplate against the bottom of the adapter.
3. Secure the faceplate by pressing the tab at the top.
4. Connect the bag support strap through the small hole on the adapter.
5. Place the entire bag inside and close the zipper.
For visual guidance, watch a video tutorial.
Why is it important to dismantle a Kirby vacuum cleaner for maintenance?
Dismantling your Kirby vacuum cleaner allows you to access and clean or replace specific parts more easily. Regular maintenance will help prolong the lifespan of your vacuum and ensure efficient performance.
Can I dismantle a Kirby vacuum cleaner for repair purposes?
Yes, dismantling your Kirby vacuum cleaner can also be useful for repair purposes. By disassembling the different components, you can access and replace specific parts that may be causing issues.
Is it necessary to consult the owner’s manual for Kirby vacuum cleaner disassembly?
It is advisable to consult the owner’s manual or contact the manufacturer for specific instructions or guidance when disassembling your Kirby vacuum cleaner. The manual will provide detailed information on how to safely disassemble and reassemble your specific model.
Are there any other maintenance tips for Kirby vacuum cleaners?
Yes, here are a few additional maintenance tips for Kirby vacuum cleaners:
1. Clean or replace the brush roll regularly.
2. Check and clean the hoses for any clogs or blockages.
3. Keep the outer bag and attachments clean.
4. Replace the HEPA filter as recommended by the manufacturer.
5. Schedule regular professional maintenance if needed.


Leave a Reply