Hi there! If you’re looking for a comprehensive guide on how to dismantle a Shark vacuum cleaner, you’ve come to the right place. As an avid Shark vacuum user myself, I understand the importance of regular maintenance to keep your vacuum in top-notch condition.
In this step-by-step guide, I’ll walk you through the process of safely dismantling your Shark vacuum cleaner, ensuring that you can clean those hard-to-reach areas and maintain optimal suction power. So, let’s get started!
Key Takeaways:
- Regularly dismantling your Shark vacuum cleaner allows for thorough cleaning and maintenance.
- Ensure the vacuum is unplugged before beginning the dismantling process.
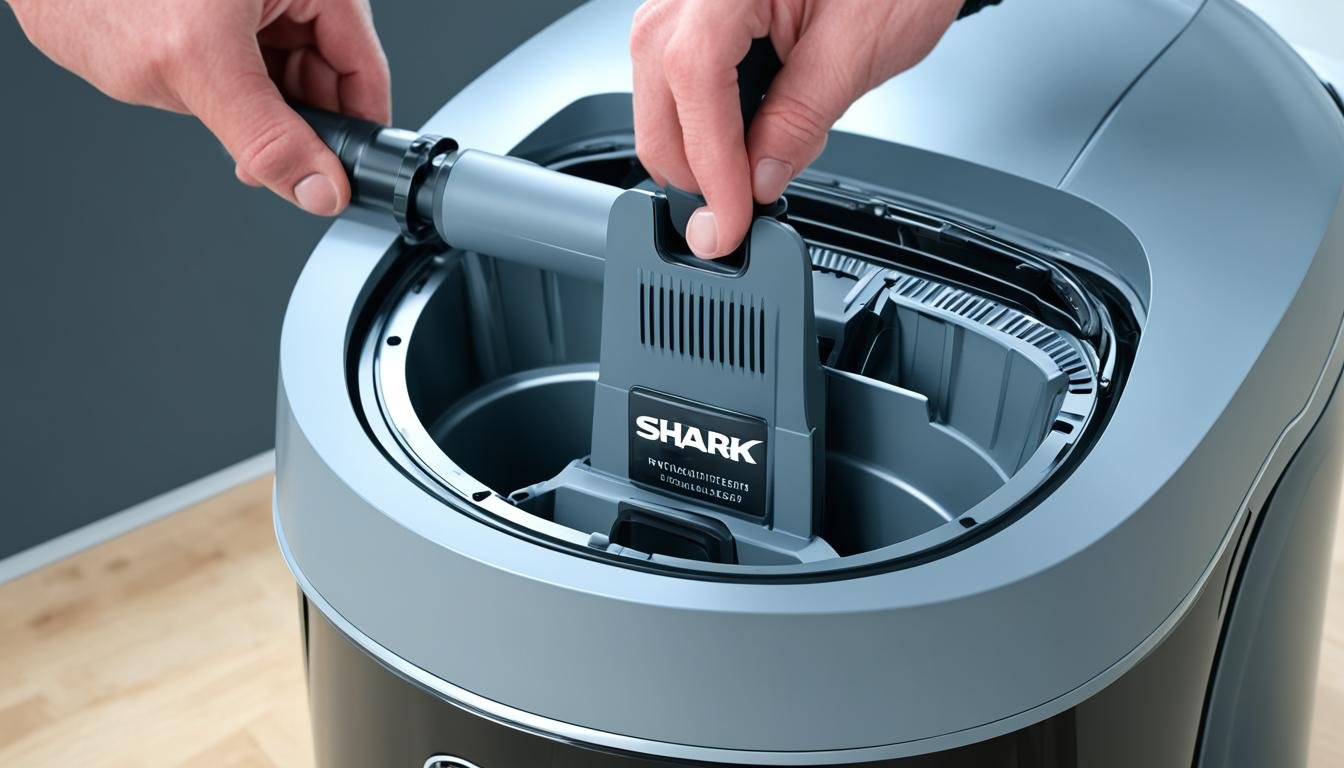
- Detach the dust cup and wash the filters under warm water to remove dirt and debris.
- Clean the brushroll by cutting away any hair or debris and check the hoses for blockages.
- Properly reassemble the vacuum after cleaning and enjoy improved performance.
Cleaning the Filters and Brushroll
After dismantling the Shark vacuum cleaner, it’s important to clean the filters and brushroll to maintain optimal performance. Proper cleaning will ensure that your vacuum continues to effectively remove dirt and debris from your floors.
The first step is to remove the foam and felt filters from the dust cup. These filters are responsible for trapping fine dust particles and preventing them from being released back into the air. Rinse the filters under warm water until the water runs clear, ensuring that all dirt and debris are removed. Squeeze out any excess water and allow the filters to air dry for at least 24 hours before reinserting them into the vacuum.
Instructions: Cleaning the Filters
- Remove the foam and felt filters from the dust cup.
- Rinse the filters under warm water until the water runs clear.
- Squeeze out excess water and let the filters air dry for at least 24 hours.
In addition to the foam and felt filters, Shark vacuum cleaners are also equipped with a HEPA filter. This filter is designed to capture even smaller particles, such as allergens and pet dander. To clean the HEPA filter, remove it from the vacuum and rinse it with water. Make sure to let the filter dry completely before reinstalling it.
Instructions: Cleaning the HEPA Filter
- Remove the HEPA filter from the vacuum.
- Rinse the filter with water.
- Allow the filter to dry completely before reinserting it.
Another crucial component to clean is the brushroll. Over time, hair and debris can get tangled around the brushroll, affecting its efficiency. Use a pair of scissors to cut away any hair or debris that may be wrapped around the brushroll. Make sure to clean the bristles thoroughly to remove any dirt or residue.
By following these dismantling tips and properly cleaning the filters and brushroll, you will ensure that your Shark vacuum cleaner remains in optimal condition, providing you with excellent cleaning results for years to come.
Checking and Cleaning the Hoses and Nozzle
As you continue with the dismantling process of your Shark vacuum cleaner, it’s important to troubleshoot and address any potential issues that may arise. One common problem to watch out for is blockages in the hoses and tubes. To tackle this, carefully inspect the hoses and tubes for any obstructions. If you spot any debris, use a long and thin tool to dislodge and remove it.
Dismantling Hack: Removing the floor nozzle and detaching the hose can provide easier access to clean them separately. After detaching the hose, soak it in a solution of warm water and soap. Swish it around gently to loosen any dirt or grime. Once clean, thoroughly rinse the hose and leave it to air dry completely before reattaching it to the vacuum cleaner.
Additionally, it’s important to address any buildup in the motorized floor nozzle. This area often accumulates hair or dust, which can affect the vacuum’s performance. Take the time to remove any debris from the nozzle, ensuring it is free from obstacles. By doing so, you can maintain optimal suction power and efficiency.
Once you’ve completed the necessary cleaning steps, it’s time to reassemble your Shark vacuum cleaner. Attach the hoses, filter chamber, dust cup, and brushroll back in place. Finally, consider sprinkling some baking soda over the vacuum to not only eliminate odors but also leave it smelling fresh.
FAQ
How do I dismantle a Shark vacuum cleaner?
To dismantle a Shark vacuum cleaner, first unplug the vacuum and detach the dust cup by pulling up on the dust cup release latch. Empty the dust cup over a trash bin and rinse it with water to remove any dirt or debris. Remove the foam, felt, and HEPA filters from the dust cup and wash them under warm water. Cut away any hair or debris from the brushroll and clean out any dirt from the bristles. Check the hoses and tubes for blockages and use a thin tool to dislodge any debris.
How do I clean the filters and brushroll?
After dismantling the Shark vacuum cleaner, focus on cleaning the filters and brushroll. Remove the foam and felt filters from the dust cup and wash them under warm water until the water runs clear. Squeeze out any excess water and let the filters air dry for at least 24 hours before reinserting them. Remove the HEPA filter and rinse it with water, then let it dry completely. Use scissors to cut away any hair or debris from the brushroll, and clean the bristles.
How do I check and clean the hoses and nozzle?
As you continue with the dismantling process, check the hoses and tubes for any blockages and use a long, thin tool to dislodge any debris. Remove the floor nozzle and detach the hose to clean them separately. Soak the hose in warm water and soap, and rinse it clean before letting it air dry. Clean the motorized floor nozzle by removing any hair or dust that may be caught in it. Reassemble the vacuum cleaner by attaching the hoses, filter chamber, dust cup, and brushroll back in place. Finally, spread some baking soda over the vacuum to give it a fresh scent.


Leave a Reply