Are you struggling to figure out how to change the brush on your Shark vacuum cleaner? Don’t worry, I’m here to help! In this tutorial, I’ll walk you through the step-by-step process of replacing the brush on your Shark vacuum cleaner, ensuring that your cleaning powerhouse continues to perform at its best.
Replacing the brush on a Shark vacuum cleaner is essential for maintaining optimal cleaning performance. Over time, the brush bristles can wear out or get tangled with debris and hair, compromising the efficiency of your vacuum. By regularly replacing the brush, you can ensure that your Shark vacuum cleaner continues to deliver excellent cleaning results.
Key Takeaways:
- Regularly changing the brush on your Shark vacuum cleaner is crucial for maintaining optimal cleaning performance.
- Follow the specific instructions for your model to safely remove and replace the brush.
- If the brush on your Shark vacuum cleaner stops spinning or gets wrapped with hair, it may be time to replace the brush roller.
- Ensure the floor selector switch is set correctly for your flooring type to avoid issues with the brush roll.
- Consult the user guide or reach out to a professional for specific troubleshooting steps for your model.
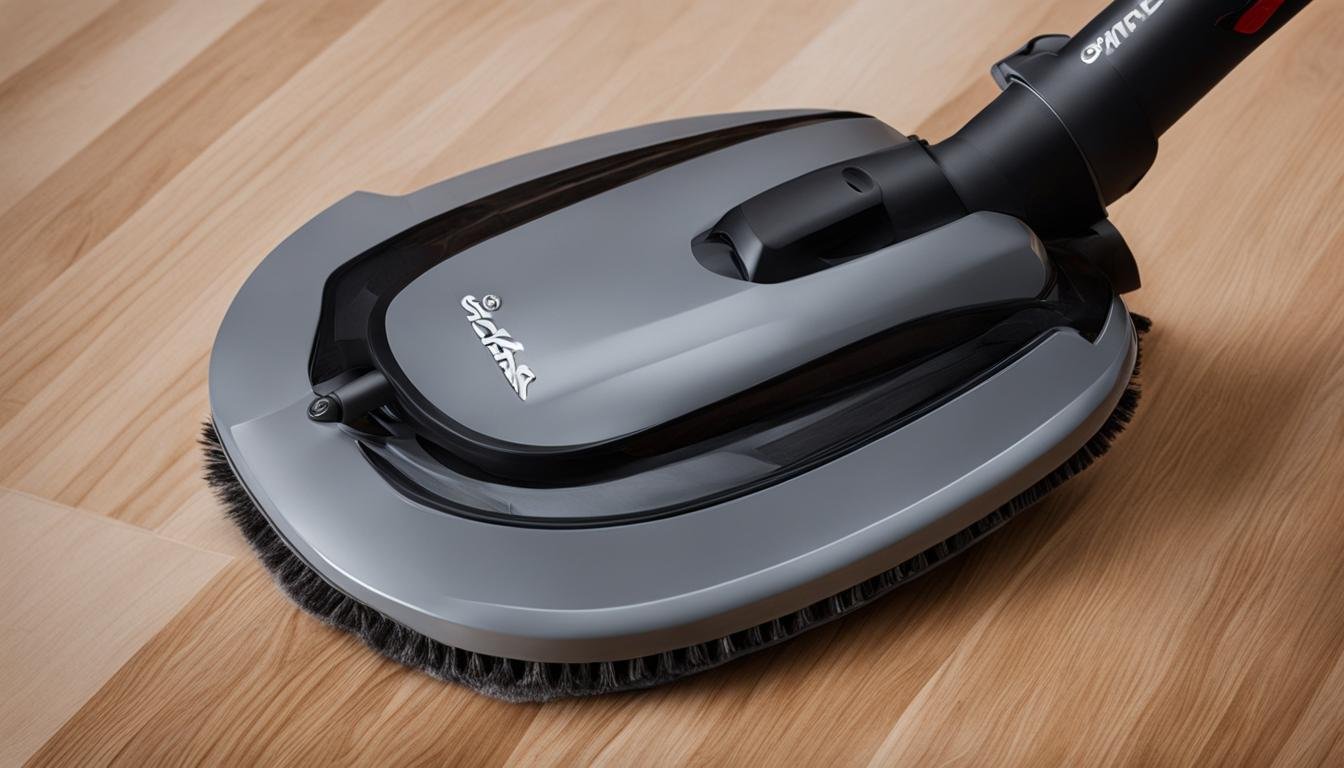
Removing the Brush on a Shark Vacuum Cleaner
Replacing the brush on your Shark vacuum cleaner is a simple task that you can easily do yourself. Here’s a step-by-step guide on how to remove the brush and replace it with a new one:
- Start by pulling the handle of the Shark vacuum cleaner while pressing the lift-away button. This will detach the body of the vacuum from the base.
- Once the body is separated, flip the base of the vacuum over to access the bottom side.
- Inspect the brush area and locate any screws or wheels that may be holding the brush in place.
- Using the appropriate tools, such as a screwdriver or wrench, remove any screws or wheels that are securing the brush.
- Once all the necessary parts are removed, you can easily pull out the brush from its slot.
- Dispose of the old brush properly and insert the new brush into the designated slot.
- Ensure that the new brush is secured tightly by reattaching any screws or wheels that were removed earlier.
Remember to consult the user manual or online resources specific to your Shark vacuum cleaner model for any additional instructions or troubleshooting tips.
It’s always good to have a spare brush on hand in case the current one becomes worn or damaged. By regularly replacing the brush, you can maintain the efficiency and performance of your Shark vacuum cleaner.
“Regularly replacing the brush is essential for ensuring optimal cleaning performance and prolonging the lifespan of your Shark vacuum cleaner.”
Common Issues with Shark Vacuum Brush Roll
When it comes to using a Shark vacuum cleaner, encountering issues with the brush roll is not uncommon. Understanding these common problems and knowing how to address them can help you maintain the optimal performance of your vacuum cleaner. Here are some tips to troubleshoot issues with changing the brush on your Shark vacuum cleaner:
- Brush Roll Wrapped with Hair: One common problem is the brush roll getting wrapped with hair, which can cause it to seize and stop spinning. To resolve this, follow these steps:
- Switch off the vacuum cleaner and unplug it from the power source.
- Turn the vacuum cleaner on its side and locate the brush roll.
- Carefully remove any tangled strands of hair or debris from the brush roll using your fingers or a pair of scissors. Take caution to avoid damaging the bristles.
- After removing the hair or debris, replace the brush roll cover and secure it in place.
- Plug the vacuum cleaner back into the power source and test if the brush roll spins smoothly.
- Ensure that the vacuum cleaner is turned off and unplugged.
- Locate the floor selector switch, typically found on the vacuum cleaner’s handle or base.
- Check if the switch is set to the appropriate mode for your flooring, such as “Carpet” or “Hard Floor.” Adjust the switch accordingly.
- Once the switch is set correctly, plug the vacuum cleaner back in and test if the brush roll is functioning.
- Turn off and unplug the vacuum cleaner.
- Refer to your user guide or the manufacturer’s instructions to locate the belt and understand the specific replacement process for your model.
- Remove the necessary components, such as the brush roll cover or housing, to access the belt.
- Take note of the belt’s positioning before removing it to ensure proper installation of the new belt.
- Install the new belt according to the manufacturer’s instructions, ensuring it is securely placed.
- Reassemble the components and plug the vacuum cleaner back in to test if the brush roll spins.
By following these tips, you can address common issues with the brush roll on your Shark vacuum cleaner and keep it in optimal working condition. However, if you encounter persistent problems or need further assistance, it is recommended to consult the user guide or seek professional support.

Conclusion
Replacing the brush on your Shark vacuum cleaner is a straightforward process that you can easily master. By following the provided instructions and referring to your model’s specific guidelines, you can ensure a smooth brush replacement and maintain the optimal performance of your vacuum cleaner. To get started, make sure to purchase the correct replacement parts for your model. This will ensure compatibility and a perfect fit.
During the brush replacement process, always prioritize your safety. Remember to turn off and unplug your Shark vacuum cleaner before starting any maintenance work. Additionally, taking regular care of your vacuum cleaner through maintenance and cleaning will keep it running efficiently and prolong its lifespan.
To keep your Shark vacuum cleaner performing at its best, make it a habit to check and clean the brush regularly. This will prevent hair and debris from getting tangled, which can lead to brush roll issues and reduced suction power. By investing a little time in maintaining your vacuum cleaner, you’ll enjoy a hygienic and effortless cleaning experience every time.
In summary, by following the step-by-step guide and referring to the shark vacuum brush replacement guide specific to your model, you can easily replace the brush on your Shark vacuum cleaner. Remember to purchase the correct replacement parts, prioritize safety, and stay consistent with maintenance. With these simple practices, you can ensure the longevity and optimal cleaning performance of your Shark vacuum cleaner for years to come.
FAQ
How do I change the brush on my Shark vacuum cleaner?
To change the brush on your Shark vacuum cleaner, follow these steps:
1. Turn the vacuum on its side and use a quarter to twist the three green locks to the unlock position.
2. Pull the bottom roller brush cover to open the vacuum.
3. Use a T20 screwdriver to remove the various screws on the outside cover and under the wheels.
4. Once the screws are removed, detach the roller brush and replace it with a new one. Refer to the specific instructions for your model for detailed guidance.
How do I remove the brush on a Shark vacuum cleaner?
To remove the brush on a Shark vacuum cleaner, follow these steps:
1. Pull the handle while pressing the lift-away button to remove the body of the vacuum.
2. Flip the base of the vacuum over to access the bottom.
3. Remove any screws or wheels that may be holding the brush in place.
4. Once the necessary parts are removed, you can easily pull out the brush and replace it with a new one. Make sure to carefully follow the instructions for your specific model to ensure proper installation.
What are some common issues with the brush roll on a Shark vacuum cleaner?
Common issues with the brush roll on a Shark vacuum cleaner include:
1. The brush roll getting wrapped with hair, which can cause it to seize and stop spinning. If this happens, you may need to replace the brush roller.
2. The floor selector switch being disengaged, which can turn off the brush roll. Ensure that the switch is set to the appropriate mode for your flooring.
3. A broken belt, which can also prevent the brush roll from spinning. Check the belt and replace it if necessary. Remember to refer to the user guide or consult a professional for specific troubleshooting steps for your model.
How do I keep my Shark vacuum cleaner running efficiently with a new brush?
Changing the brush on a Shark vacuum cleaner is a relatively simple process once you know the steps. By following the instructions provided and referring to the specific guidelines for your model, you can easily replace the brush and keep your vacuum cleaner running efficiently. Remember to purchase the correct replacement parts and take proper safety precautions while working on your vacuum cleaner. With regular maintenance and care, your Shark vacuum cleaner will continue to provide optimal cleaning performance.


Leave a Reply