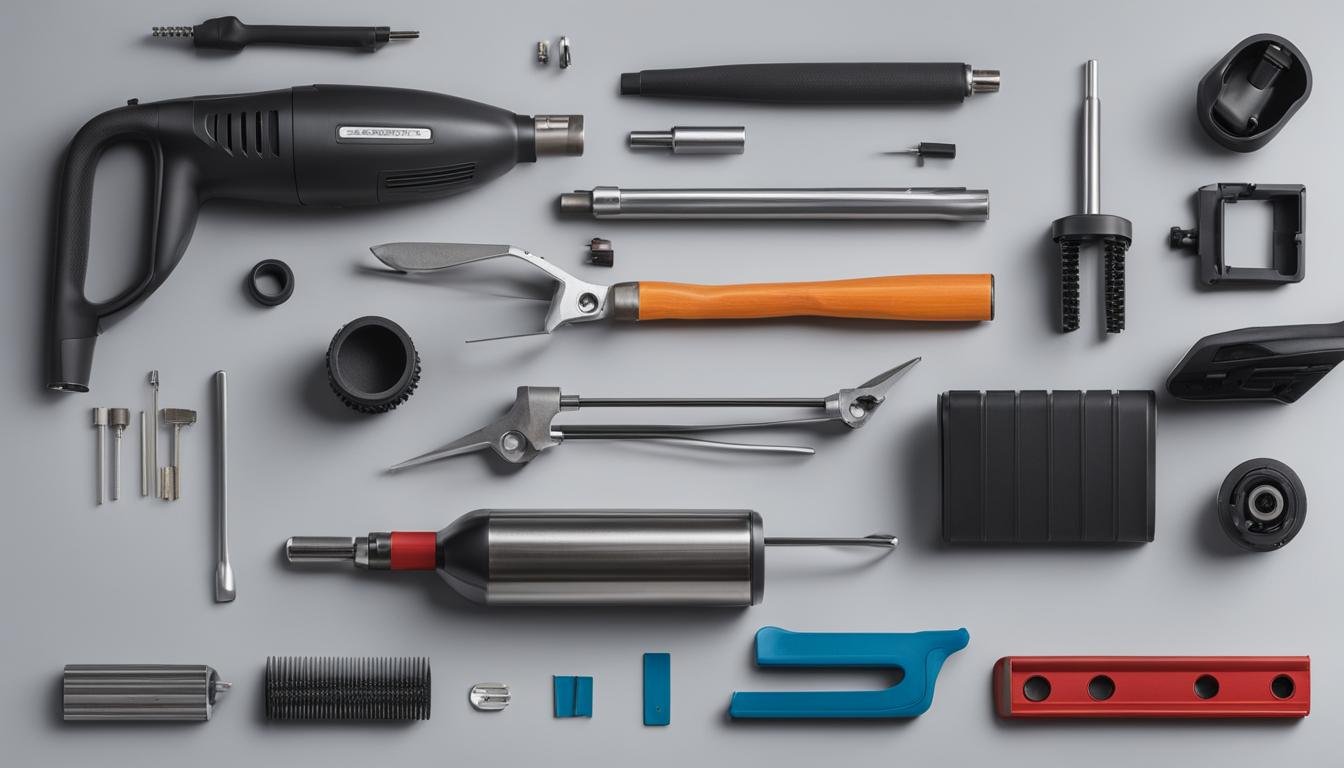
Assembling a vacuum cleaner is an essential first step to start enjoying the benefits of cleaner floors. Whether you have a stick vacuum cleaner, a robot vacuum, or a standard upright vacuum, the assembly process can be quick and easy. In this step-by-step guide, I will walk you through the process of assembling different types of vacuum cleaners, including stick vacuum cleaners, robot vacuums, and changing vacuum cleaner attachments.
Before we begin, make sure you have all the necessary parts and tools readily available. Refer to your vacuum cleaner’s instruction manual to ensure you have identified all the components correctly. Let’s get started with the assembly process!
Key Takeaways:
- Assembling a vacuum cleaner is the first step towards cleaner floors.
- Stick vacuum cleaners, robot vacuums, and standard upright vacuums all require assembly.
- Refer to the instruction manual and gather all necessary parts and tools before starting.
- Follow the step-by-step guide to ensure proper assembly.
- Enjoy the benefits of a fully assembled vacuum cleaner for a cleaner home.
How to Install a Stick Vacuum Cleaner
Installing a stick vacuum cleaner is a quick and straightforward process that anyone can accomplish. Follow these step-by-step instructions to assemble your stick vacuum cleaner:
- Unbox the Vacuum Cleaner: Start by opening the box and removing all the components of your stick vacuum cleaner. Ensure that you have all the necessary parts before proceeding.
- Attach the Handle: Locate the handle of the vacuum cleaner and align it with the designated slot on the main body. Insert the handle firmly until it clicks into place.
- Attach the Extension Wand: If your stick vacuum cleaner comes with an extension wand, connect it to the handle by aligning the notches and sliding it in until it locks securely.
- Attach the Cleaning Head: Take the cleaning head attachment and align it with the end of the extension wand. Push it in gently until it clicks into place.
- Attach the Cleaning Tool: Some stick vacuum cleaners come with additional cleaning tools, such as a crevice tool or a brush attachment. Attach these tools according to the manufacturer’s instructions, if applicable.
Once you have completed these steps, your stick vacuum cleaner is fully assembled and ready to use. It’s a good idea to refer to the user manual provided by the manufacturer for any specific instructions or additional features that your vacuum cleaner may have.
Tips for Efficient Stick Vacuum Cleaner Assembly:
- Make sure to read the user manual before starting the assembly process to familiarize yourself with the specific instructions for your stick vacuum cleaner model.
- Clear a clean and spacious area to assemble your vacuum cleaner to prevent any loss of small parts or components.
- Double-check that all parts are securely connected before using your stick vacuum cleaner to avoid any potential accidents or damage.
Remember, proper assembly and maintenance of your stick vacuum cleaner will ensure its optimal performance and durability over time. Happy cleaning!
How to Configure a Robot Vacuum Cleaner
Configuring a robot vacuum cleaner is an important step to ensure optimal performance and efficiency. Follow these step-by-step instructions to successfully configure your robot vacuum:
- Charge the Battery: Before configuring your robot vacuum, make sure the battery is fully charged. Connect the charging dock to a power source and place the robot vacuum on the dock. Allow it to charge until the battery is full.
- Connect to Wi-Fi: Most robot vacuums require a Wi-Fi connection for advanced features and remote control. Open the accompanying mobile app and follow the instructions to connect the vacuum to your home’s Wi-Fi network.
- Set Cleaning Schedule: Using the mobile app, navigate to the scheduling menu and set up a cleaning schedule that suits your needs. Choose the desired days, times, and cleaning modes for your robot vacuum.
- Create Virtual Boundaries: Some robot vacuums allow you to create virtual boundaries to restrict certain areas from cleaning. Use the mobile app to designate specific zones or rooms that you want the vacuum to avoid.
- Customize Cleaning Preferences: Explore the settings in the mobile app to customize various cleaning preferences, such as suction power, cleaning patterns, and spot cleaning options.

With these steps completed, your robot vacuum cleaner is now properly configured and ready to clean your home autonomously. Take advantage of the convenience and efficiency provided by robot vacuum cleaners for a hassle-free cleaning experience.
In Conclusion: Easy Vacuum Cleaner Assembly for Cleaner Floors
Assembling a vacuum cleaner is a straightforward process that can be completed quickly and easily by following the provided instructions. Whether you have a stick vacuum cleaner, a robot vacuum, or a standard upright vacuum, the steps for assembly are relatively similar. By taking the time to properly assemble your vacuum cleaner, you can ensure that it operates efficiently and keeps your floors clean.
Here are a few helpful tips for efficient vacuum cleaner assembly:
- Read the instructions: Before you start assembling your vacuum cleaner, take the time to read through the provided instructions thoroughly. This will help you understand the steps involved and ensure you have all the necessary parts.
- Organize your workspace: Clear a space where you can lay out all the parts of your vacuum cleaner. Having a designated area will make it easier to locate and assemble each component.
- Follow the step-by-step guide: Assembling a vacuum cleaner usually involves connecting the handle, attaching the dustbin or bag, and installing any additional attachments. Follow the step-by-step guide provided to ensure proper assembly.
By following these tips, you can complete your vacuum cleaner assembly efficiently and effectively. Once assembled, your vacuum cleaner will be ready to tackle dirt, dust, and debris, resulting in cleaner and fresher floors for your home.
FAQ
How do I assemble a vacuum cleaner?
Assembling a vacuum cleaner is a straightforward process that involves following the provided instructions. Whether you have a stick vacuum cleaner, a robot vacuum, or a standard upright vacuum, the steps for assembly are relatively similar. Take the time to carefully read the instructions and follow the step-by-step guide to ensure your vacuum cleaner is assembled correctly.
What are the steps to install a stick vacuum cleaner?
Installing a stick vacuum cleaner is simple and can be done in a few easy steps. Here’s what you need to do:
1. Start by attaching the handle to the vacuum’s body.
2. Connect the cleaning head or attachment to the wand or stick.
3. Depending on the model, you may need to install the charging dock or connect the power cord.
4. Finally, make sure all the connections are secure and you’re ready to start cleaning!
How do I configure a robot vacuum cleaner?
Configuring a robot vacuum cleaner requires a few additional steps compared to other types of vacuum cleaners. Here’s how to do it:
1. Unbox the robot vacuum and remove any protective packaging.
2. Charge the robot vacuum’s battery fully before initial use.
3. Connect the charging dock to a power source and position it in an open area.
4. Install any boundary markers or virtual walls to prevent the robot from entering restricted areas.
5. Set up any Wi-Fi or app connectivity features, if available, following the manufacturer’s instructions.
6. Test the robot vacuum by placing it on the charging dock to ensure it charges and navigates properly.
Why is it important to properly assemble a vacuum cleaner?
Properly assembling a vacuum cleaner ensures that it operates efficiently and effectively. By following the provided instructions and assembling all the components correctly, you can avoid potential issues like poor suction, unstable operation, or even damage to the vacuum cleaner. Take the time to assemble your vacuum cleaner carefully to enjoy its full cleaning power and keep your floors clean.
What are some tips for efficient vacuum cleaner assembly?
To ensure efficient vacuum cleaner assembly, consider the following tips:
– Read the instruction manual thoroughly before starting the assembly process.
– Organize all the parts and components, ensuring nothing is missing or damaged.
– Take your time and follow the step-by-step instructions carefully.
– Double-check all connections and attachments to ensure they are properly secured.
– Test the vacuum cleaner after assembly to ensure it is functioning correctly.
Are there any additional resources for vacuum cleaner assembly?
If you encounter any difficulties or have specific questions about assembling your vacuum cleaner, consult the manufacturer’s website or contact their customer support for further assistance. They may have additional resources, such as video tutorials or FAQs, to help you with the assembly process.
Source Links
- https://lubluelu.com/blogs/tips/how-to-assemble-vacuum-cleaner
- https://support.bissell.com/app/answers/detail/a_id/2621/~/assembly-|-how-to-videos-|-cleanview/powerclean-rewind-vacuums
- https://support.bissell.com/app/answers/detail/a_id/3116/~/assembly-|-how-to-videos-|-cleanview®/powerclean®-vacuums


Leave a Reply