Are you excited about your new Karcher vacuum cleaner but unsure about how to assemble it? Don’t worry, I’ve got you covered! In this step-by-step guide, I will walk you through the easy process of assembling your Karcher vacuum cleaner, ensuring that you can start using it in no time.
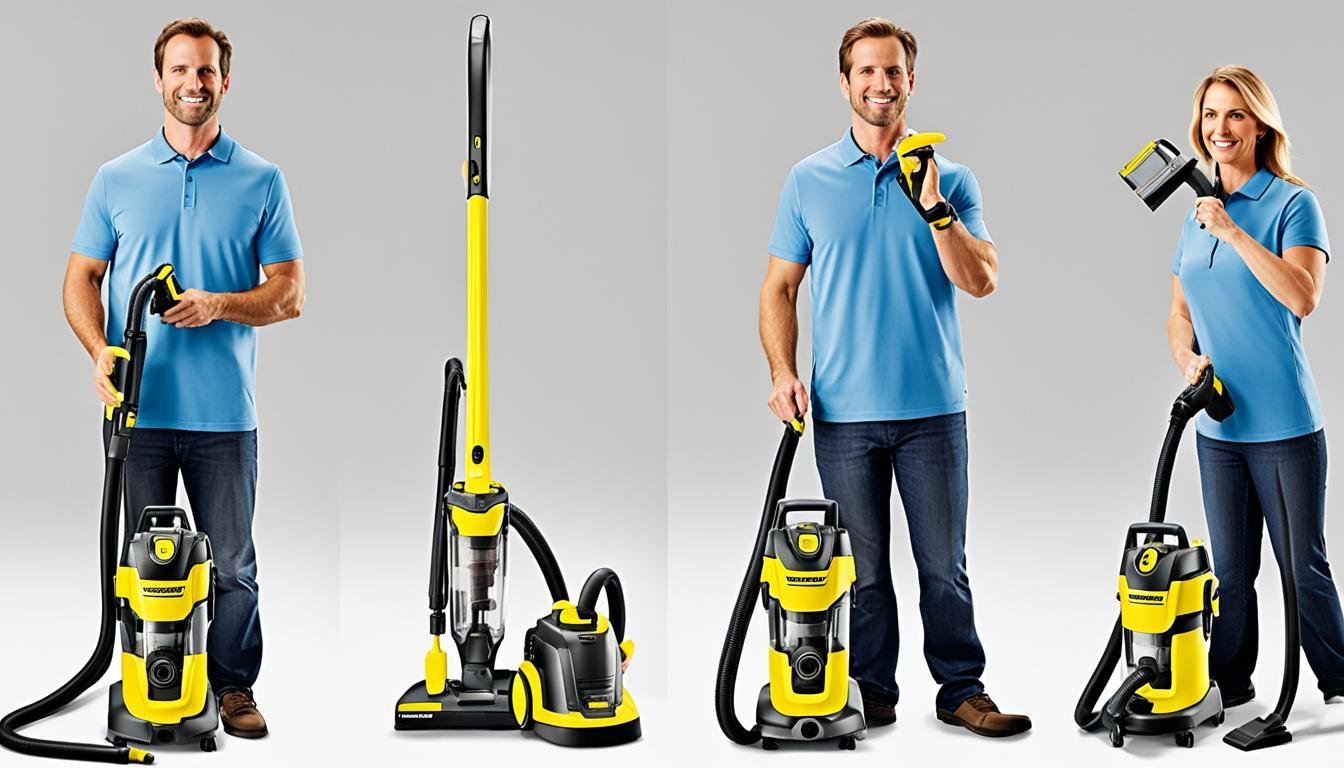
Before we begin, make sure you have all the components required for assembly. These typically include the vacuum cleaner body, the suction hose, the extension tubes, the floor nozzle, and any additional attachments or accessories that come with your specific model.
Now, let’s get started with the assembly process:
- Attach one end of the suction hose to the inlet on the vacuum cleaner body. Make sure it fits securely.
- If your Karcher vacuum cleaner comes with extension tubes, connect them to the other end of the suction hose. These tubes can be used to increase the length of the hose according to your cleaning needs.
- Securely attach the desired floor nozzle to the other end of the extension tubes. The floor nozzle is the part of the vacuum cleaner that comes into direct contact with the surface you’re cleaning.
- If your vacuum cleaner has additional attachments, such as a crevice tool or upholstery brush, attach them to the desired location on the extension tubes or floor nozzle.
- Once all the components are securely attached, plug in your Karcher vacuum cleaner and turn it on. You are now ready to start cleaning!
As you can see, assembling a Karcher vacuum cleaner is a breeze. Just follow these simple steps, and you’ll have your vacuum cleaner up and running in no time. Now, let’s move on to some key takeaways:
Key Takeaways:
- Assembling a Karcher vacuum cleaner is a simple and straightforward process.
- Ensure you have all the necessary components before starting the assembly process.
- Attach the suction hose to the vacuum cleaner body, connecting extension tubes and the desired floor nozzle as needed.
- Additional attachments can be securely attached to the extension tubes or floor nozzle.
- Plug in your vacuum cleaner and turn it on to start using it.
Karcher Vacuum Cleaner Features and Specifications
The Karcher vacuum cleaner offers a range of impressive features and specifications that make it a top choice for efficient and effective cleaning.
Powerful Suction
The Karcher vacuum cleaner is equipped with a high-powered motor that delivers exceptional suction, ensuring thorough cleaning of both hard surfaces and carpets. With its powerful suction capabilities, this vacuum cleaner effortlessly removes dirt, dust, and debris from floors, leaving them spotless.
Versatile Cleaning Modes
This vacuum cleaner offers multiple cleaning modes to suit various cleaning needs. Whether you need to vacuum dry surfaces or tackle wet spills, the Karcher vacuum cleaner has you covered. Simply switch between modes to seamlessly transition from one cleaning task to another.
Compact and Lightweight Design
The Karcher vacuum cleaner boasts a compact and lightweight design, making it easy to maneuver and carry around your home. Its ergonomic handle ensures comfortable use, even during extended cleaning sessions. Additionally, its slim profile allows for convenient storage in tight spaces.
Wide Range of Accessories
With a variety of accessories included, the Karcher vacuum cleaner goes beyond basic cleaning. From crevice tools for reaching narrow spaces to upholstery brushes for removing pet hair, each accessory is designed to enhance the vacuum cleaner’s versatility and efficiency.
Impressive Dimensions
The dimensions of the Karcher vacuum cleaner are carefully designed to strike a balance between portability and capacity. Its compact size allows for easy storage, while the generous dust canister ensures extended cleaning sessions without frequent emptying.
Overall, the Karcher vacuum cleaner offers powerful suction, versatile cleaning options, a compact design, and a wide range of accessories. These features and specifications combine to deliver a reliable, efficient, and convenient cleaning experience for every household.
Stay tuned for the next section, where we will provide a detailed step-by-step guide on how to assemble your Karcher vacuum cleaner for optimal performance.
Conclusion
Assembling a Karcher vacuum cleaner is a breeze, thanks to its user-friendly design and clear instructions. By following a few simple steps, you can have your vacuum cleaner ready for action in no time. Remember to refer to the provided manual for detailed guidance tailored to your specific model.
Once assembled, the Karcher vacuum cleaner proves to be a versatile cleaning tool, suitable for both dry and wet conditions. Its powerful suction ensures efficient cleaning, while its convenient accessories provide added convenience and versatility. Whether you’re tackling carpets, hardwood floors, or spills, the Karcher vacuum cleaner offers the reliability and performance you need.
To maximize the lifespan and performance of your vacuum cleaner, proper storage and maintenance are crucial. Take care to store it in a dry and secure place, protecting it from dust and potential damage. Regularly clean and replace filters as needed, ensuring optimal suction power. By taking these simple steps, you’ll enjoy the long-lasting performance of your Karcher vacuum cleaner for years to come.
In summary, the Karcher vacuum cleaner assembly process is straightforward and hassle-free. From its easy-to-follow instructions to its powerful suction and convenient accessories, this vacuum cleaner proves to be a reliable choice for all your cleaning needs. So, get ready to experience the efficiency and convenience of the Karcher vacuum cleaner, and keep your surroundings spotless.
FAQ
How do I assemble a Karcher vacuum cleaner?
To assemble a Karcher vacuum cleaner, follow these simple steps:
1. Unbox the vacuum cleaner and remove all packaging materials.
2. Attach the handle to the main body of the vacuum cleaner.
3. Connect the hose to the designated port on the vacuum cleaner.
4. Attach the desired accessory, such as the floor brush or crevice tool, to the end of the hose.
5. Plug in the vacuum cleaner and you are ready to start cleaning!
What are the features and specifications of a Karcher vacuum cleaner?
The Karcher vacuum cleaner offers the following features and specifications:
– Powerful suction: The vacuum cleaner is equipped with a high-performance motor that provides strong suction to effectively clean both dry and wet messes.
– Versatile cleaning options: With a range of accessories, such as floor brushes, crevice tools, and upholstery nozzles, the vacuum cleaner can tackle various surfaces and hard-to-reach areas.
– Large capacity: The vacuum cleaner has a generous dust and liquid capacity, allowing for longer cleaning sessions without frequent emptying.
– Easy maneuverability: The vacuum cleaner is designed with swivel wheels and a lightweight construction, making it easy to move around and navigate through different areas.
– Convenient storage: The vacuum cleaner comes with onboard storage for accessories, ensuring that all components are easily accessible and neatly organized.
How to properly store and maintain a Karcher vacuum cleaner?
To properly store and maintain your Karcher vacuum cleaner, follow these tips:
– After each use, empty and clean the dust and liquid containers to prevent odors and maintain optimal performance.
– Store the vacuum cleaner in a cool and dry place to protect it from humidity and potential damage.
– Regularly check and clean the filters to ensure efficient suction and prevent clogs.
– Inspect the power cord for any signs of wear or damage, and replace if necessary.
– Follow the manufacturer’s instructions for maintenance and servicing, such as oiling moving parts or replacing worn-out accessories.


Leave a Reply