Greetings! As a homeowner, it’s important to know the ins and outs of household appliances. Today, I want to talk about a vital piece of equipment in any home – the vacuum cleaner. Whether you’re a new owner or looking to troubleshoot your current vacuum, knowing how to assemble and disassemble it can be incredibly useful. Let’s dive right in!
Key Takeaways:
- Assembling and disassembling a vacuum cleaner is crucial for maintenance and troubleshooting purposes.
- Proper assembly ensures a functional and effective vacuum cleaner.
- Consult the manual for specific instructions and restrictions when assembling or disassembling your vacuum.
- For assembly, attach the handle, extension wand, hose, and accessory tools in their designated locations.
- Disassembly steps may include removing the fan cover, loosening lock nuts, and unplugging the armature. Handle the components with care.
Vacuum Cleaner Assembly Instructions
When it comes to putting together a vacuum cleaner, following the right assembly instructions is key. Not only does it ensure that the vacuum functions properly, but it also allows for easy maintenance and troubleshooting in the future. In this section, I will guide you through the step-by-step process of assembling a vacuum cleaner.
Step 1: Read the Manual
Before you begin assembling your vacuum cleaner, take the time to carefully read the manual. This will provide you with important information regarding any specific restrictions or guidelines that need to be followed during the assembly process. Familiarizing yourself with the manual ensures that you assemble the vacuum cleaner correctly and avoid any potential issues down the line.
Step 2: Attach the Upper Handle
To start assembling your vacuum cleaner, attach the upper handle onto the base of the vacuum. Secure it firmly in place using the provided screws. This step is essential as it forms the foundation of the vacuum cleaner.
Step 3: Lock the Extension Wand Base
Next, lock the extension wand base into place. This part is responsible for extending the reach of your vacuum cleaner. Ensure that it is securely locked to prevent any wobbling or instability while cleaning.
Step 4: Insert the Hose
Insert the hose into the back of the vacuum cleaner, following the instructions in the manual. Make sure that the hose is properly connected to allow for efficient suction. Take care to avoid any kinks or blockages.
Step 5: Wrap and Secure the Remaining Hose
With the main hose connected, wrap any remaining hose length around the handle of the vacuum cleaner. This helps to keep the hose organized and easily accessible during use. Secure the hose in place using the designated clips or hooks on the vacuum base.
Step 6: Attach Accessory Tools
Lastly, it’s time to attach the accessory tools that enhance the versatility of your vacuum cleaner. These tools may include a dusting brush, TurboBrush tool, and crevice tool. Refer to the manual for the specific locations to attach these tools.
By following these assembly instructions, you can put together a functional and effective vacuum cleaner. Taking the time to understand the assembly process ensures that you have a reliable cleaning tool at your disposal.

Vacuum Cleaner Disassembly Steps
Disassembling a vacuum cleaner can be a helpful maintenance and troubleshooting task. Whether you need to replace a part, clean the components, or diagnose an issue, understanding the disassembly process is essential. By following these steps, you can effectively maintain and troubleshoot your vacuum cleaner.
Gather the necessary tools
I always start by gathering the tools I’ll need for disassembling my vacuum cleaner. This typically includes a screwdriver set, pliers, and any specialized tools specified in the manual.
Check the manual for restrictions
Before taking apart your vacuum cleaner, consult the manual for any disassembly restrictions or guidelines provided by the manufacturer. Pay attention to specific instructions or warnings that may affect the disassembly process.
Protect the casing
While disassembling your vacuum cleaner, it’s important to be mindful of the casing. To prevent any accidental damage, place a soft cloth or towel underneath the vacuum cleaner or use a workbench with padding.
Start with the fan cover
The first step in disassembling a vacuum cleaner is usually removing the fan cover. This could involve unscrewing it or releasing any clips or latches that hold it in place. Pay close attention to the fan cover’s positioning as you may need to realign it during reassembly.
Loosen lock nuts and remove washers and impellers
Depending on the vacuum cleaner model, you may need to loosen lock nuts to access specific components. Remove any washers or impellers by gently pulling them out, taking care not to damage them.
Solder stator winding coils (if necessary)
If you need to replace or repair the stator winding coils of your vacuum cleaner’s motor, you may need to solder them. Follow proper soldering techniques and safety precautions to ensure a secure connection.
Remove bearing caps
In some cases, you may need to remove bearing caps to access certain parts of the vacuum cleaner. Use a suitable tool, such as pliers, to carefully remove the caps without causing any damage.
Unplug the armature
The final step in disassembling a vacuum cleaner is typically unplugging the armature. Gently disconnect the wires or connectors, being cautious not to yank or damage them.
Remember, disassembling a vacuum cleaner requires precision and care. If you’re unsure or uncomfortable with any step, it’s always a good idea to seek professional assistance. By following these disassembly steps and ensuring the proper handling of components, you can effectively maintain and troubleshoot your vacuum cleaner.

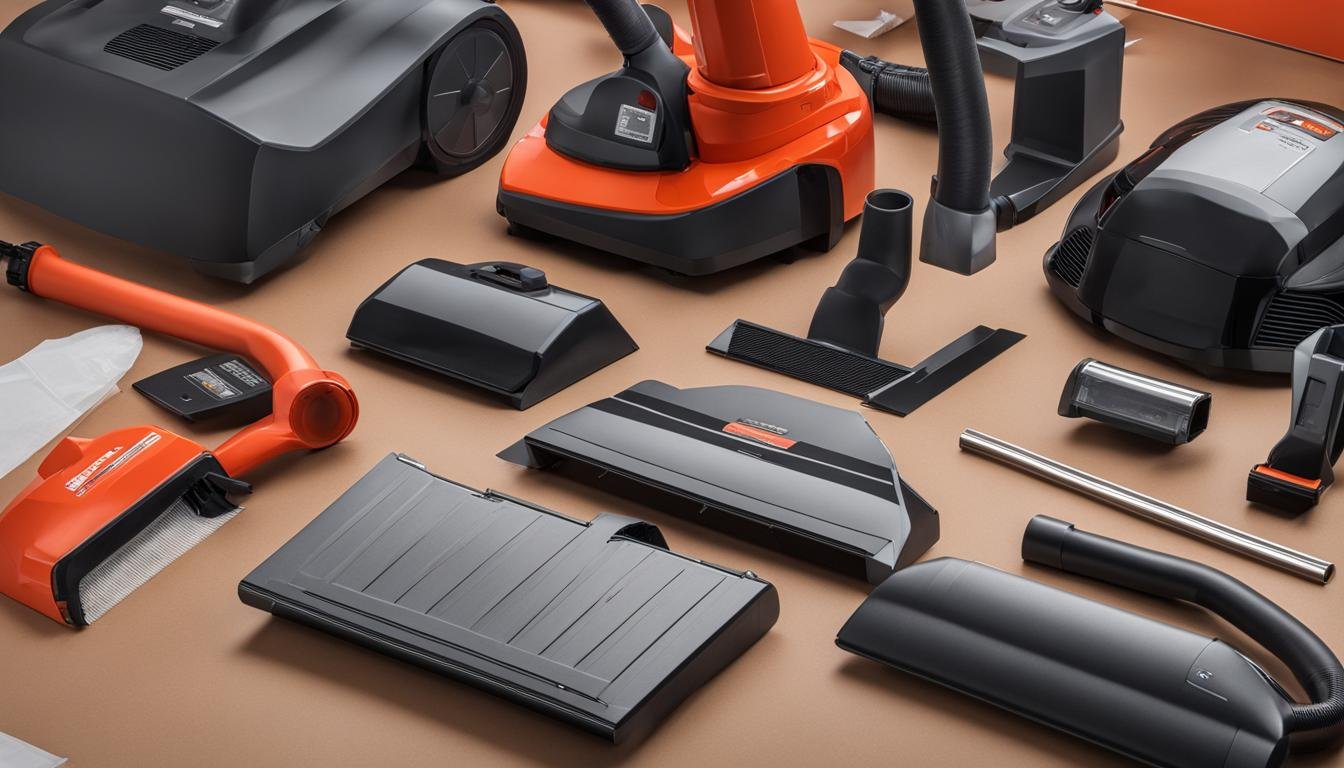
Common Parts of a Vacuum Cleaner
| Part | Function |
|---|---|
| Upper Handle | Provides a grip for maneuvering the vacuum cleaner |
| Extension Wand | Allows for extended reach and height adjustment |
| Hose | Connects the vacuum cleaner to the cleaning attachments |
| Accessory Tools | Includes attachments like the dusting brush, TurboBrush tool, and crevice tool for specialized cleaning |
| Fan Cover | Protects the internal components and helps generate suction |
| Lock Nuts | Secures and fastens specific parts together |
| Washers and Impellers | Aids in the movement of air and prevents debris from entering certain components |
| Stator Winding Coils | Creates an electromagnetic field to rotate the motor’s armature |
| Bearing Caps | Holds the bearings in place and protects the internal motor components |
| Armature | Rotates within the motor and generates the vacuum cleaner’s suction power |
Conclusion
Assembling and disassembling a vacuum cleaner may seem daunting at first, but with the right instructions and tools, it can be a straightforward process. Whether you are putting together a new vacuum or taking it apart for maintenance, following the steps carefully is crucial.
Understanding the different parts of a vacuum cleaner and their functions allows for easier identification and troubleshooting of any issues that may arise. By knowing how to assemble and disassemble a vacuum cleaner, you can ensure its longevity and optimal performance.
Regular maintenance and troubleshooting can extend the lifespan of your vacuum cleaner and keep it running smoothly for years to come. Remember to clean the filters regularly, check and clean the brushroll, and inspect the hoses and attachments for any blockages. If you encounter any problems, refer to the troubleshooting tips mentioned earlier to resolve common issues.
By taking the time to learn about vacuum cleaner assembly and disassembly, as well as proper maintenance, you can save money on repairs and enjoy a cleaner and healthier home environment. So, the next time your vacuum cleaner needs attention, don’t hesitate to dive in and tackle the task yourself!
FAQ
Do you know how to assemble and disassemble a vacuum cleaner?
Yes, I can provide instructions on how to assemble and disassemble a vacuum cleaner.
What are the vacuum cleaner assembly instructions?
To assemble a vacuum cleaner, start by attaching the upper handle onto the base and securing it with screws. Then, lock the extension wand base into place and insert the hose into the back of the vacuum. Wrap the remaining hose around the handle and secure it in the vacuum base. Finally, attach the accessory tools, such as the dusting brush, TurboBrush tool, and crevice tool, in their designated locations.
What are the vacuum cleaner disassembly steps?
To disassemble a vacuum cleaner, follow steps such as removing the fan cover, loosening lock nuts, removing washers and impellers, soldering stator winding coils, removing bearing caps, and unplugging the armature. It is important to consult the manual for any disassembly restrictions and handle the components with care during the process.
How can vacuum cleaner assembly and disassembly help with maintenance and troubleshooting?
Understanding how to assemble and disassemble a vacuum cleaner can be helpful for DIY maintenance and troubleshooting. It allows for easy identification of parts and troubleshooting of any issues that may arise. Regular maintenance and troubleshooting can extend the lifespan of the vacuum cleaner and keep it running smoothly.


Leave a Reply