If you’re looking to remove the hose from your Dyson vacuum cleaner, you’ve come to the right place. Whether you need to detach the hose for cleaning or troubleshooting purposes, this guide will provide you with step-by-step instructions on how to safely and easily take off the hose.
Before we begin, it’s important to ensure that your Dyson vacuum cleaner is turned off and unplugged. Safety should always be a priority when working with any electrical appliance.
To take the hose off of your Dyson vacuum cleaner, follow these simple steps:
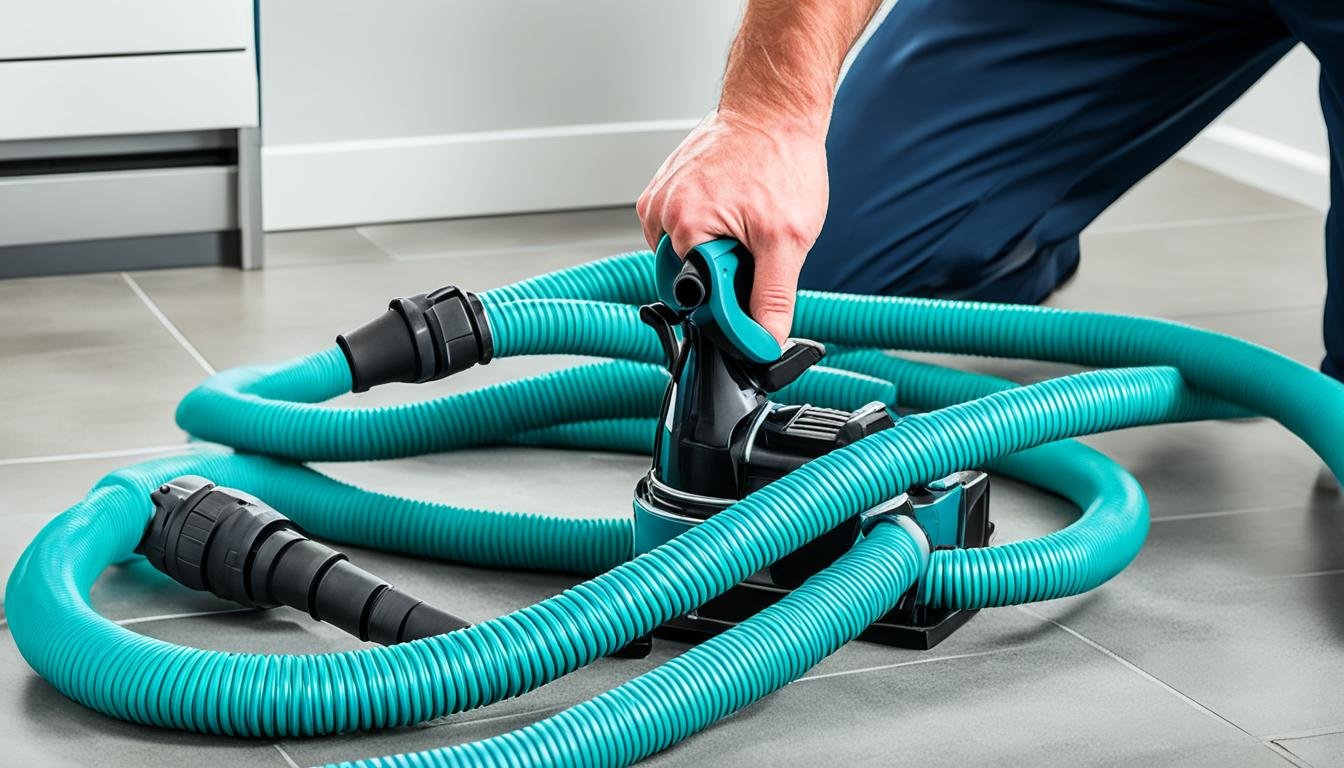
1. Locate the hose attachment point on your Dyson vacuum cleaner. This is usually located at the base or near the handle.
2. Firmly hold the hose attachment point with one hand to stabilize it.
3. Using your other hand, twist the hose counterclockwise to unlock it from the attachment point.
4. Once the hose is unlocked, gently pull it away from the attachment point to detach it completely.
5. Your Dyson vacuum cleaner’s hose is now removed and ready for cleaning or maintenance.
Key Takeaways:
- Removing the hose from a Dyson vacuum cleaner requires following a few simple steps.
- Always ensure that the vacuum cleaner is turned off and unplugged before starting any maintenance or repair work.
- Locate the hose attachment point and firmly hold it while twisting the hose counterclockwise to unlock it.
- Once unlocked, gently pull the hose away from the attachment point to detach it completely.
- With these steps, you can safely and easily take off the hose from your Dyson vacuum cleaner.
How to Replace the Hose on a Dyson Vacuum Cleaner
If you need to replace the hose on your Dyson vacuum cleaner, don’t worry! It’s a relatively simple process that you can easily do yourself. Follow the steps below to install a new hose and get your vacuum cleaner back to optimal cleaning performance.
Step 1: Prepare the vacuum cleaner
Before you begin, make sure the vacuum cleaner is turned off and unplugged from the power source. This will ensure your safety throughout the process.
Step 2: Identify the hose
Locate the damaged hose that needs to be replaced. Take note of how the original hose is attached to the vacuum cleaner for reference during the installation of the new hose.
Step 3: Remove the old hose
Gently detach the old hose from the vacuum cleaner by loosening any connectors or clips that are holding it in place. Take your time to ensure you don’t break any components in the process.
Step 4: Attach the new hose
Take the new hose and connect it to the vacuum cleaner using the same method as the original hose. Make sure all connectors and clips are securely fastened to avoid any air leaks or loss of suction power.
Step 5: Test the new hose
Plug the vacuum cleaner back in and turn it on to test the new hose. Check for any air leaks or obstructions in the airflow. If everything looks good, you’re ready to start vacuuming again!
Replacing a damaged hose on your Dyson vacuum cleaner is a simple DIY task that can save you time and money. By following these steps, you’ll have your vacuum cleaner up and running smoothly in no time.
“A new hose can greatly improve the performance and efficiency of your Dyson vacuum cleaner.” – VacuumExpert
Conclusion
Taking off and replacing the hose on a Dyson vacuum cleaner is a simple process that can be done by following the step-by-step guide provided. Whether you need to detach the hose for maintenance or replace it due to damage, these instructions will help you do it with ease.
Remember to always prioritize safety by ensuring that the vacuum cleaner is turned off and unplugged before starting any repair or replacement work. This precautionary measure will prevent accidents and protect both you and the appliance.
By taking care of your Dyson vacuum cleaner and performing regular maintenance tasks like detaching and replacing the hose, you can ensure that it continues to perform at its best and provides efficient cleaning for your home. Regular maintenance will extend the lifespan of your vacuum cleaner and help you maintain a clean and healthy living environment.
To wrap up, don’t hesitate to reach out to Dyson’s customer support if you encounter any difficulties during the process. They will be happy to assist you and provide further guidance. With the right knowledge and proper care, your Dyson vacuum cleaner will serve you well for years to come.
FAQ
How do I take the hose off of a Dyson vacuum cleaner?
To take the hose off of a Dyson vacuum cleaner, follow these steps:
1. Make sure the vacuum cleaner is turned off and unplugged.
2. Locate the hose at the back of the vacuum cleaner.
3. Twist the hose counterclockwise to unlock it from the vacuum cleaner.
4. Gently pull the hose away from the vacuum cleaner to detach it.
How do I replace the hose on a Dyson vacuum cleaner?
If you need to replace the hose on your Dyson vacuum cleaner, here’s what you need to do:
1. Make sure the vacuum cleaner is turned off and unplugged.
2. Locate the damaged or old hose that needs to be replaced.
3. Twist the hose counterclockwise to unlock it from the vacuum cleaner.
4. Gently pull the hose away from the vacuum cleaner to detach it.
5. Take the new hose and align it with the opening on the vacuum cleaner.
6. Twist the new hose clockwise to lock it into place.
Any final thoughts?
Taking off and replacing the hose on a Dyson vacuum cleaner is a straightforward process. By following the steps outlined in this guide, you can easily detach the hose for maintenance or replace it if it’s damaged. Remember to always make sure the vacuum cleaner is turned off and unplugged before starting any repair or replacement work. Taking care of your vacuum cleaner will ensure it continues to perform at its best and provide efficient cleaning for your home.


Leave a Reply