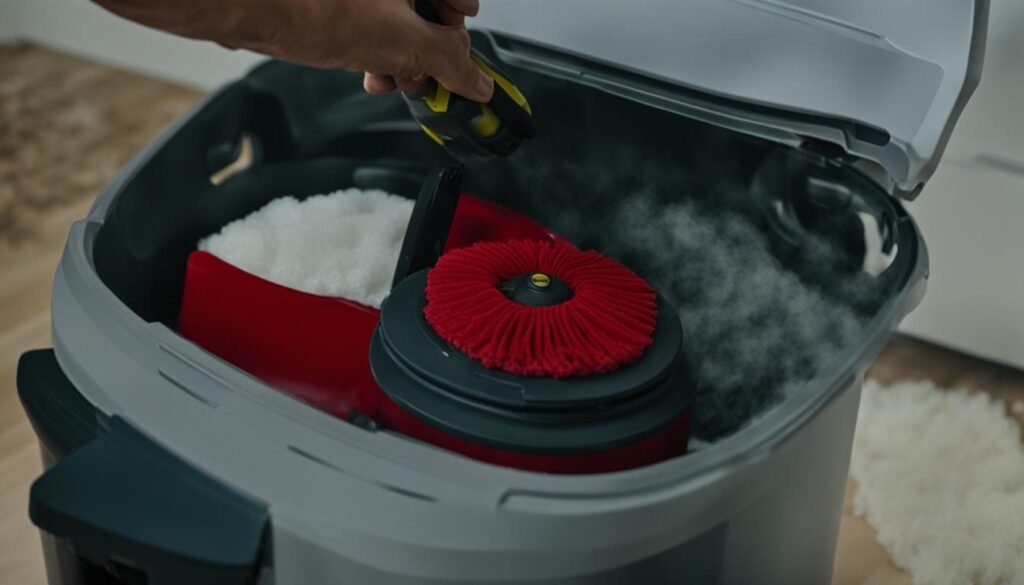
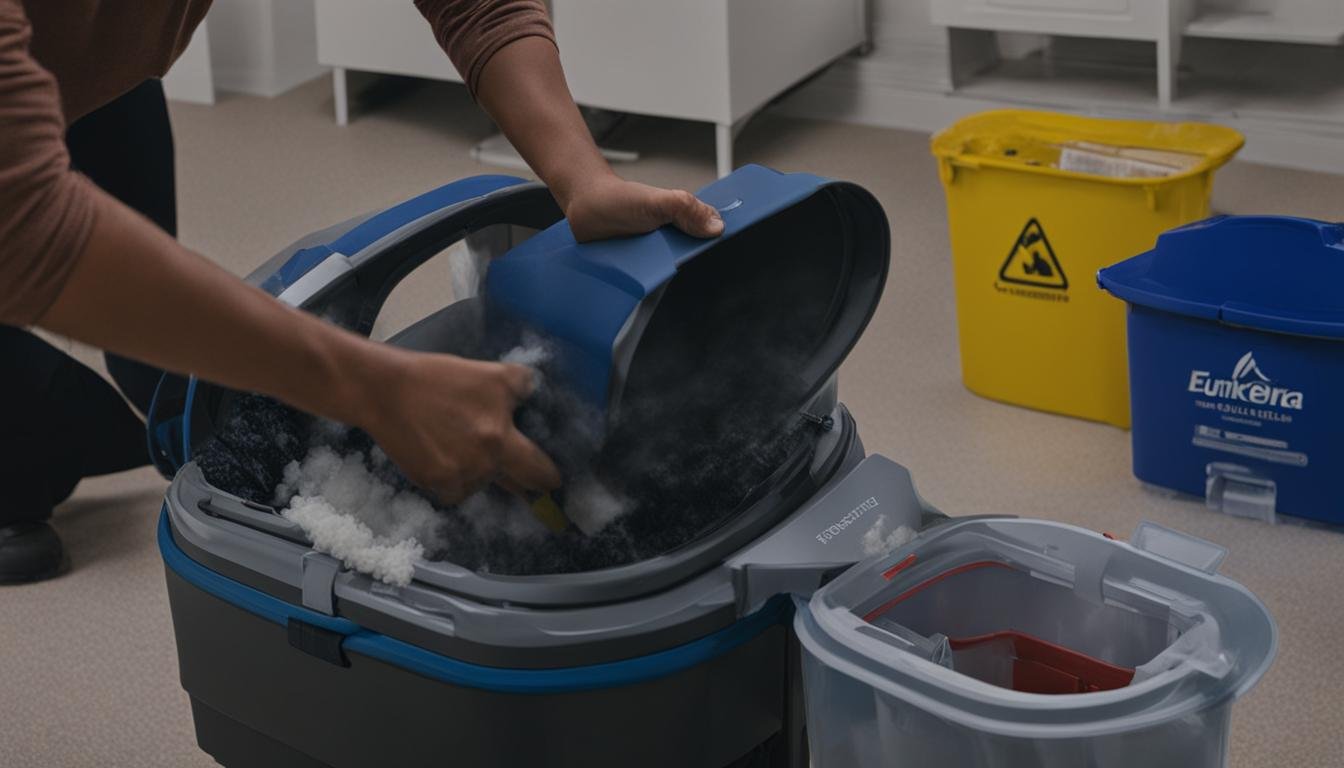
Cleaning your Eureka vacuum cleaner is crucial to maintain its optimal performance. Regular cleaning ensures that your vacuum consistently delivers powerful suction and efficiently removes dirt and debris from your floors and surfaces. In this step-by-step guide, I will provide you with instructions on how to effectively clean your Eureka vacuum and keep it in top shape.
Key Takeaways
- Regular cleaning is essential to maintain the optimal performance of your Eureka vacuum cleaner.
- Turn off and unplug your vacuum before disassembling it for cleaning.
- Refer to the vacuum’s manual for instructions on removing and cleaning different components.
- Focus on cleaning the dirt cup or bag, filters, hose, brush roller, and other crucial parts of your Eureka vacuum.
- After cleaning, reassemble the vacuum following the reverse order of disassembly.
Taking Your Eureka Apart for Cleaning
Before you begin disassembling your Eureka vacuum cleaner, it’s important to prioritize safety. Make sure to turn off and unplug the machine. This precautionary measure will safeguard you from any accidental harm.
Refer to the vacuum’s manual for detailed instructions on how to remove and clean different components. These components may include the dirt cup or bag, filters, hose, and brush roller. Each part plays a crucial role in the overall performance of your Eureka vacuum cleaner.
By disassembling and cleaning these components, you can ensure that your vacuum maintains its suction power and effectively removes dirt and debris from your floors and surfaces. Regular cleaning also prevents blockages, allowing for uninterrupted cleaning sessions.
Remember to handle each component with care during disassembly and follow the manufacturer’s instructions to avoid any damage. Take note of the order in which you remove the components, as this will simplify the reassembly process later on.
Cleaning your Eureka vacuum cleaner thoroughly inside and out will contribute to its longevity and ensure optimal performance.
Cleaning the Different Parts of Your Eureka Vacuum Cleaner
When it comes to cleaning your Eureka vacuum cleaner, it’s important to not overlook any of its components. By giving each part proper attention, you can ensure that your vacuum performs at its best and lasts for years to come. Here are the different parts of your Eureka vacuum cleaner that you should clean regularly to maintain its optimal performance:
1. Dirt Cup or Bag
The dirt cup or bag is where all the dirt and debris collected by your vacuum is stored. Emptying and cleaning it regularly is crucial to prevent blockages and maintain suction power. Simply remove the cup or bag according to your vacuum’s instructions, dispose of the dirt, and wash the cup or replace the bag if necessary.
2. Filters
Eureka vacuums typically have multiple filters, including a primary filter and a HEPA filter. These filters trap fine particles and allergens, preventing them from being released back into the air. Clean or replace the filters as recommended by the manufacturer to maintain optimal filtration and prevent clogging.
3. Brush Roller
The brush roller, located at the base of the vacuum, is responsible for agitating and loosening dirt from carpets and rugs. Over time, it can get tangled with hair, fibers, and other debris. Remove the brush roller and carefully cut away any entangled materials. You can also use a pair of scissors or a seam ripper to untangle the debris completely.
4. Hose and Attachments
The hose of your Eureka vacuum allows you to reach tight corners and above-floor surfaces. Inspect the hose for any blockages or clogs by running a broomstick or another long, thin object through it. Clean attachments like crevice tools and upholstery brushes with warm soapy water and allow them to air dry before reattaching.
Remember to consult your Eureka vacuum cleaner’s manual for specific cleaning instructions and recommended maintenance practices. Regularly cleaning the different parts of your Eureka vacuum will not only improve its performance but also prolong its lifespan, ensuring that it continues to keep your home clean and fresh.

| Component | Cleaning Frequency |
|---|---|
| Dirt Cup or Bag | After every use |
| Filters | At least once a month |
| Brush Roller | Every 3-6 months |
| Hose and Attachments | As needed or every 3 months |
Putting Your Eureka Vacuum Back Together
Now that you have thoroughly cleaned all the components of your Eureka vacuum cleaner, it’s time to reassemble it and get it ready for use. Follow these simple steps to put your Eureka vacuum cleaner back together:
1. Start by placing the brush roller and belt back into their original positions. Ensure that they are aligned properly and securely attached.
2. Next, secure the cover and screws to hold the components in place. Check that all the screws are tightened to ensure a secure fit.
3. Reconnect the hose to the appropriate attachment point. Make sure it is firmly attached to prevent any loss of suction during operation.
4. Insert the clean or new filters back into their designated slots. These filters play a vital role in trapping dust and allergens and keeping the air clean while you vacuum.
5. Finally, return the dust cup or bag to its original position. Ensure that it is securely attached to prevent any dirt or debris from escaping during use.
With these steps, you have successfully reassembled your Eureka vacuum cleaner. Your vacuum is now ready to tackle dirt and dust, providing you with powerful suction and efficient cleaning results. Remember to check the user manual for any specific instructions related to your model for a seamless reassembly process.
FAQ
How often should I clean my Eureka vacuum cleaner?
It is recommended to clean your Eureka vacuum cleaner after every few uses or whenever you notice a drop in suction power.
Can I clean the filters of my Eureka vacuum cleaner?
Yes, you can clean the filters of your Eureka vacuum cleaner. Refer to the manual for specific instructions on how to remove and clean them.
What is the best way to clean the dirt cup or bag of my Eureka vacuum cleaner?
To clean the dirt cup or bag, remove it from the vacuum and empty the contents into a trash bag. Use a damp cloth or brush to wipe away any dirt or debris from the cup or bag, making sure it is completely dry before reattaching it.
How do I clean the brush roller of my Eureka vacuum cleaner?
Start by removing the brush roller from the vacuum. Use scissors or a seam ripper to remove any tangled hair or fibers. Once the roller is clean, lubricate the ends with a drop of oil before reinserting it into the vacuum.
Can I wash the hose of my Eureka vacuum cleaner?
It depends on the type of hose your Eureka vacuum has. Some hoses are washable, while others may require wiping with a damp cloth. Refer to the manual for specific instructions.
How can I prevent blockages in my Eureka vacuum cleaner?
Regularly check and clean the brush roller, filters, and hose to prevent blockages. Avoid vacuuming large debris that may clog the machine.
How long do I need to wait for the cleaned components to dry before reassembling my Eureka vacuum cleaner?
It is recommended to allow the cleaned components to air dry for at least 24 hours before reassembling the vacuum cleaner.
Should I replace any components of my Eureka vacuum cleaner during cleaning?
If any components are damaged or worn out, it is advisable to replace them to ensure optimal performance. Refer to the manual or contact the manufacturer for replacement parts.
Can I use household cleaning products to clean my Eureka vacuum cleaner?
It is best to use mild soap and water to clean the components of your Eureka vacuum cleaner. Avoid using harsh chemicals or abrasive cleaners that may damage the machine.
How often should I deep clean my Eureka vacuum cleaner?
Deep cleaning your Eureka vacuum cleaner, including disassembling and cleaning all the components, is recommended every few months to maintain its efficiency and prolong its lifespan.


Leave a Reply